


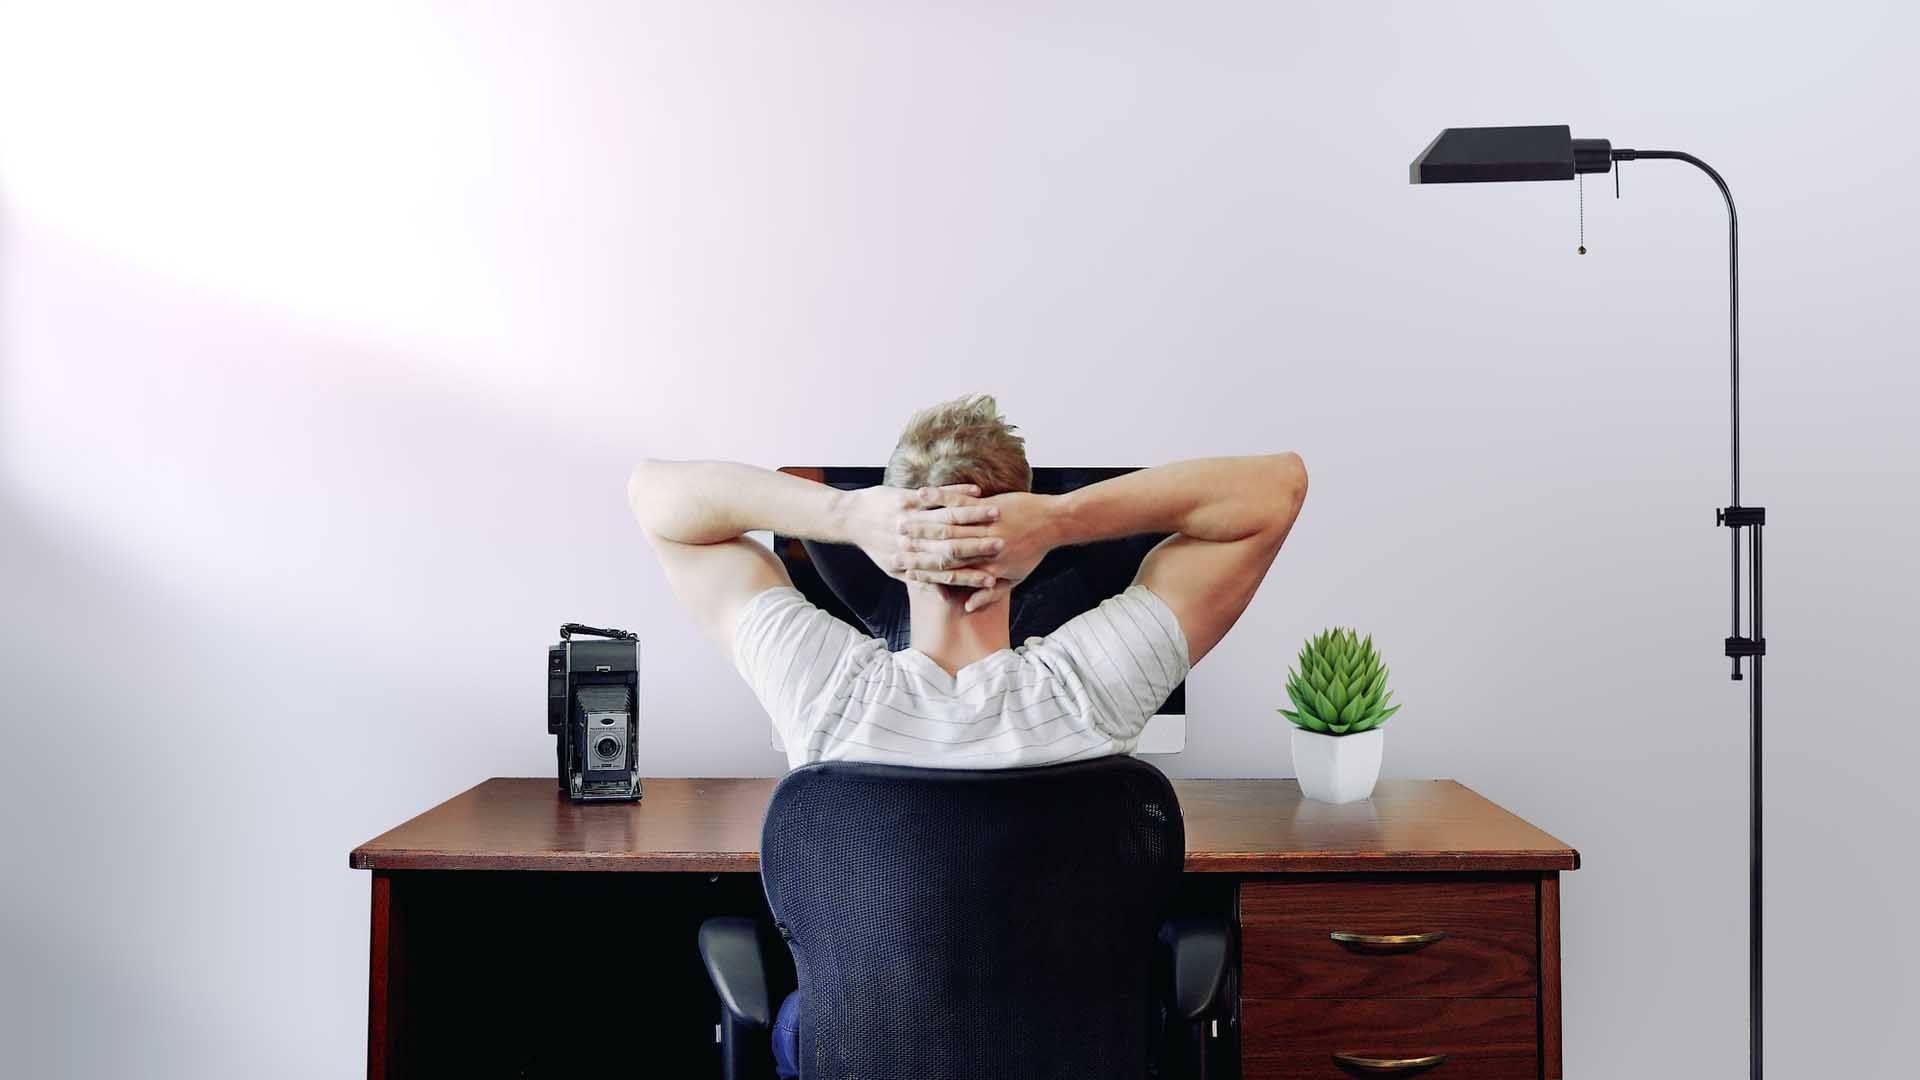
The film production process, like most creative art forms, is known to be organized chaos. Projects of any scale or budget can be derailed by failing to follow the best process.
Hollywood’s finest avoid bad shoots by being more disciplined. Classic movies are made by taking a good idea from plan to development and beyond in a structured way.
With a good knowledge of the film production process, your own effort can be a success story too. From pre-production all the way to promotion of the final film, this guide explains the production stages with practical filmmaking tips and resources.
So, what are the stages of film production?
- Concept and idea generation
- Budgeting
- Idea development
- Screenwriting & scriptwriting
- Hiring, recruiting cast and crew
- Scouting locations & production design
- Storyboards and shot lists
- Production schedules
- Shooting
- Editing
- Sound design
- Color correction
- Visual effects
- Sound mixing
- Color grading
- Distribution
- Promotion
Pre-production
The earliest phase in the film production process, pre-production is the preparation part. Planning your film happens here and sees an idea take shape alongside the organizing of how it will be shot.
Step 1 – Concept and idea generation

A film concept is the very basic thought of what it can be. It’s the spark of a story or situation and the central characters you will follow.
This first, often vague, notion provides a creative jump-off for generating more ideas.
Suggested questions a film concept might answer:
- Who is the main character?
- What problem, predicament or journey will they face?
- Where and when will this take place?
In movie-making, the high concept idea is preferable. If the film can be described simply and quickly then it’s easier to get people on board with the project.
Step 2 – Budgeting

To spend money on your film carefully, you make a budget. Decide a realistic limit on what you can afford early enough and track spending throughout the film production process.
Think about the resources required and where costs are necessary. How much will you need to spend on purchasing or renting equipment? What will be the likely price in paying for people, props, and costumes, etc?
Simple budgeting formula for financing a small film:
a) Break your script into individual pages (p).
b) Small films might shoot 8 script pages per day (d), for example, so divide your total number of script pages by a realistic number (p ÷ d).
c) Calculate a reasonable daily cost (c) and multiply by b.
For a more detailed film cost breakdown, consider using a template to record spending.
When starting out, you may be able to do a full shoot very cheaply or even for nothing. Accept free help where you can and don’t let budgeting put you off your creative ideas.
Step 3 – Idea development
The development of film ideas is a repeatable step. It should happen throughout the film production process to refine the quality of your production along the way.
At first, it’s about adding story details to the concept (1.1) so you have something you can write and film. Brainstorming, alone or with other people, helps find new creative paths.
Apps like iDeas for Writing for iOS or Android can also be useful tools here.
Step 4 – Screenwriting & scriptwriting

With ideas ready, it’s time to write them down. Every film works from a “screenplay” or script, detailing each scene, setting, and person interaction.
Scriptwriting is mostly about dialog and how the various characters speak. Descriptions of place or situation set the scenes but primarily you want a script that tells the story through their words.
Tips for writing a good film script:
- Make every word count. Feature film scripts average 90-120 pages, so snappy and sharp dialog gives good exposition.
- Write how people talk. It might seem obvious, but telling a realistic story is key.
- Study scriptwriting by taking a course or reading a book.
- Format it well for easy readability and sharing.
Step 5 – Hiring, recruiting cast and crew
We all need help occasionally, so adding personnel to the production is likely. Lower budget “indie” films use volunteers to reduce labor costs. Friends, family, and local film students become actors, set dressers, or even camera operators!
But whether it’s on formal or informal terms, the process is similar. You want to find the best people for each role that the budget affords:
- Hold script read-throughs. Audition and screen-test actors.
- Watch showreels to check the technical skill of new crew members.
- Put the word out. Advertise a job on a casting website.
What kind of roles are there? Find out in our guide to the anatomy of a film crew!
Step 6 – Scouting locations & production design

Finding suitable locations for the film shoot is known as scouting. Scouts search for interior and outdoor places that best fit those described in the script.
- Find adaptable, versatile spaces rather than changing the script to fit.
- Get permission to film. Seek and secure permits if required.
- Shoot in one place or use green screening for virtual backdrops.
CamTrackAR is a free iPhone app for on-set previsualization. In the past, you’d have to produce expensive production sets to create certain scenes for your film. Now, you can use CamTrackAR in combination with other free software like HitFilm and Blender or Unreal Engine to create photorealistic environments for next-to-nothing.
Production design includes location scouting, but also the building of any sets or lighting rigs. Think of it as any preparation a location needs to allow filming to start.
Step 7 – Storyboards and shot lists

Storyboards are like a script for the camera to follow. Instead of words, they describe key scene shots and camera angles with illustrations.
A bit like a comic book they break scene action into a sequence of panels numbered for production reference. Typically hand-drawn in a rough sketchy way, you needn’t be an artist to get the point across. Software like Plot can be helpful in this part of the film production process.
Shot lists go alongside to describe the contents of every shot or scene, what will happen and what’s needed.
Step 8 – Production schedules
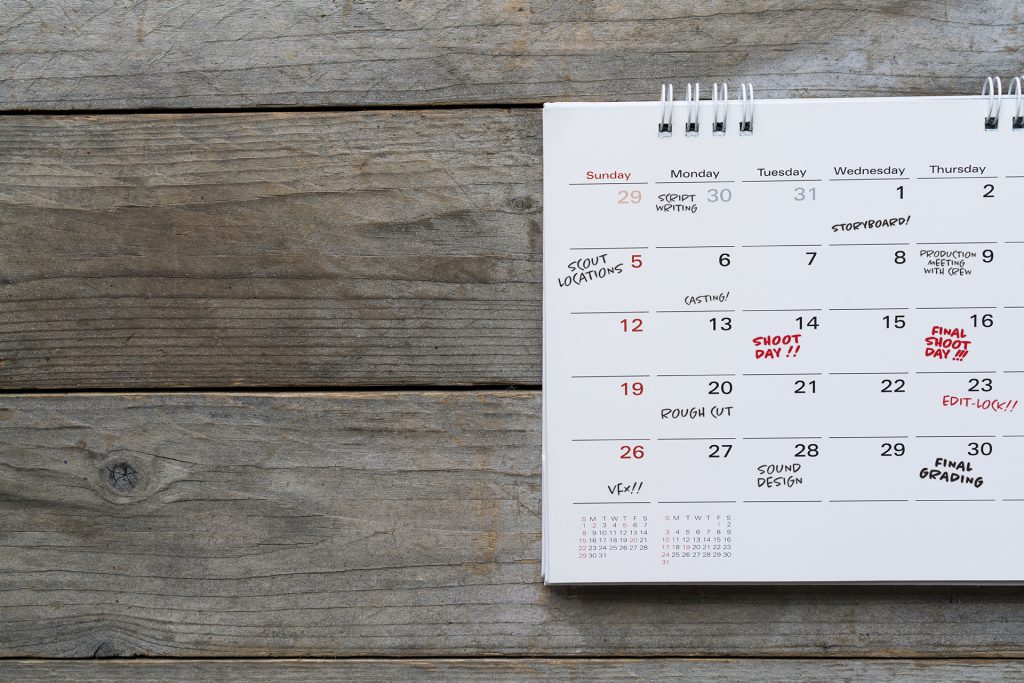
A production schedule helps with keeping the film production process organized. It typically takes the form of a day-by-day calendar, spreadsheet, or chart that timetables the filming.
- Divide script pages into days, allowing extra time for complex scenes.
- Make breakdown sheets and production strips for scene elements.
- Schedule in practical filming order rather than in script order.
Call sheets can then be created to instruct the crew on what needs to be done, by who, where, and when.
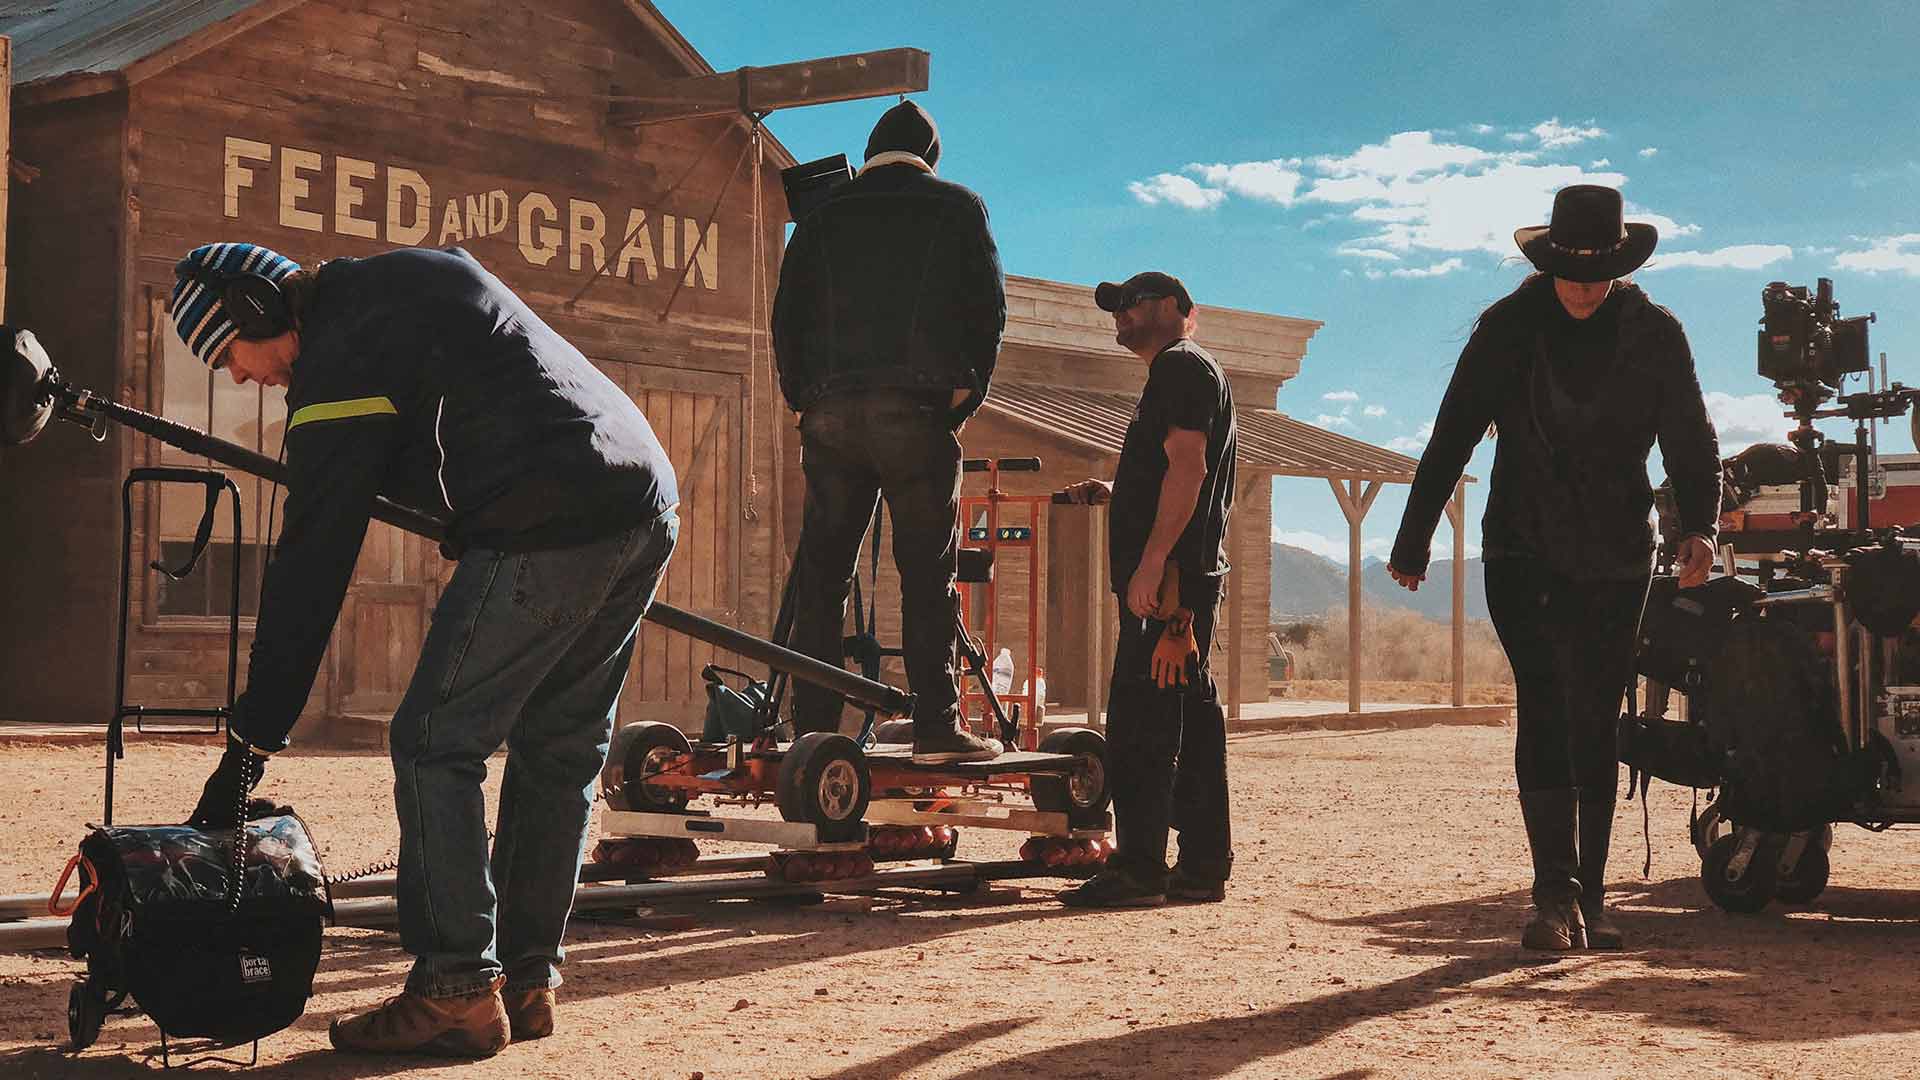
Production
With the project all planned, production can begin. This requires filming (or shooting) all the scenes you’ve scheduled, including both the visuals and audio.
Step 9 – Shooting
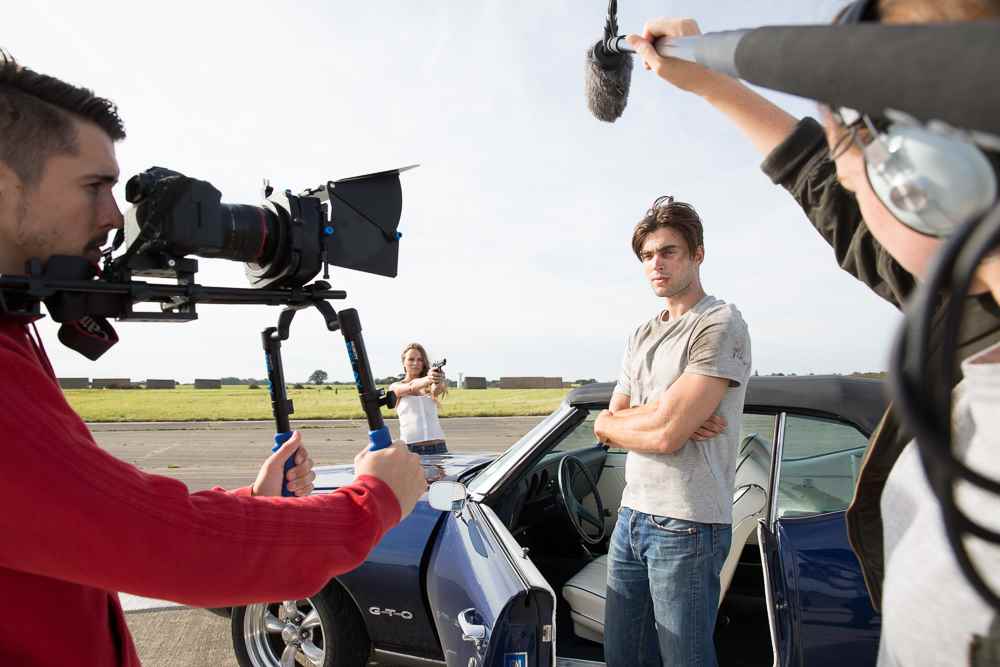
Shooting or filming is the main single step here. It’s all about capturing the raw video, all the shots and sounds that the script demands.
Assuming all the other elements are in place, the main concern will be your equipment. Foremost is a suitable affordable camera of course, along with microphones and any lighting too.
You may decide to capture alternative camera angles with different lighting or even adjusted dialog. Keep in mind that staying flexible with your vision will allow you to tell the story in the best way.
Top techniques for a successful shoot:
- Nail your shots. Frame your shots to match your storyboard/shot list.
- Pay attention to lighting Use enough lighting for adequate exposure and setting the mood.
- Get lots of options. Use multiple cameras if possible and shoot multiple takes.
- Get great sound. Don’t rely on the built-in camera mic to capture audio.
The CamTrackAR app tracks camera movement while capturing mobile video. It aids your shoot by previewing any 3D effects and green screening before post-production begins.
This is a great tip for directors keen to optimize the shoot for adding VFX in the next phase.
Post-production
Post-production is all the work performed on the film after shooting. Once recording “wraps” and the footage is in the can, it’s time to finalize the project ready to show!
Step 10 – Editing
Taking time and a lot of skilled work, editing is crucial to telling the story as written in the script and drawn in the storyboard.
This is where every best shot or “take” for each scene is sequenced accordingly. The goal is to entertain and captivate the viewer while also optimizing running time.
Tip: Short films run up to 40 minutes, with features averaging 75-210 minutes long.
Start by storing and logging the filmed footage in a way that makes sense. Pick the best takes and make them findable as you “cut” several versions.
- First Assembly places logged footage into a basic, linear timeline.
- Rough Cut starts trimming the first assembly into an overall first draft.
- Fine Cut goes deeper into refining individual frames and each cut between shots.
- Final Cut is the fine cut with color grading, sound, and VFX, etc, all added.
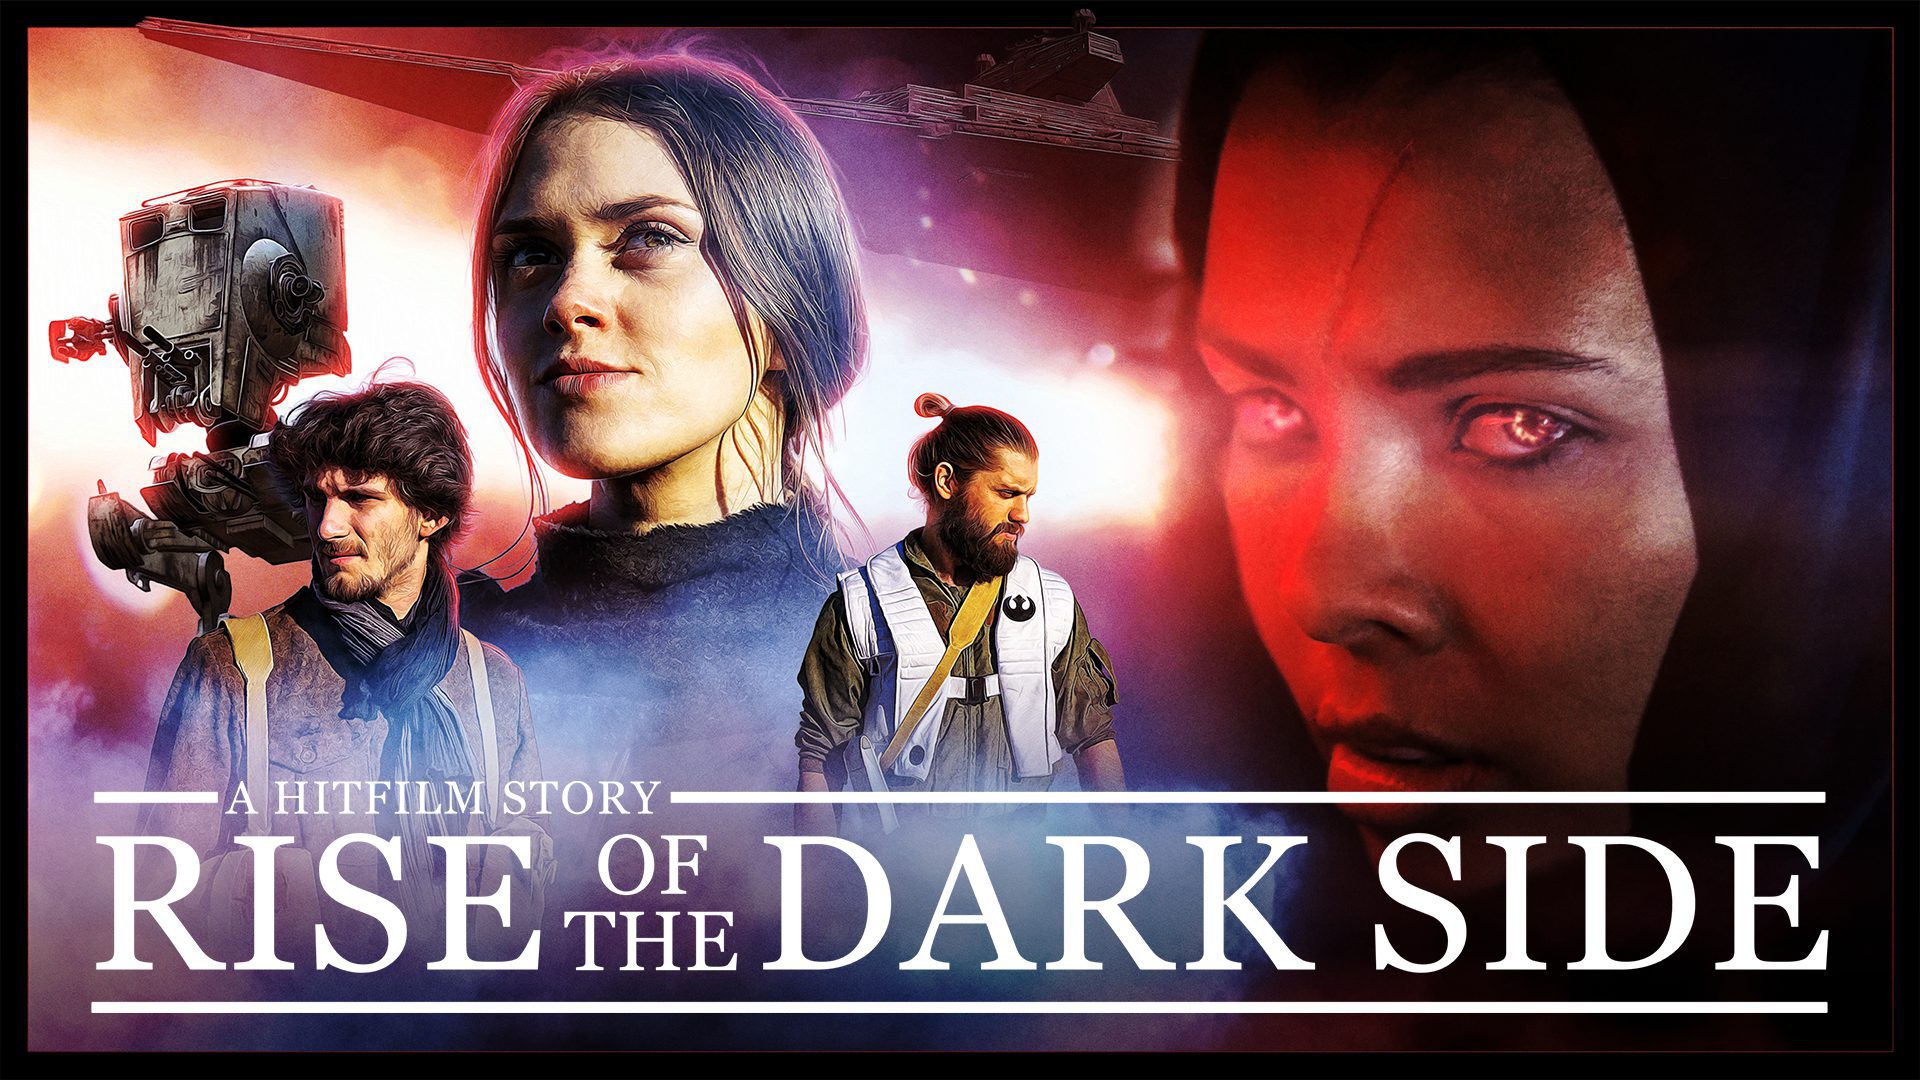
Working digitally makes this process easier with great software available. HitFilm is a free video editing software with essential features for editors:
- Timeline supports unlimited video and audio tracks.
- Adaptive Trimmer for faster, smarter, and sharper cuts.
- 4K export in professional formats
- Transition effects including dissolves, fades, splits, and slides.
Step 11 – Sound design

This step is typically about the creation of additional sounds not recorded on set. Sound design typically includes adding extra sound effects including ‘diegetic sounds’ (sounds that exist in the scene) or ‘non-diegetic sounds’ (sounds that are used for emphasis or to aid in telling the story) to create a ‘soundscape’ that helps build an immersive atmosphere around your visuals. Sound design is basically any audio used that isn’t music or dialogue.
How you use, edit, and mix these elements can have a big impact. Sound can “bridge” together scene transitions, build tension, or deliver narrative cues.
Tip: Treat film sound and music as a character or storytelling device.
While it’s always best to create your own sounds, there are helpful resources. Libraries such as Epidemic Sound or BOOM Library offer royalty-free music and SFX assets. You can also get plenty of free sound effects at freesound.org.
Be mindful that using any audible commercial music is subject to costly permission to avoid licensing issues.
Step 12 – Color correction
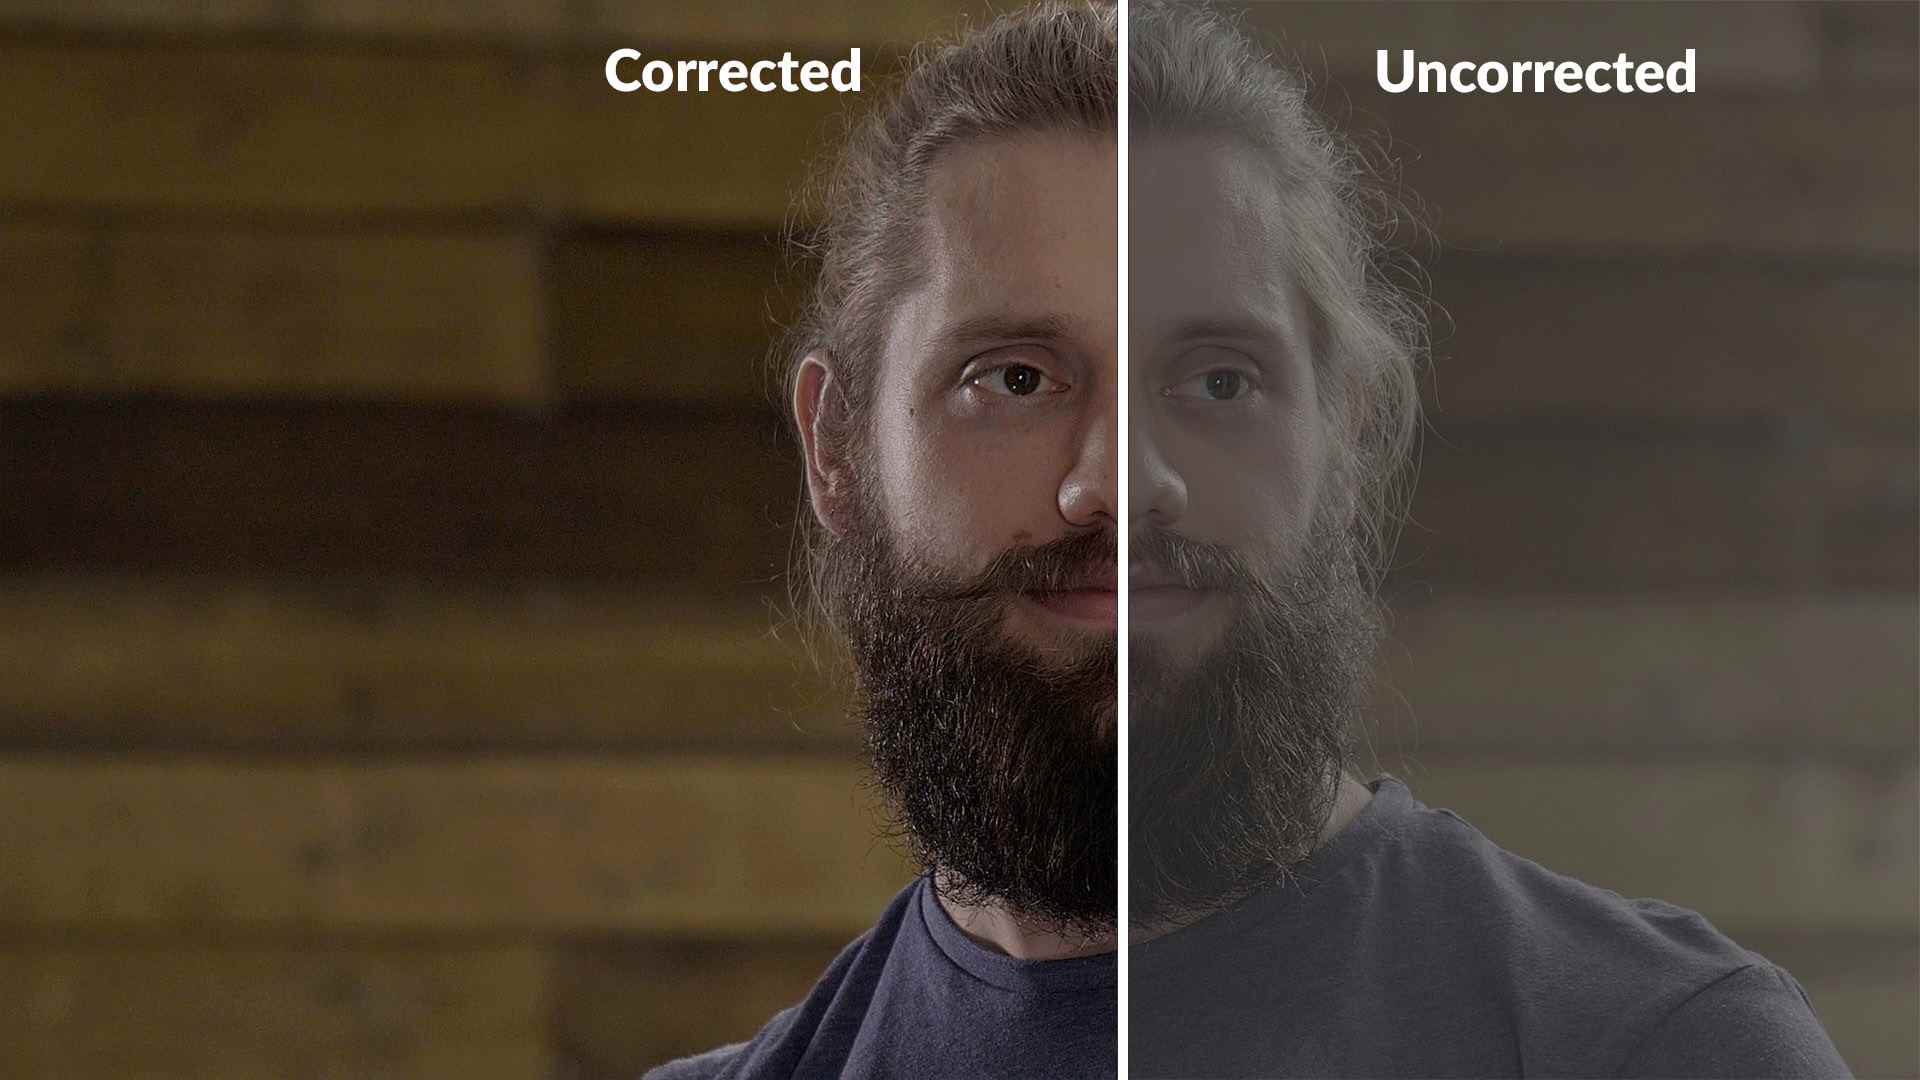
Not to be confused with color grading (which is more creative and we’ll cover later on), color correction is the process of adjusting the colors in your footage to make it look more ‘true-to-life’.
When color correcting footage, we just want to make sure that everything is exposed correctly, there are no weird color casts, and that skin tones and other colors in the scene look accurate.
One of the most important (and most challenging) parts of color correction is getting realistic skin tones.
Another important thing about color grading is that you color match all of your shots – especially if they were shot in the same location – because color inconsistency can shatter the immersiveness of your film.
Color correction is carried out before visual effects but after editing in the film production process. This is because the VFX artist can create more realistic visuals when they have an authentic starting point, and a colorist only wants to have to spend time correcting the footage that will actually get used.
HitFilm comes with plenty of color correction tools to get you started for free.
Step 13 – Visual effects
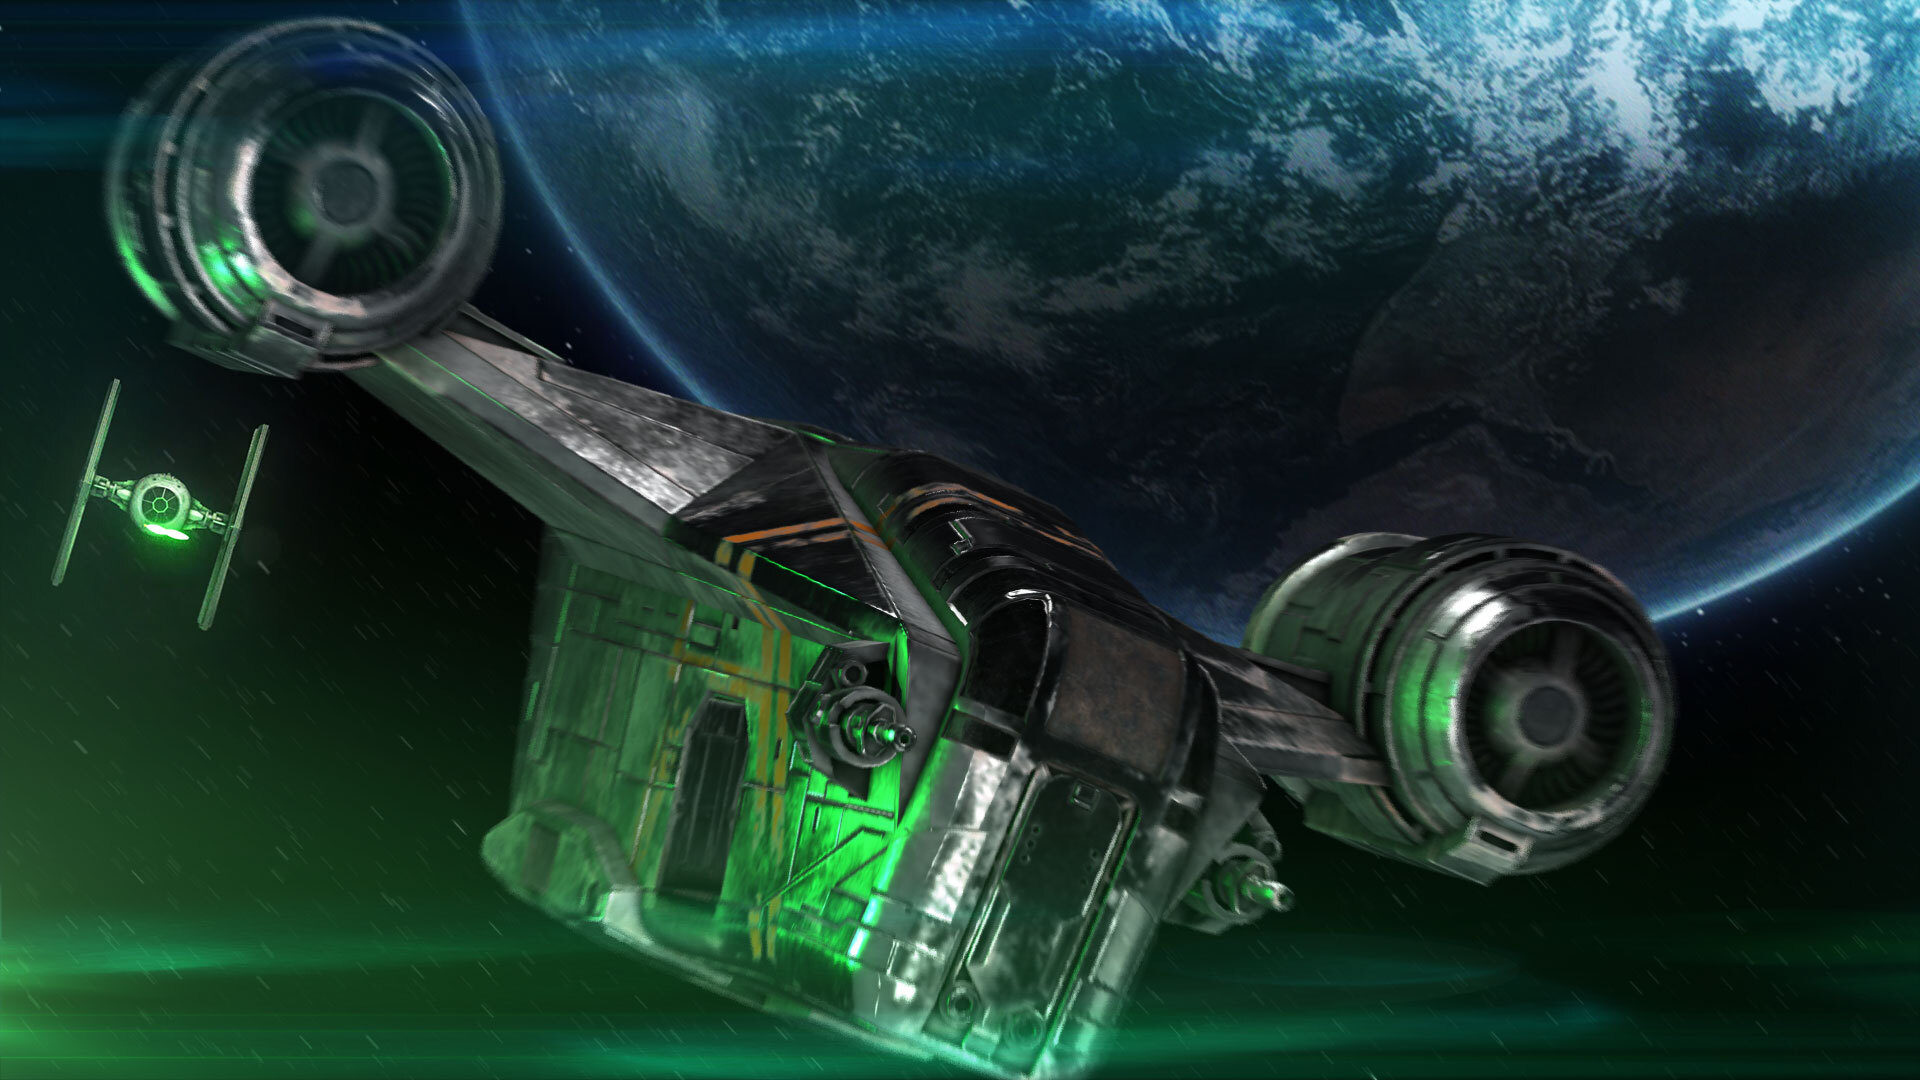
Visual effects or ‘VFX’ is the adding of images to the film that were impossible or impractical to shoot in the production stage.
VFX artists use software to add or remove objects, people, places, and… fireballs. The goal is to make these CG elements look as realistic and believable within VFX shots, or sometimes just to fix something that went wrong on-set
However, there’s great VFX software for beginners available on the market. HitFilm is not only a free video editor but also a powerful VFX production suite packed with professional features.
Tip: CamTrackAR can be used to frame, track, and preview VFX shots during filming.
Step 14 – Sound mixing
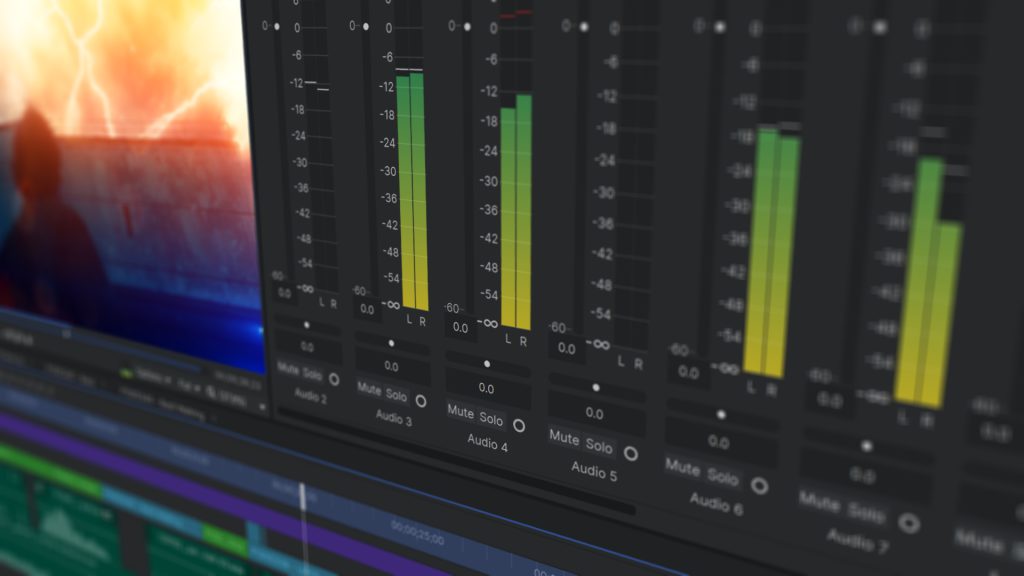
Sound mixing ensures every audio element within a film’s soundtrack is correctly balanced.
The primary goal is to set the volume levels to achieve clarity. Audio processing techniques like equalization (EQ), panning, and compression are then used to achieve a crystal clear ‘mix’. Sound mixing artists might also use effects like reverb or delay to help define the environment and make everything sound as though it was recorded together in one space.
Depending on the amount of recorded sound, this part of the film production process can be lengthy. A short film of 30-40 minutes long could require as much as 150-300 hours of sound mixing work. Here’s a great article on sound mixing best practices.
You should also be aware of gain staging throughout the sound production process. This will make sure you’re achieving the best possible audio, and avoiding any unwanted distortion, or loud background hiss or noise.
3 techniques for good film sound mixing:
- Monitor the mix using a good pair of headphones or studio speakers.
- Listen to how rough mixes sound across different devices.
- Use HitFilm’s audio mixer meter to set loudness.
Step 15 – Color grading
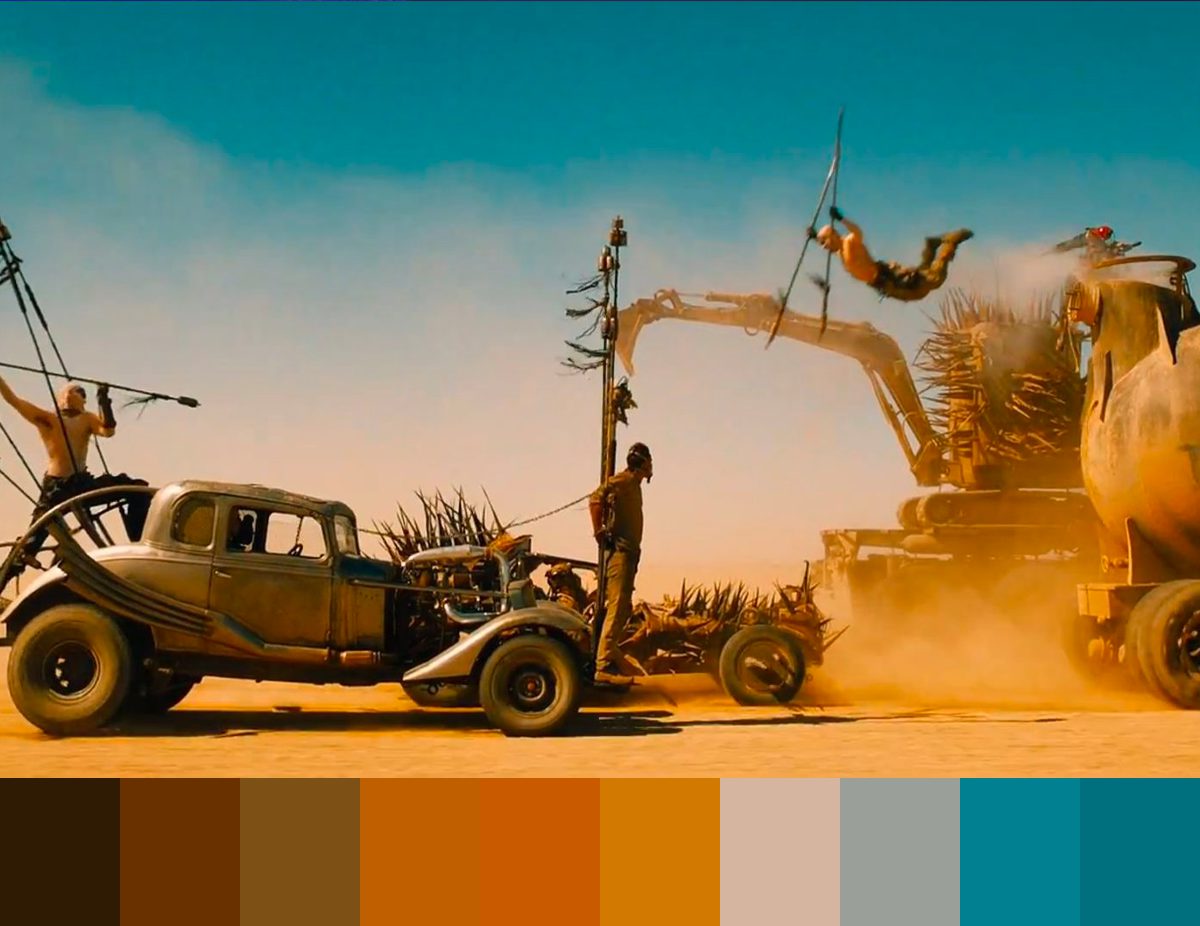
Color grading is often linked to color correction, but they are different. Color grading is more artistic and is used to style a film’s picture color in less natural and more intentional ways.
Every frame can be re-tinted digitally using certain palettes or filters. This can suggest mood, atmosphere, and often a sense of time.
HitFilm helps here with 32-bit color grading features at any resolution.
- Apply custom color across the whole or part of a frame.
- Use color wheels to select the best possible hues.
- Grade footage up to 8K UHD.
- Pick from a library of color grading presets.
Distribution and promotion
With the film ready to go, it’s time for release. Distribution is about how and where the finished product gets screened. The ways in which the audience hears about it is promotion.
Step 16 – Distribution

Finished films are marketed and shown by a film distributor. Separate from the film’s main production team, the distributor releases the film to the public.
Disney, Warner Bros, Sony and Universal are four of the top film distributors in the trade. By working with theatres or even airlines, they set the release dates and run the advertising.
Global film releases may also need extra work. Foreign language subtitles and regional age certification are often handled by the distributor too.
Film distribution is changing, however. The rise of streaming TV platforms like Netflix, Amazon, and Disney+ offer new ways to premiere movies.
Tip: Consider using online services and platforms such as YouTube or Vimeo to distribute your film.
Step 17 – Promotion
Promoting a film is any work done to make people aware of it. This includes the marketing campaigns that are usually devised and run by the film’s distributor.
However, most film promotion starts with a preview or trailer. These are in fact made by specialist agencies rather than the production team to achieve maximum impact. Shown in cinemas, on TV, and online, they play a central role in attracting audiences.
Top techniques for making an effective film trailer:
- Get shorty. Cinema trailers average 1.5-2.5 minutes with TV spots 15-60 seconds.
- Tantalize viewers. Give glimpses of the most exciting scenes without spoiling plot.
- Speak easy. Try using a voice-over or text titles to explain things fast.
Film promotion today leans heavily on social media, like Facebook and Twitter. These still will link back to an official website or YouTube channel hosting the trailer.
Tip: Think about using similar channels to freely spread the word about your own films.
