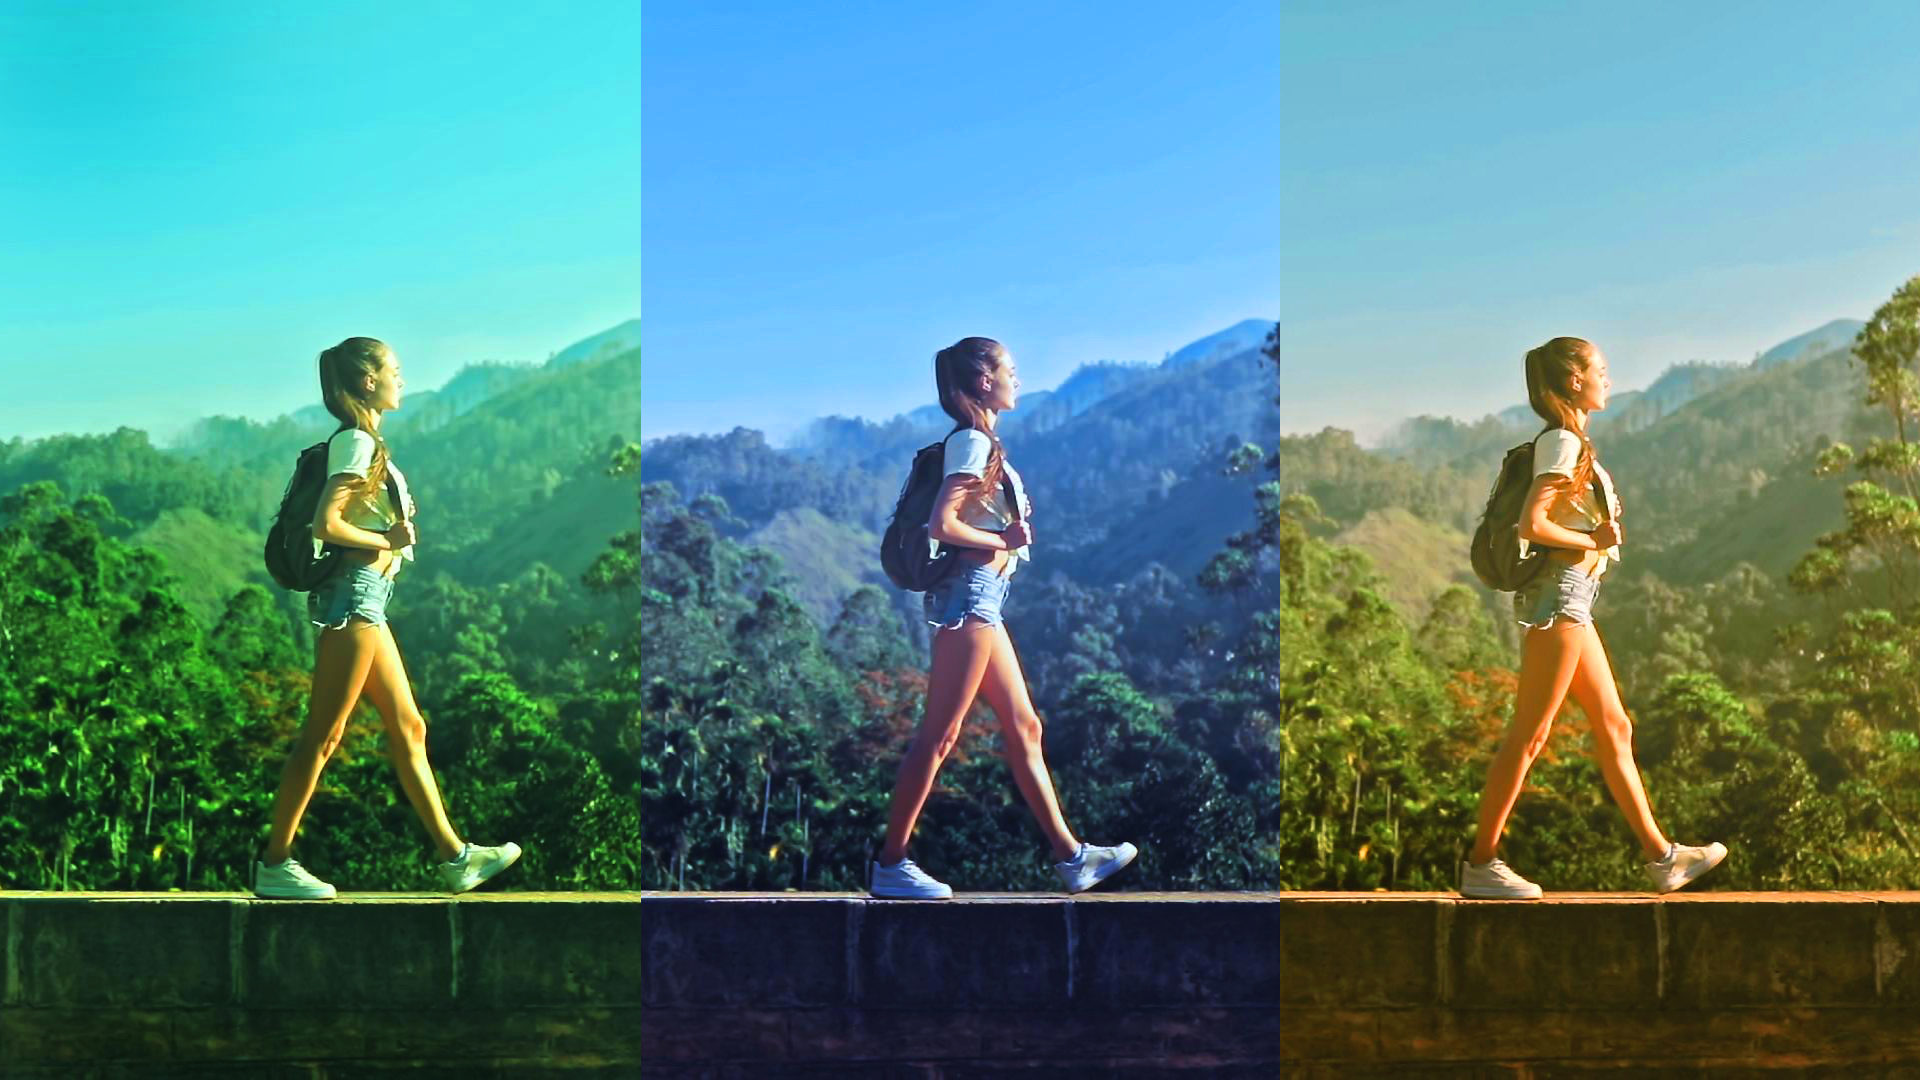
By adding the Color Balance effect to your video, you can easily change the colors in your shot while still maintaining control over which parts are affected.
The effect is split into 3 sections: Shadows, Midtones, and Highlights, which represent the dark, middle, and bright areas of your video. Each of these sections has the same 3 controls: Red, Green, and Blue Balance.
Adjusting the Color Balance of a clip in HitFilm is super easy!
- Go over to the Effects panel and find the Color Balance effect
- Click and drag it onto the clip you want to change
- Use the controls to adjust the part of the Color Balance you’d like to change – whether that’s the shadows, midtones, or highlights.
- Adjust the Red, Green, and Blue balance as needed. Moving the slider to the right will add color to the video, and moving it to the left will take it away.
- Note that the Preserve Luminosity checkmark attempts to maintain the video’s brightness while you adjust the colors, as this will help produce the best-looking footage.
HitFilm’s Learn Panel gives you access to this video and many more, right within the software! Download HitFilm and follow along in real-time to build up your skills.
For more in-depth information, read our post on Color Grading for Beginners.