
Imerge is our advanced image editor with easy-to-use tools for quick results. Whether you’re a video editor designing your YouTube thumbnails, or a wedding photographer making professional image composite for a client, Imerge is the perfect option.
Imerge is available in both our Creator and Pro subscription plans, alongside our video tool HitFilm.
Interface Tour
Let’s take a look at Imerge’s interface, so you can get familiar with the software. It has been developed to be simple but powerful – allowing creators to add effects to layers and work in a non-destructive way.
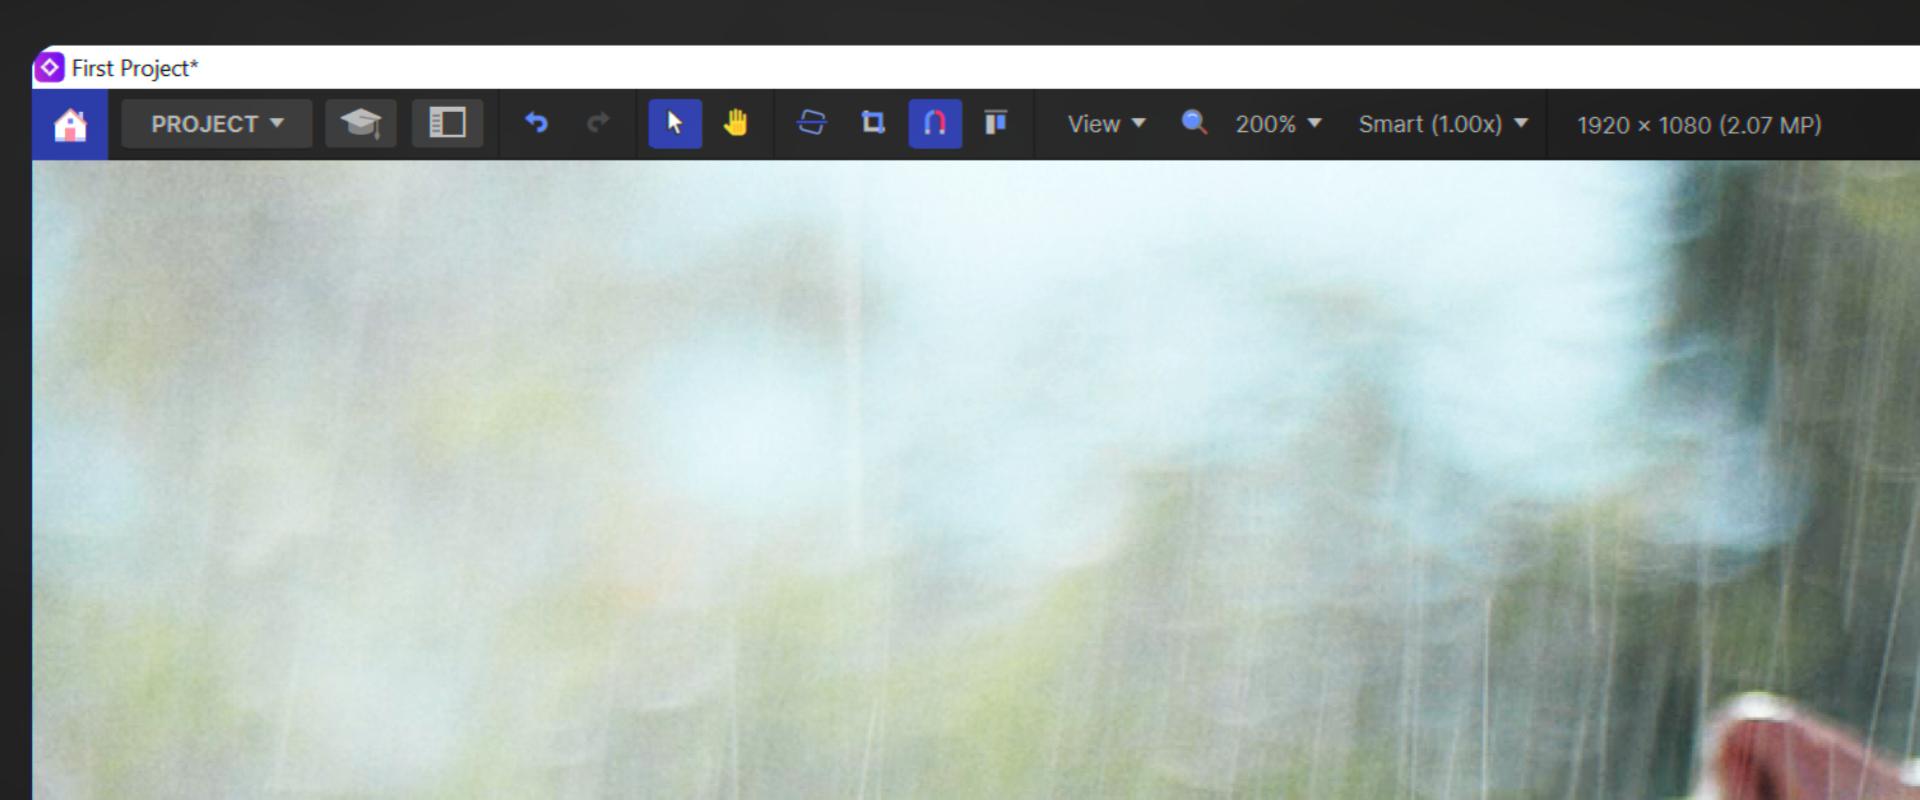
At the top here, you can see the toolbar. In the Project dropdown, you can find common actions you might want to take over the course of your work.

You can also access the Presets tab for adding quick looks to your images, and the Learn tab, for learning more about Imerge.

Front and center we have the Viewer, where your final image will come together. To the right is the layer list, where you can stack various layer types to create a final composite. You can toggle this graphical display (a Histogram) on and off with a dropdown.
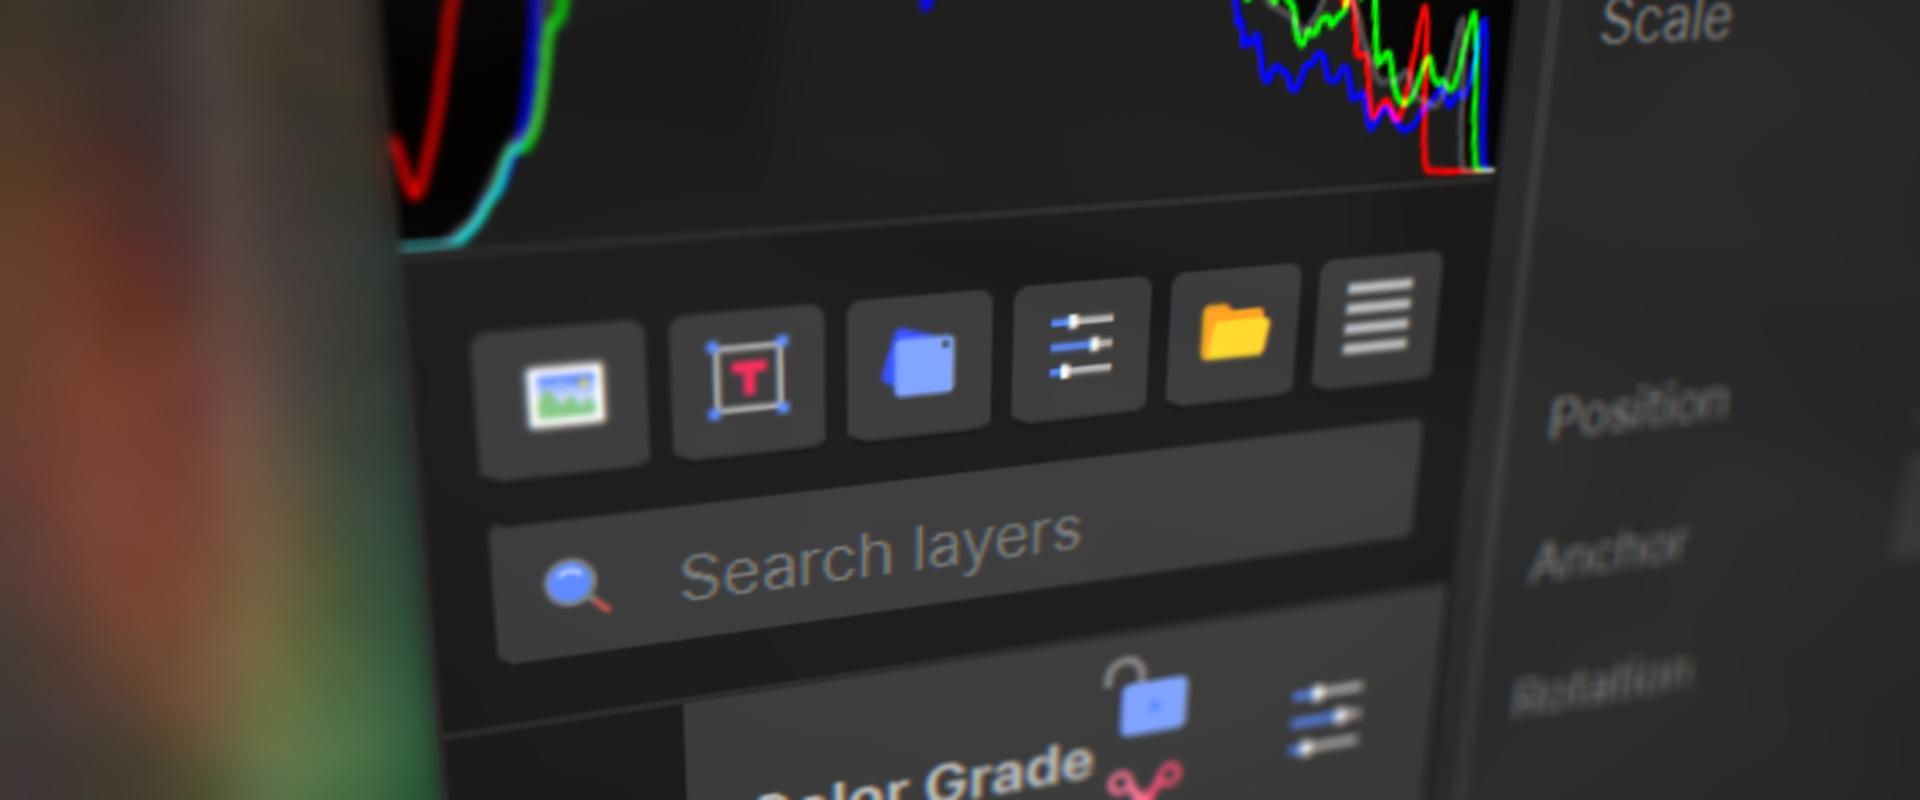
If you want to change the type of layer you are using, you can click on these items. Canvas settings will allow you to edit the fundamental aspects of the settings used by the canvas in your current project.

The Layer Properties dropdown allows you to change things like position, rotation, scale, and Blending Mode of the image.

The Masks section lets you cut shapes out of your layer. There are various types depending on the situation.

The Effects section is where you control the settings for filters that you’ve applied to your layer.

And the Content section allows you to have multiple images to swap between within one layer.
Importing Photos
Import your media into Imerge using the Import icon at the top of the Layer stack. This will allow you to import images or entire photo folders. You can also import imagery and automatically apply effects based on the type of image it is: Chroma, Raw, or Stock images.
Importing multiple images at the same time will prompt Imerge to ask if you want to add all images to a single layer or give each image a layer of its own.
If all images are placed in one layer, you can cycle between the different images in that layer using the Content section.
Apply Effects
Once you’ve imported your media into Imerge, it’s time to add effects.
The Effects panel gives you access to a full range of filters and presets to apply to your images.
You can hover over each image to see a preview of what it will look like against your current canvas image, and if there are certain effects you like, you can favorite them using the star icon for easier access in the future.
Selecting an effect displays its controls in a dropdown menu to the right of the software allowing you to customize the effect to your liking.
Each effect comes with 3 standard buttons in the top-right hand corner of the controls panel, allowing you to apply masks to the effect, select from and array of effect presets, or reset the effect back to its defaults.
How to Export
Now you image has been imported and had effects applied, it’s time to export it.
To export, head to the Project dropdown menu in the top left-hand corner of the software and select Export.
The Export canvas panel give you everything you need to adjust the format, compression, size, or other common settings.
Click the Export to choose a name and where to save your image, and the image will be exported, ready to share with the world.
Imerge’s Learn Panel gives you access to this video and many more, right within the software! Download Imerge and follow along in real-time to build up your skills.