Learning the HitFilm interface, and what it can do to help your creative workflow is an essential step. These guides take you through the fundamentals and show you how to customize your experience.
Top Tip: You can access many educational tutorials within the software itself, including the videos listed in this post, if you would like to follow along in HitFilm.
Home Screen Tour
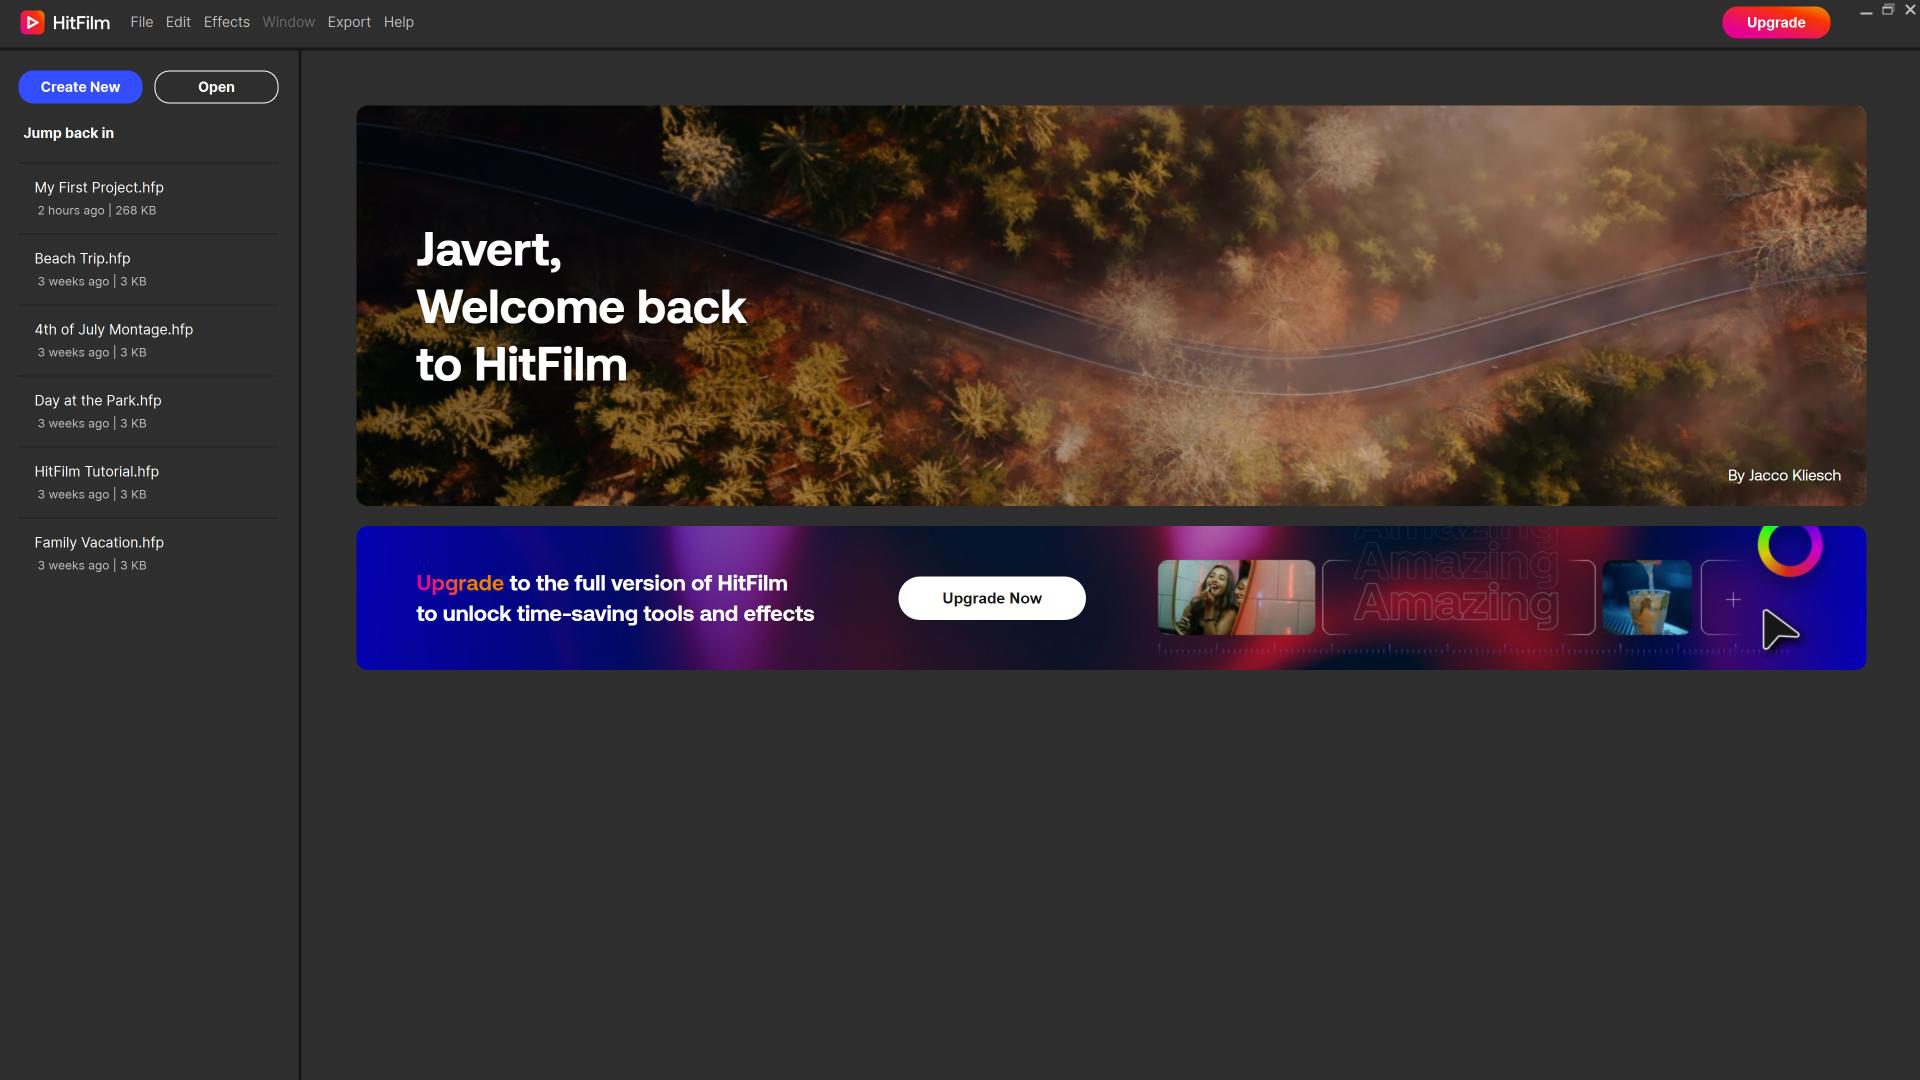
When you open HitFilm, you’re greeted with the Home Screen. This is where you can create a new project or open up a previous project through the file explorer or list of recent projects.
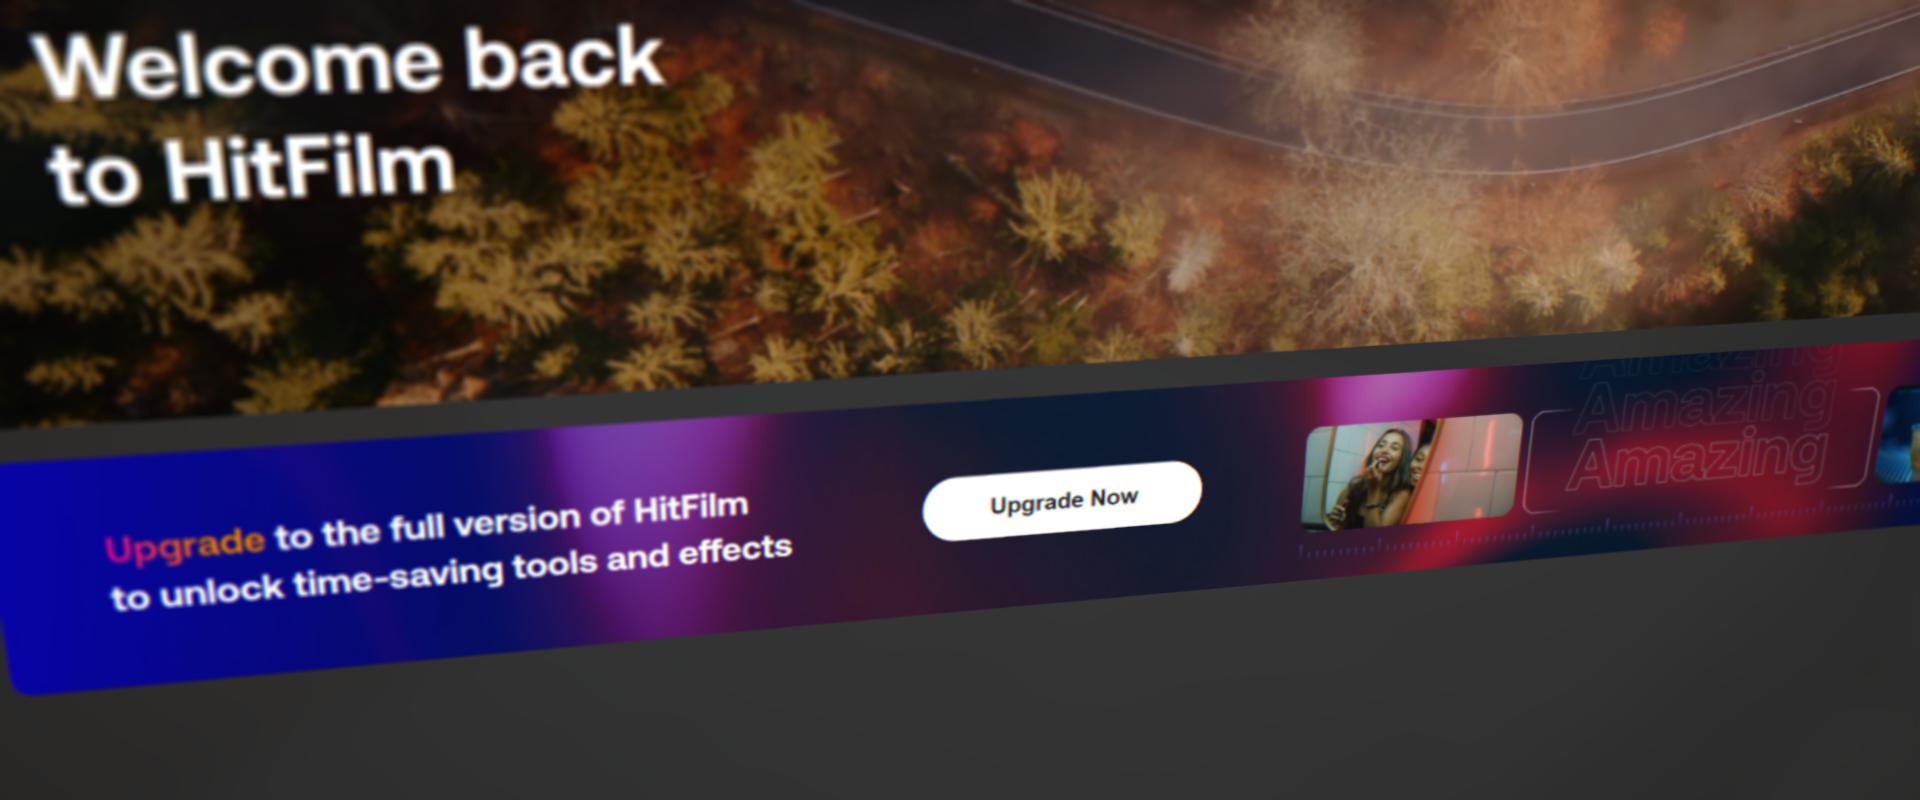
If you’re looking to upgrade your version of HitFilm, the central banner on the Home Screen allows you to do this.
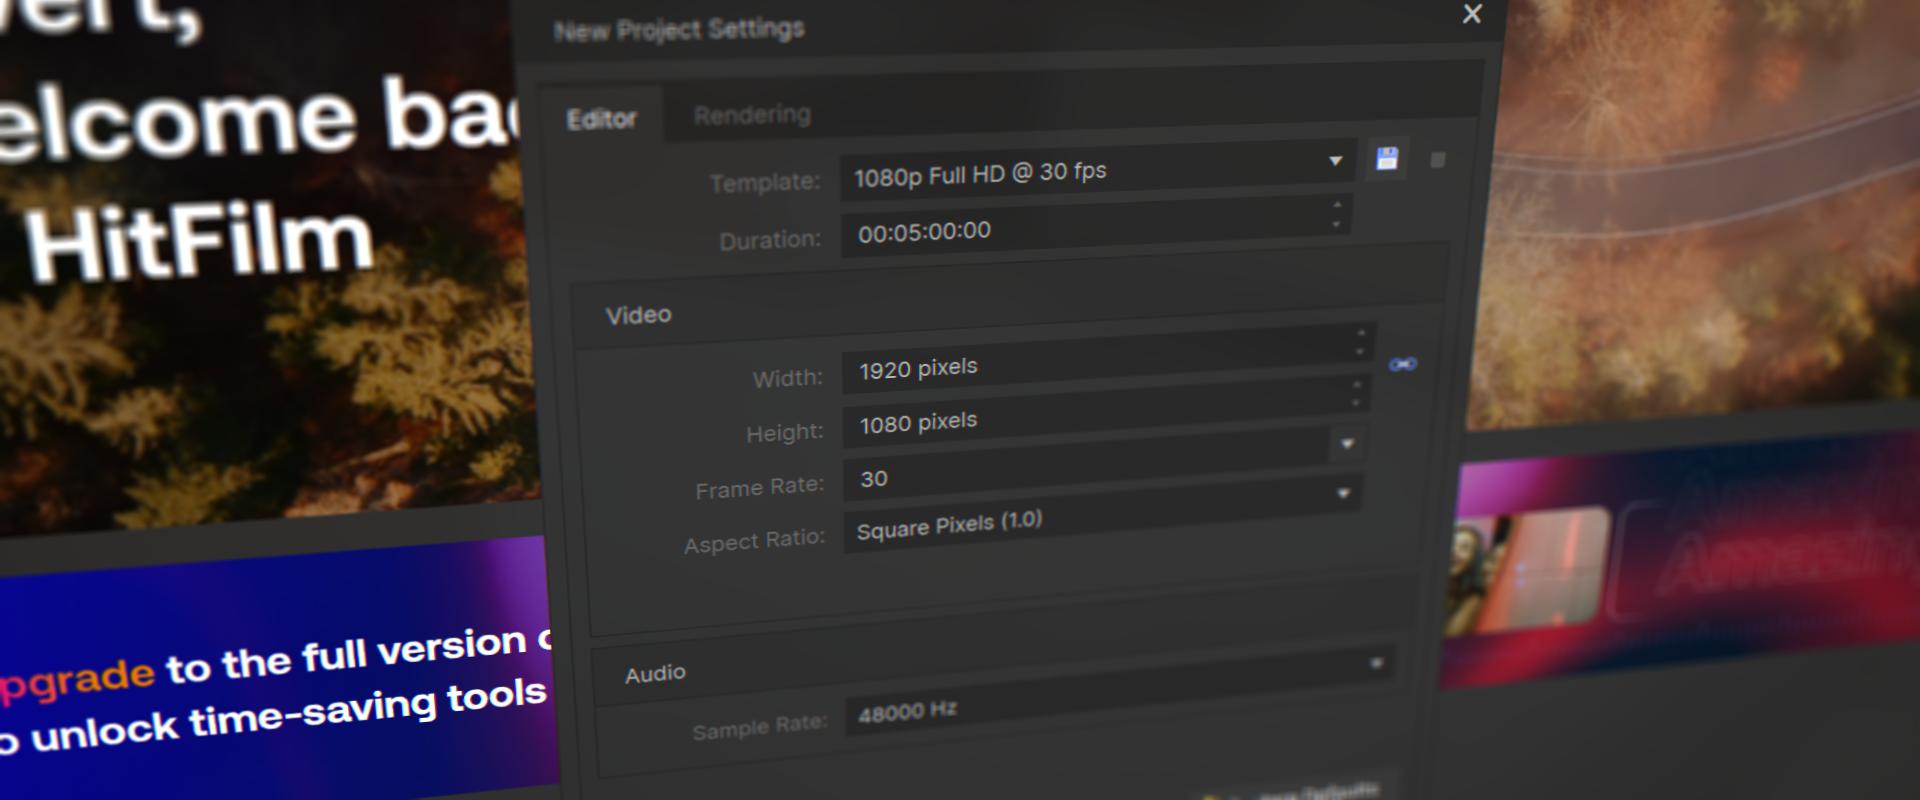
Click ‘Create New’ to get started with your first project. Select from one of the project template presets, or configure the settings to your needs before clicking ‘OK’.
Containers & Panels
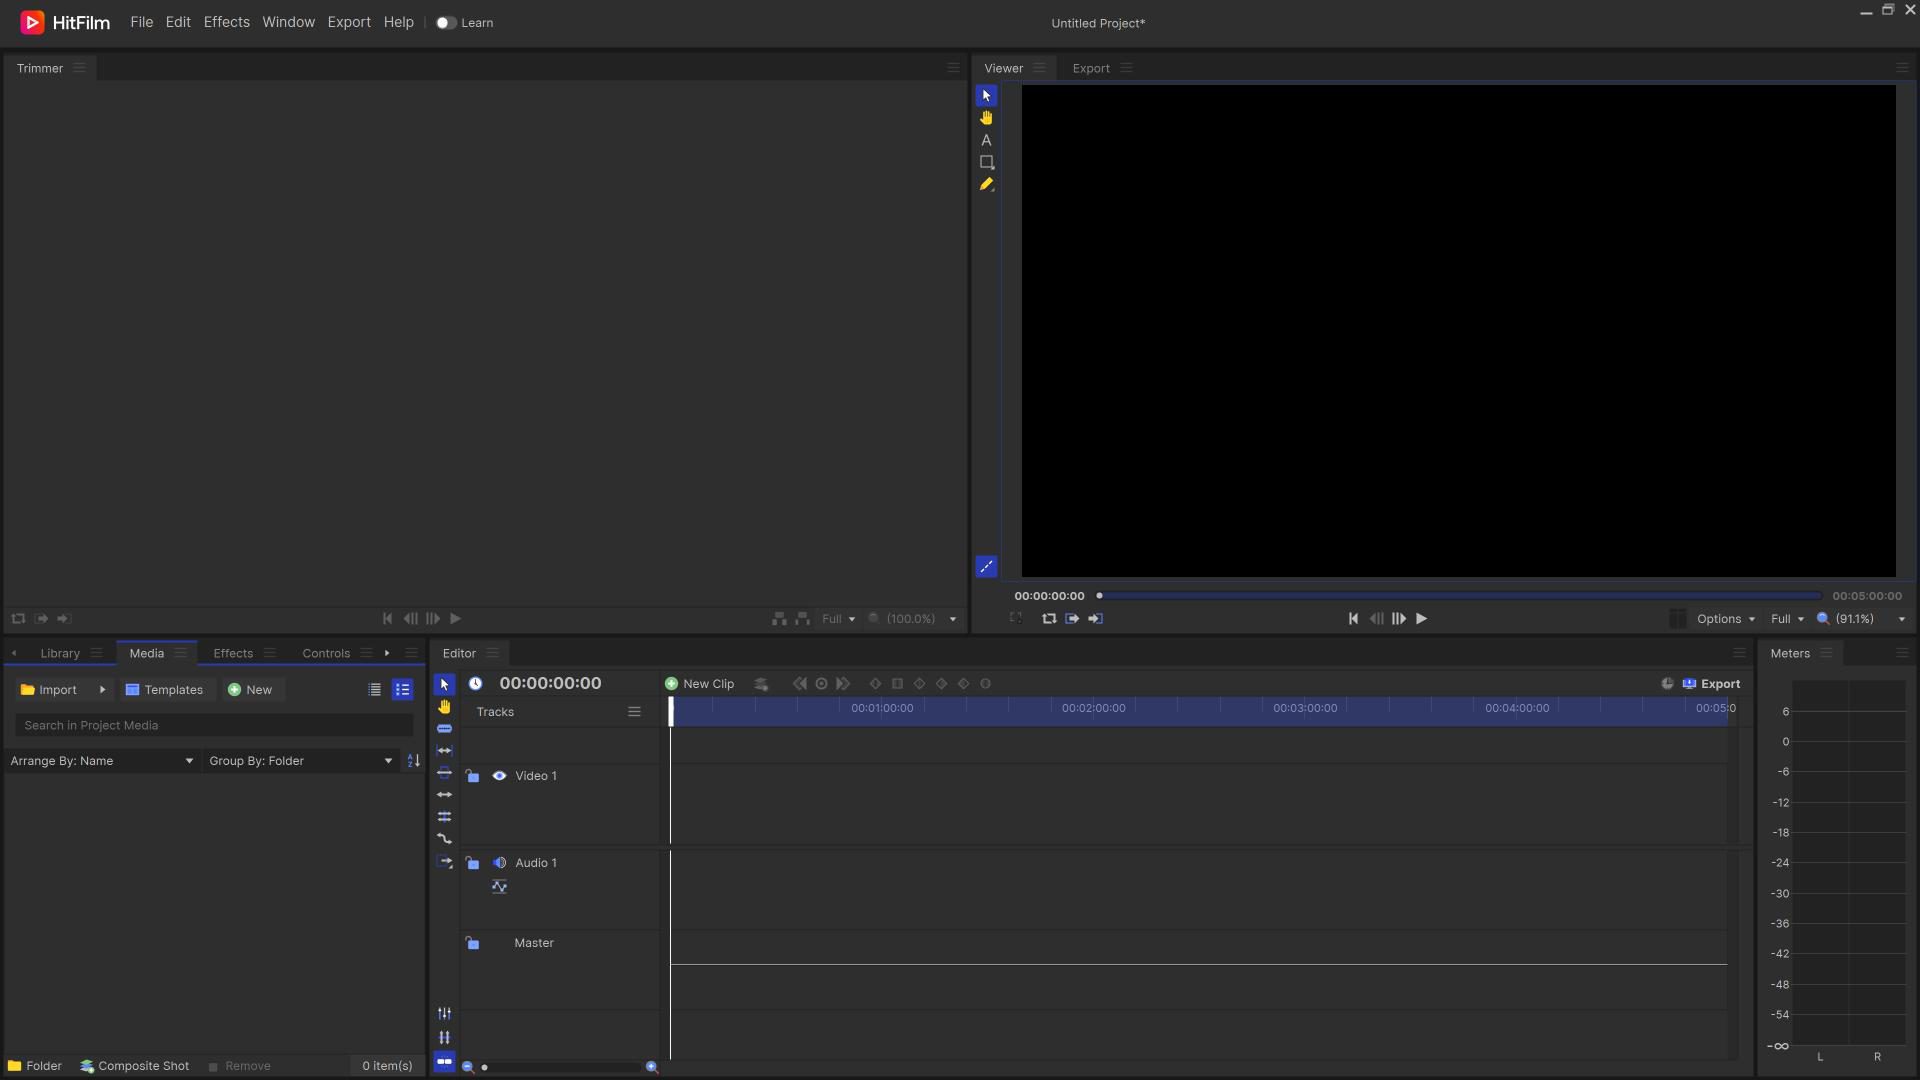
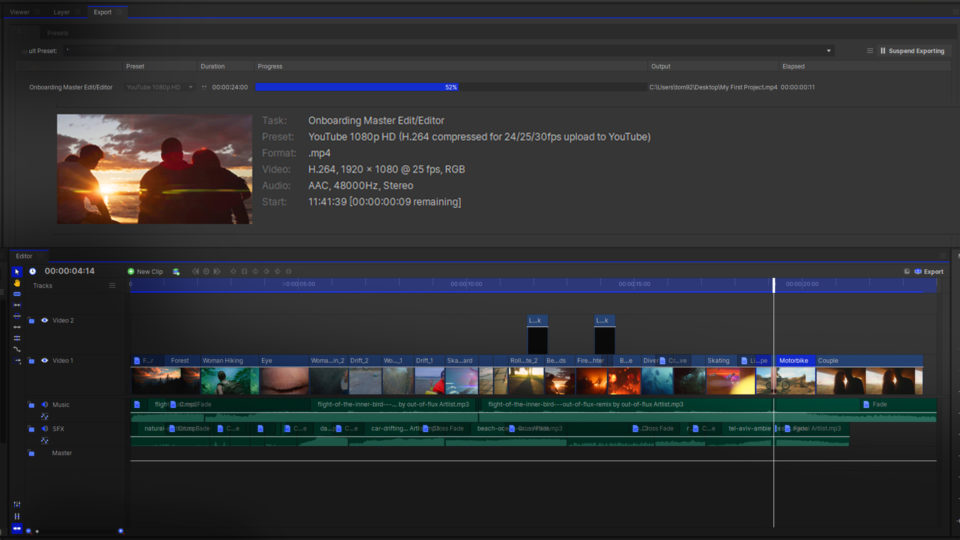
HitFilm’s interface is made up of Containers which, in turn, house Panels. These can be rearranged within the software to fit your individual needs and projects, making a truly custom experience.
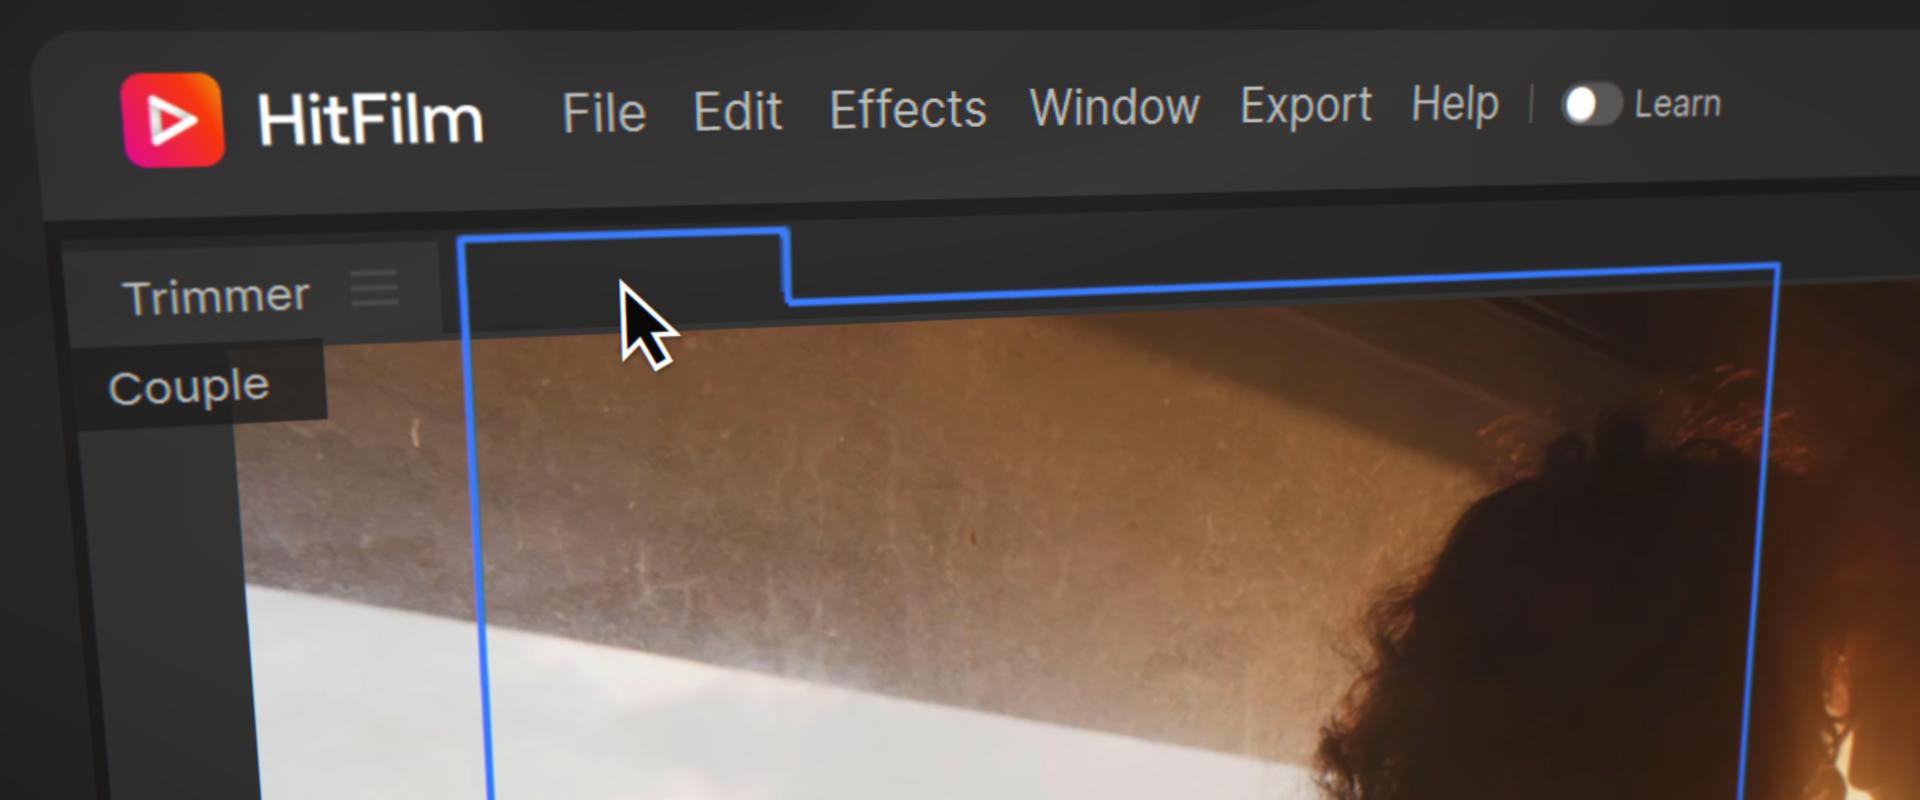
Moving the panels around allows you to customize your experience. You can do this by clicking and dragging near the name of any panel, and moving it to the location you want. HitFilm will intuitively give you options, showing you where each panel can be placed.
Right-clicking a panel name will allow you to float or close it. Floating the panel disconnects it from the main interface, allowing it to be moved without being docked in a container.
If you want to resize a panel or container, this can be done by clicking and dragging along the edge.
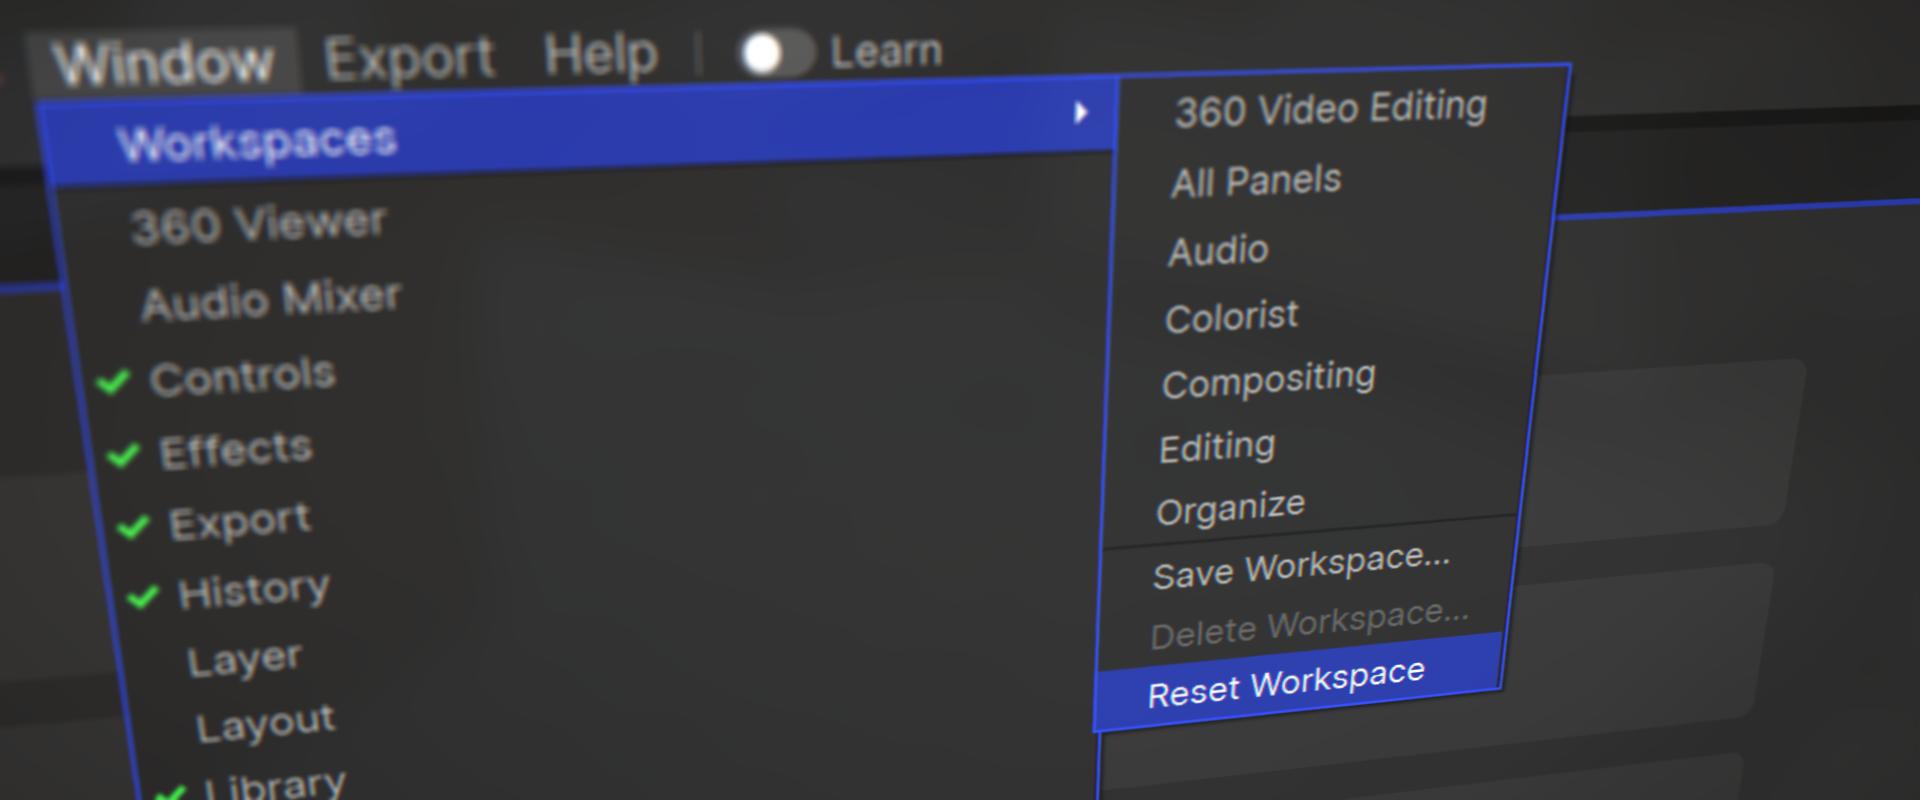
The interface can easily be reverted to its default view by going to Window > Workspaces > Reset Workspace.
Workspaces
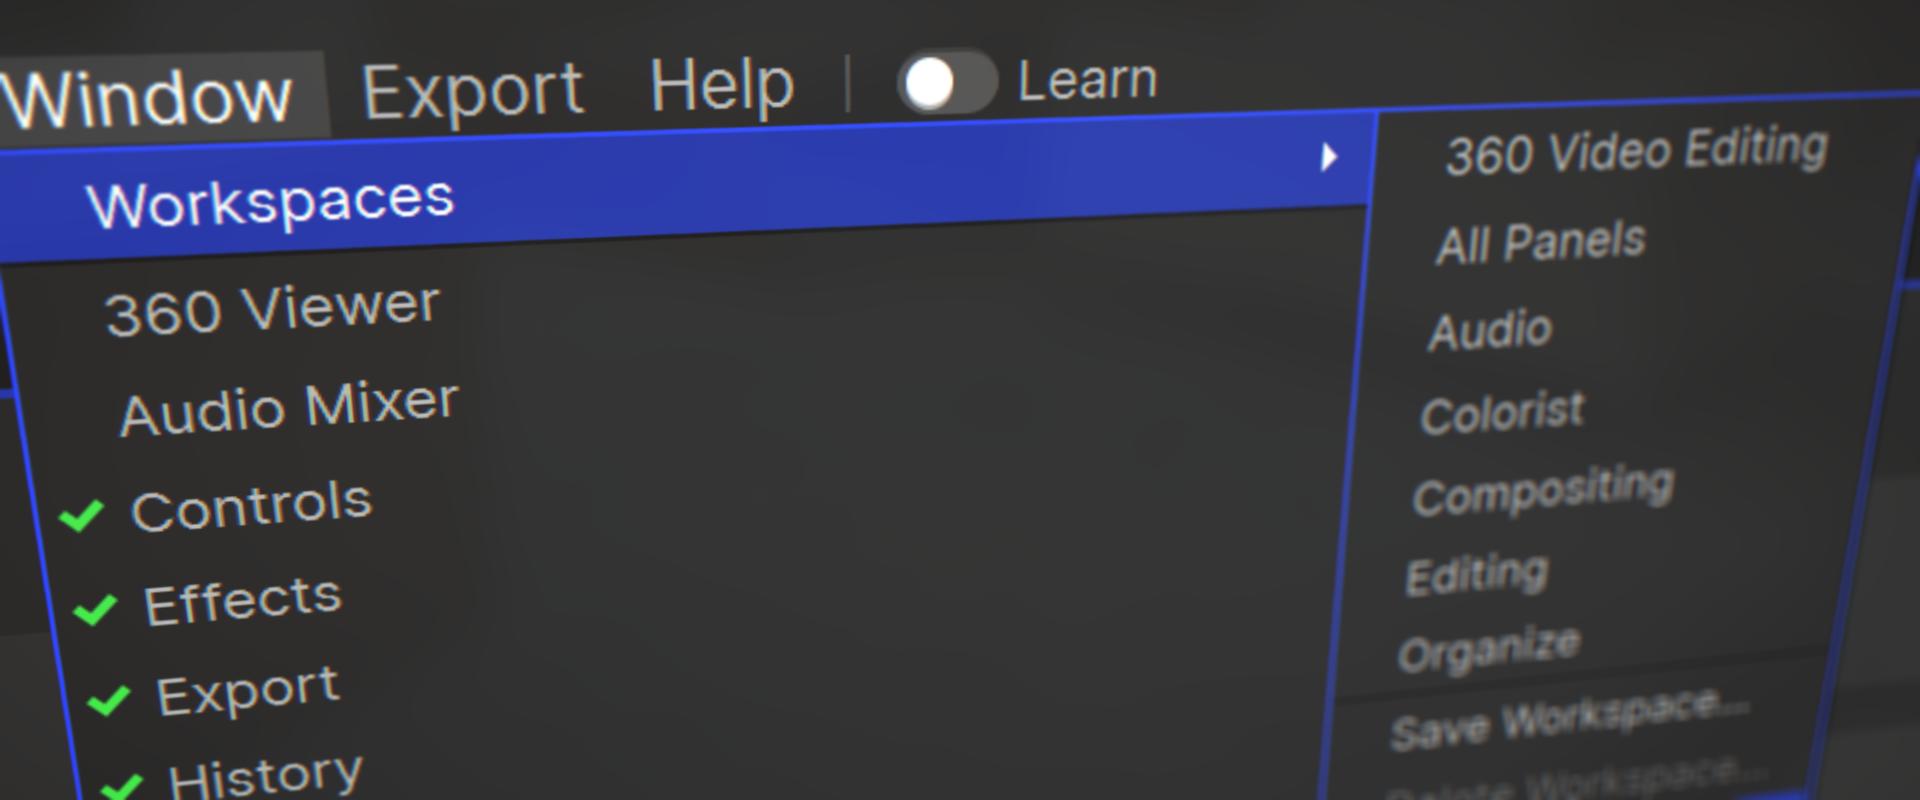
Workspaces are pre-defined layouts of your panels and containers, enabling you to quickly jump between different layouts as needed. You can find pre-defined and commonly used layouts in the Window > Workspaces menu and save your own if preferred.

