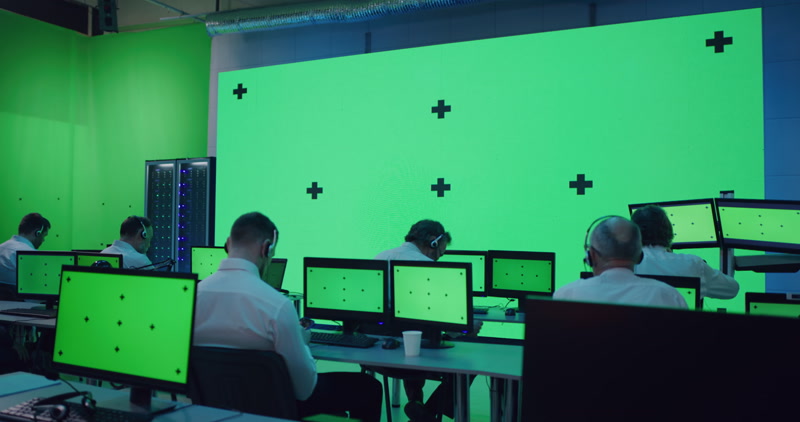
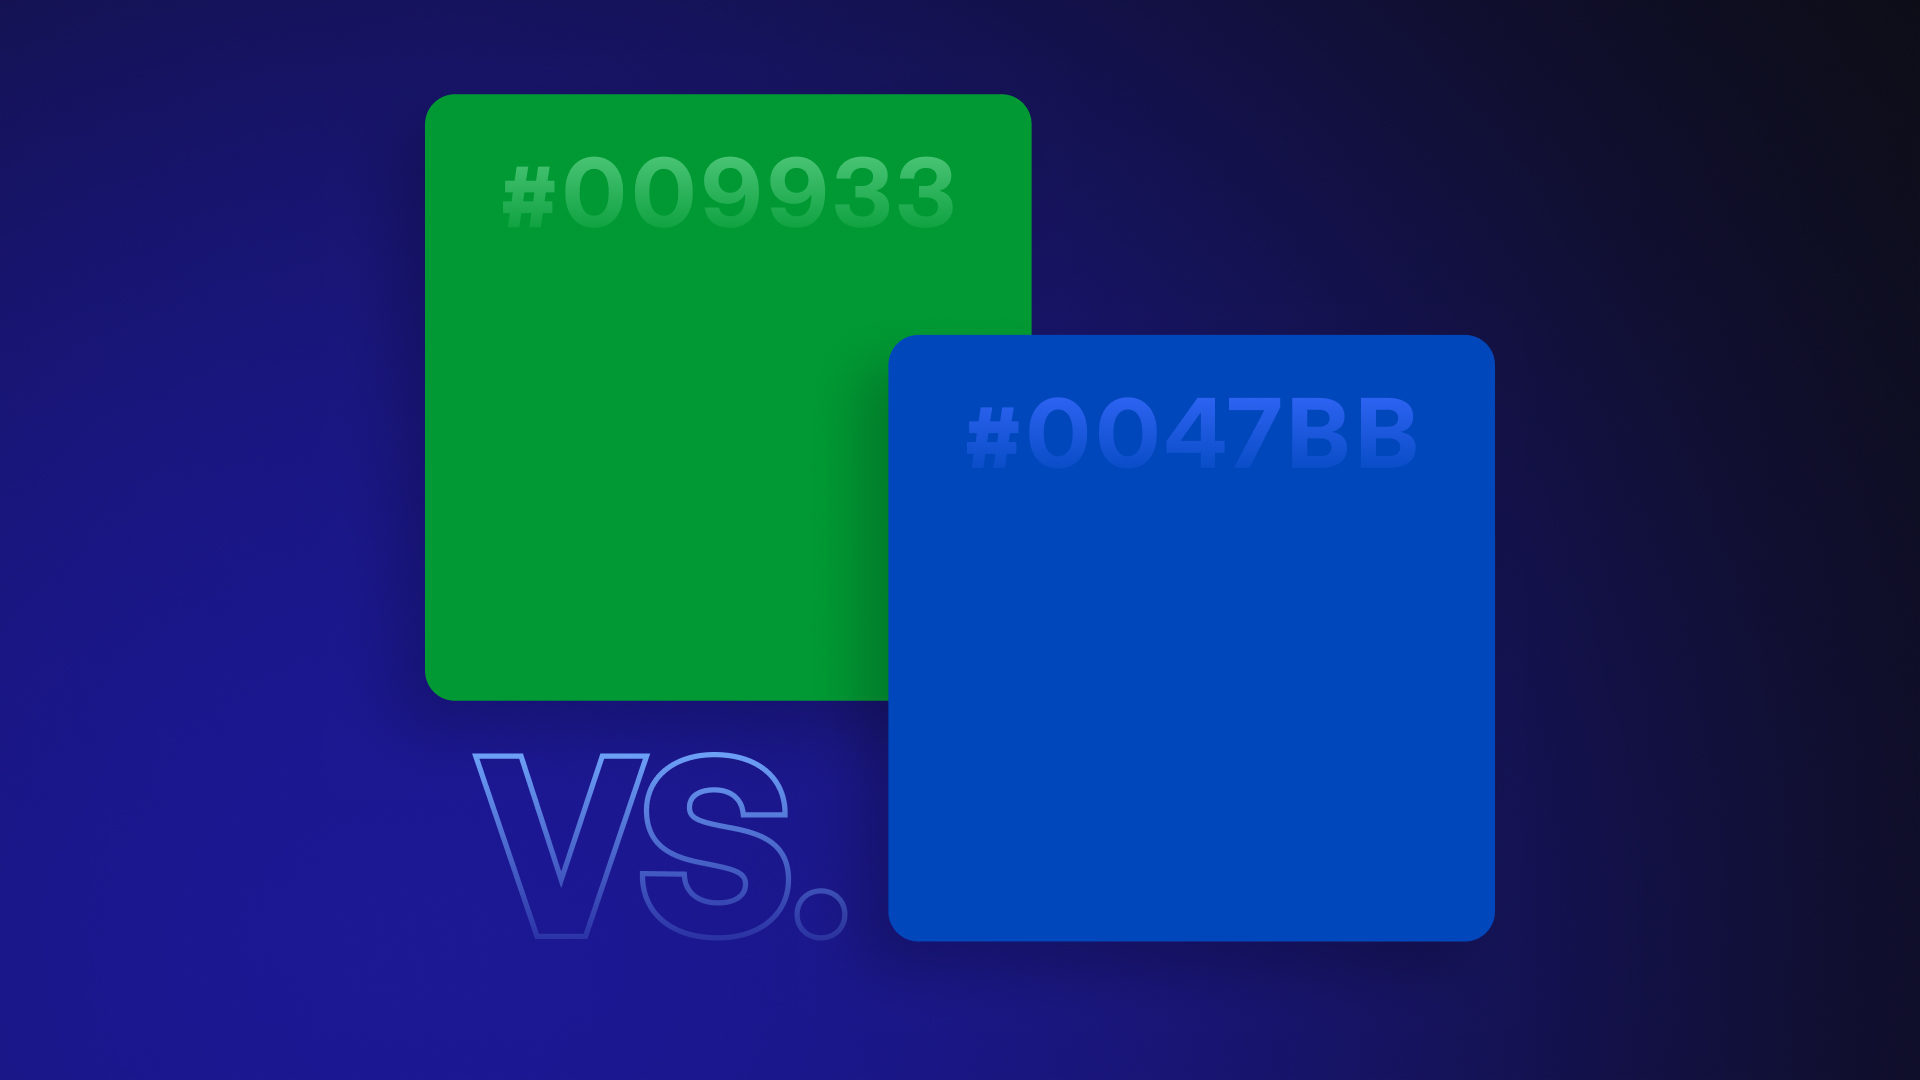
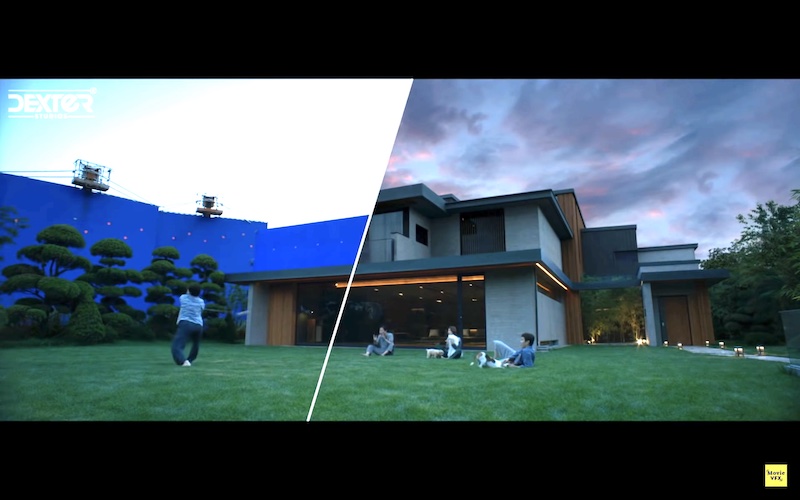
As a video editor, you will be aware of what green screening is. Actors or objects are shot against a solid color so new backgrounds can be dropped into the scene.
Also known as Chroma Key extraction, this post-production editing trick is used from weather bulletins to big-budget Hollywood movies.
But thanks to green screen software like HitFilm we can all perform this effect at home. By first shooting our video against a blue or green screen, the tools do the rest.
So the “key” question is – what’s the difference between blue and green screen?
The difference between blue and green screen
In practical terms, there are two important differences we’ll explain here:
- Blue is 33% (1/3rd) less reflective as a color than green. Green has a brighter natural luminance over blue. This makes it more reflective and prone to color spill.
- Green contrasts most with the red of human skin tone. Green opposes red on the color wheel. This is useful to get maximum contrast with the reddish, pink complexions of actors.
TIP: Shooting blue screen instead of green screen requires a higher f-stop setting (aperture size) on your camera.
What difference does “luminance” make?
Luminance refers to brightness and the perception of how bright a color is. So in terms of a colored reflective surface, luminance matters.
Blue or green screens work best when the brightness of this color is solid, flat and consistent.
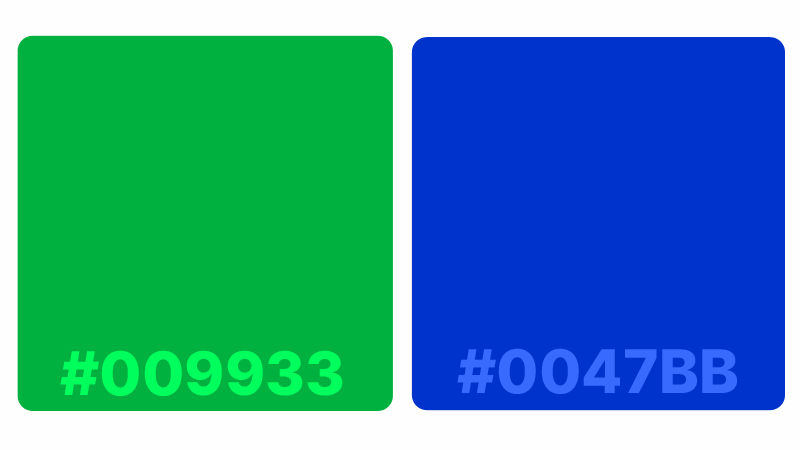
Often on-set screens appear more “neon” bright in hue. This can help to contrast more sharply with any more neutral blues and greens in the foreground shot.
Remember too that screen luminance is made significantly brighter by lighting.
Selecting green screen or blue screen for your project
Picking green, blue, or even red for a screen is ultimately about contrast. You want the color that is unique enough behind your shot to cleanly “Key” it out.
Choosing between green and blue screen can depend on certain filming situations:
| Use green screen | Use blue screen |
|---|---|
| Strong definition needed between actor flesh or red costumes. | Foreground (actors, set, props etc) contains heavy use of green colors. |
| Lighting is limited so more reflective luminance is wanted on set. | Filming for dark, nighttime backdrop with reduced luminosity and light “spill” needed. |
| Shooting with digital video cameras rather than on film stock. | Color correction process needs to be made easier and more accurate. |
Think about the shot in terms of color and lighting. Consider the foreground scene you will keep and how it should look inside the new background environment.
Maybe your film will use both green and blue screens for different scenes?
Besides color, what type of screen should I use?
The material your screen is made of is also an important consideration.
A painted flat, smooth wall or hard screen structure is expensive but works best. Use a matte finish rather than gloss to reduce reflection.
Homemade green screen solutions can be cheap and effective too. Fabric like curtains, sheets or drapes are useful but also rolls of paper or card.
Avoid heavily textured or shiny material, free of wrinkles or creases preferably!
Processing green and blue backdrops in HitFilm
HitFilm offers industry-leading keying and extraction options for any screen backdrop.
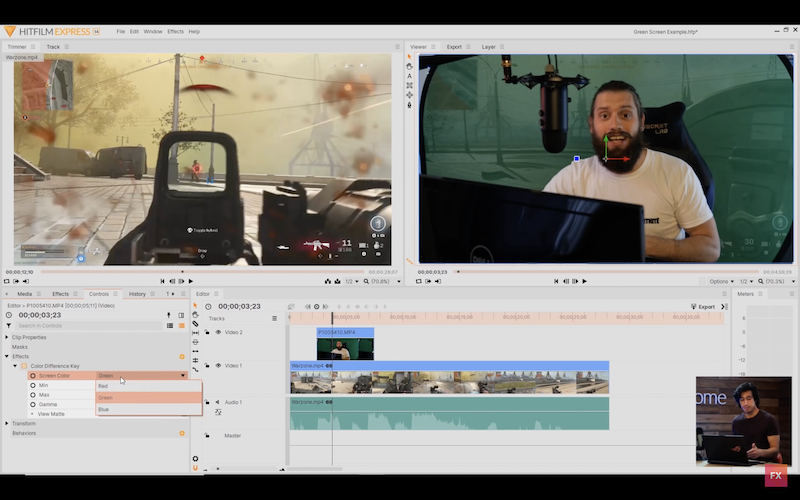
Its Color Difference Key simplifies removal of green, blue or red screens. Controls for adjusting tone and gamma make basic matte extractions extremely easy.
The more advanced Chroma Key lets you use an eyedropper tool to pick and “key out” any color. Add more effects for control over better edges, color and lighting.
- Adaptive Color. Adjusts to improve the keying of uneven green screens.
- Vectorscope. Helps to find and re-balance skin tones that have lost color or saturation during keying.
- Matte cleaner. Applies smoothing, feathering and choking effects to the edges of the key. This softens the join for a better look between composites.
Color correction. Set the Strength, Hue, Saturation and Lightness for foreground, edge and background.
Fixing lighting spill between screen and subject
HitFilm has spill suppression and removal to make keying look more believable.
This feature fixes light fringing left visible on the foreground layer. Colored light tends to reflect and “spill” from the background screen, looking unnatural when extracted.
HitFilm counteracts this by replacing old light spills with simulated reflections from the new background. Light wrapping around the edges of the foreground layer then adds more realism.
TIP: Shoot actors and objects as far forwards from the screen as possible to reduce spill.
Final tips for green or blue screen filming
Regardless of the color, there are some general rules for shooting your backdrop.
Checklist for best blue or green screen performance:
- Clean the screen
Make sure your blue or green screen is flat and clean so the color isn’t affected by wrinkles, creases, stains or marks.
- Clear the stage
Keep the scene free of clutter so the screen isn’t obstructed by objects not wanted in shot.
- Light the subject
Light the foreground first with an eye on matching the lighting levels and behavior of the target background environment.
- Light the screen
Use a minimum of 2 lights (omnidirectional) to get a diffused soft, consistently even brightness across the surface.
So what’s better, green screen or blue screen?
In conclusion, neither is “better” than the other with each having their place.
On balance it could be argued that a green screen is most versatile. It is most widely used for all the advantages it brings for every type of filmmaking.
However you should choose the color that works best for the shot. With a good setup, the right lighting and some post-production magic, the possibilities are endless!
For more advice on how to edit videos with HitFilm, be sure to follow the FXhome YouTube channel.
TIP: Use screen colors wherever VFX will be placed in the foreground too.
