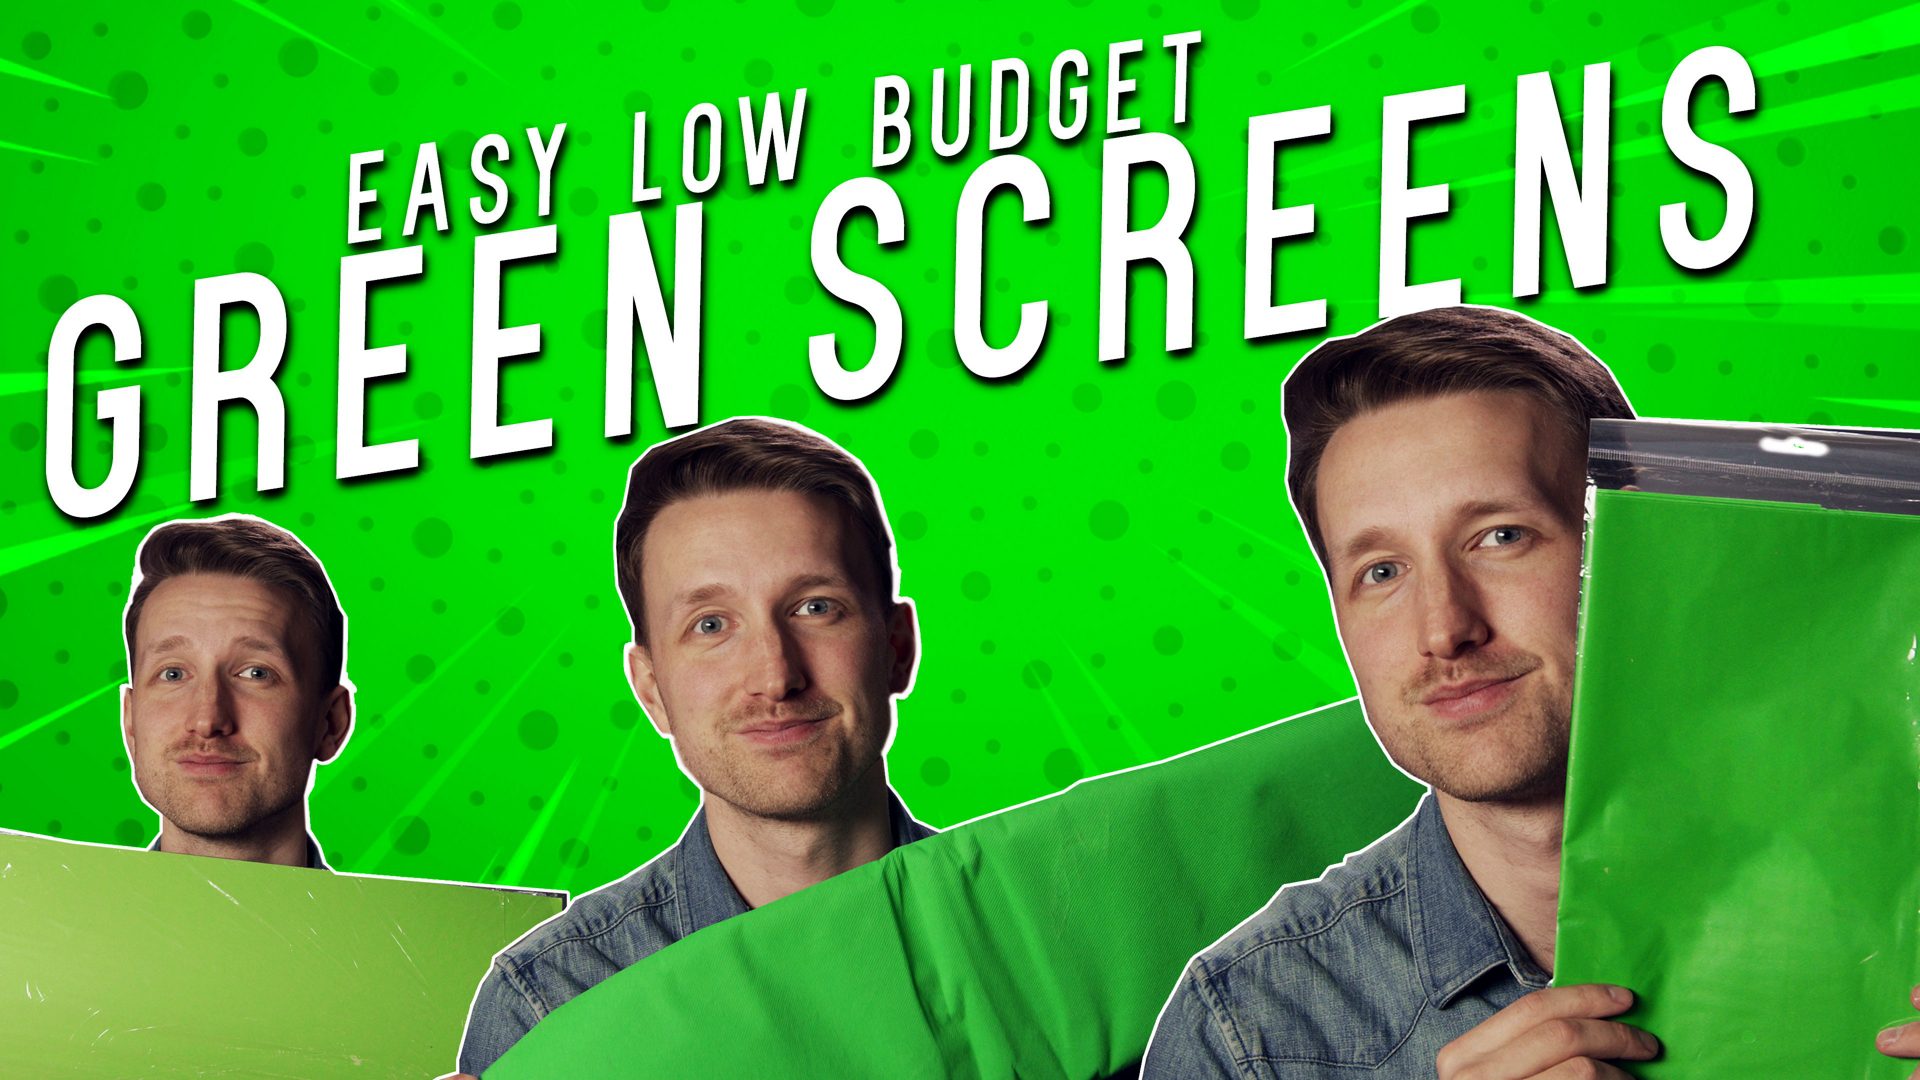
Green screens are an excellent asset for filmmakers that can help heighten the production value of your content. On the market, the value of a green screen can be upwards of $100, which can be a difficult purchase to make when you’re on a tight budget. But don’t fret; we’re here to show you how to make a green screen at home, on a budget. We tested some of the most affordable alternatives that are $20 or less to see which gives the best chroma key on the lowest budget.
What is green screen?
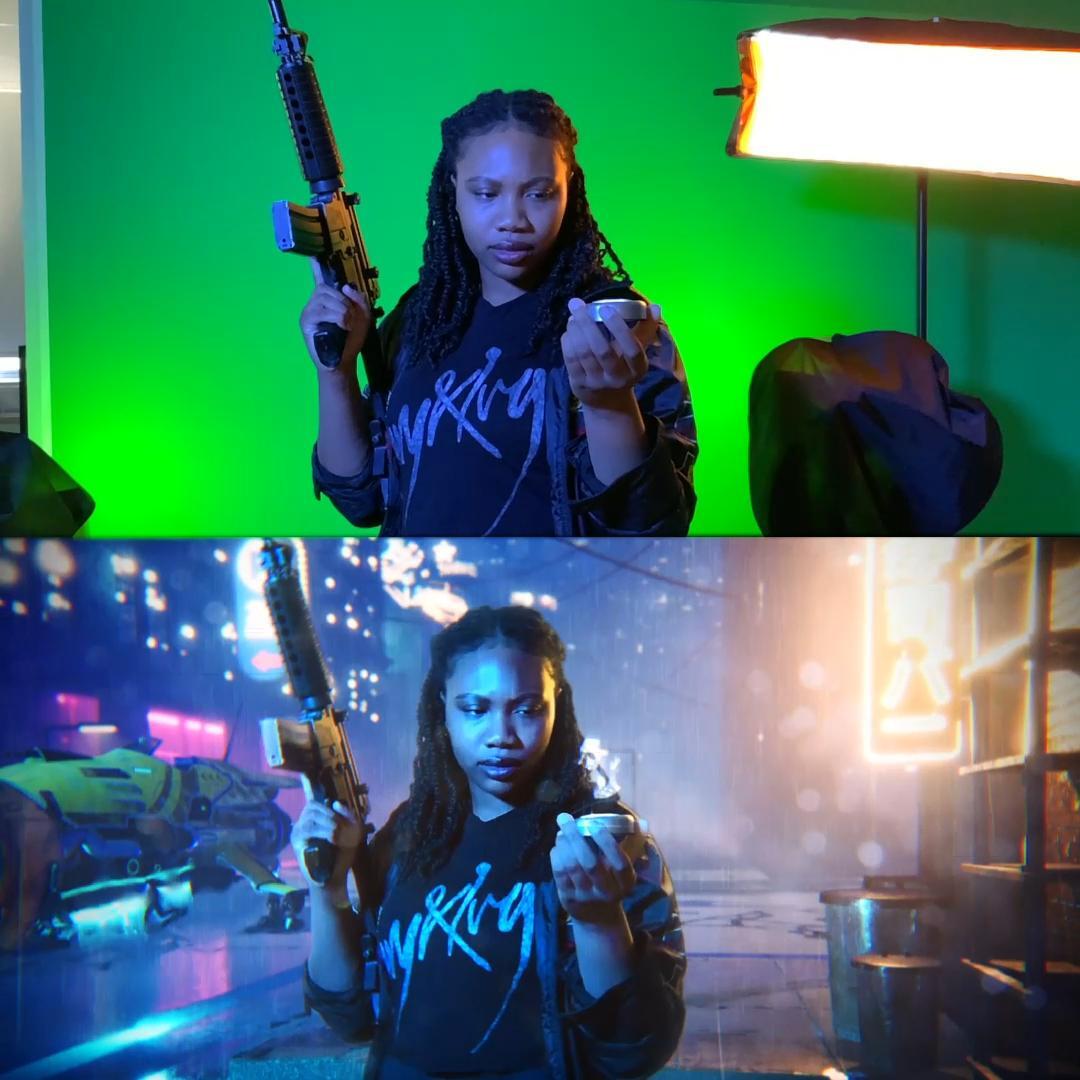
Green screen or ‘chroma key’ is a post-production technique whereby you pick a particular color (chroma) to ‘key’ out of an image. Green screening is commonly used by VFX studios and broadcasters to superimpose people onto an alternative background in real-time.
A green screen is a colored background that a subject is filmed or photographed in front of. This background is later removed via the process of chroma keying. We use a green background as it does not match natural skin tones or hair colors. This makes it easy to remove without affecting the foreground. Blue screens serve the same purpose as green screens but are better suited for lower light backgrounds.
Green screen alternative: Green Craft Paper
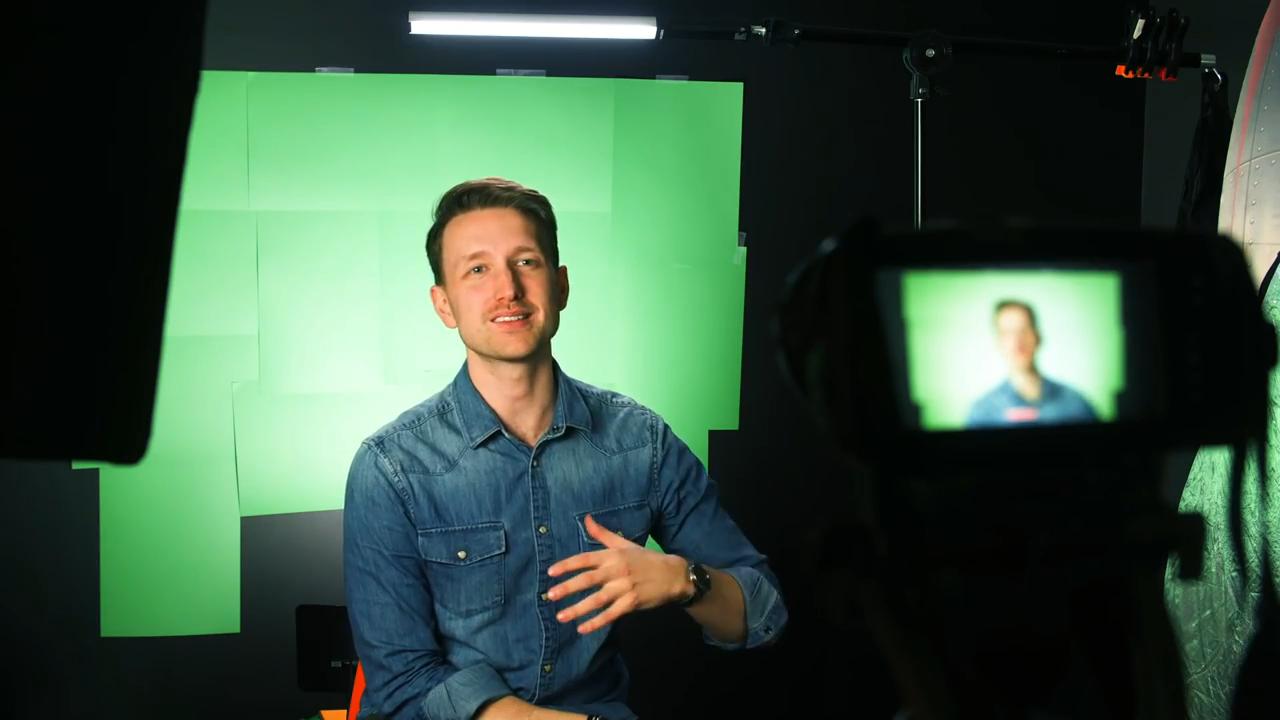
We sourced 50 sheets of A3-sized craft paper; this can cost between $6-10 depending on where you go.
Pros:
- Versatile – you can easily fit the sheets in a bag to transport around
- Adaptable – you can amend the shape of your craft paper green screen to match your specific needs
- Cheap
Cons:
- Not weatherproof – liquids can easily stain and damage the paper, wind can make the pages blow away
- Lack longevity – the pages can easily fall down at any time; thus overall, it requires more maintenance
- It’s time-consuming to set up, especially when creating a larger green screen
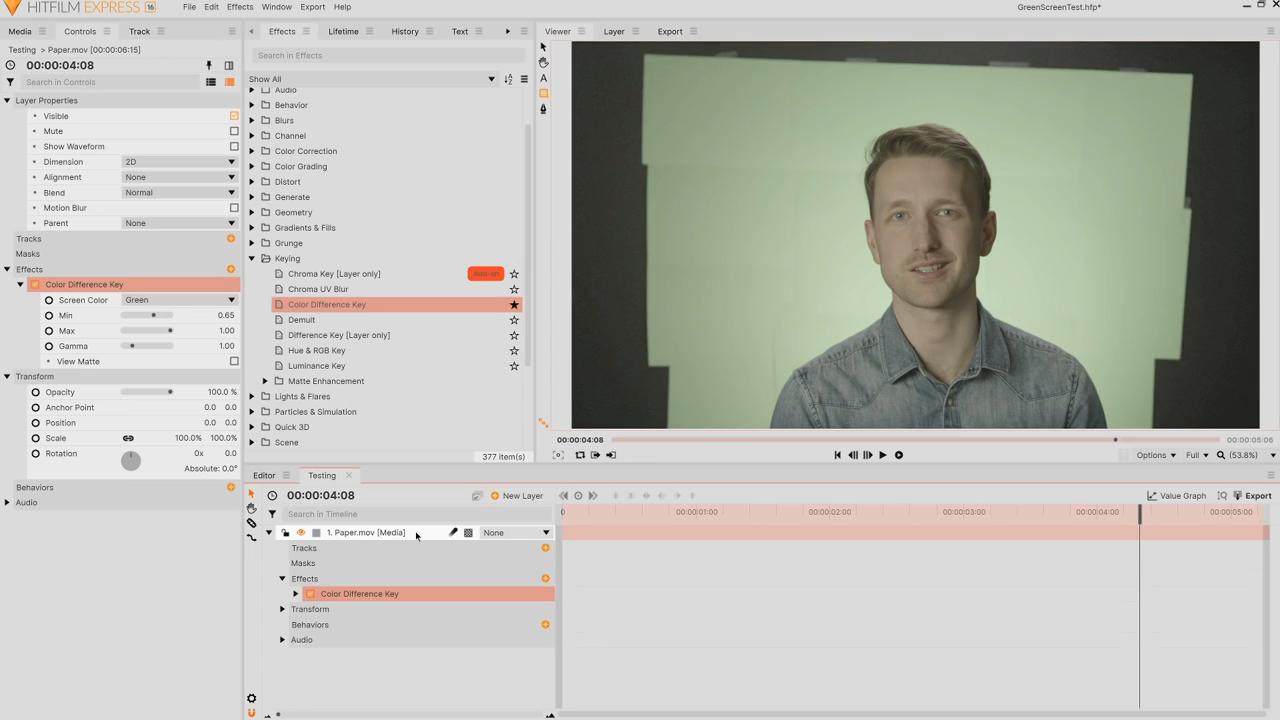
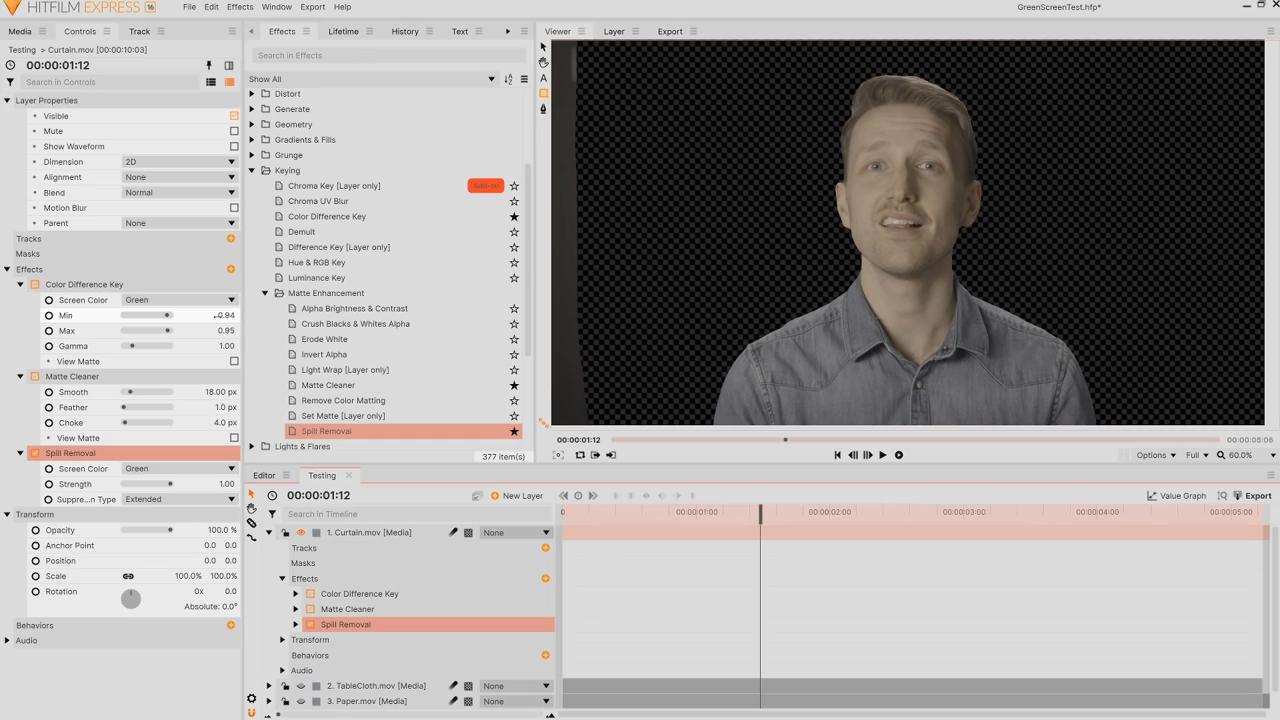
After taking our footage into HitFilm Express, we applied the Color Difference Key effect to the footage layer.
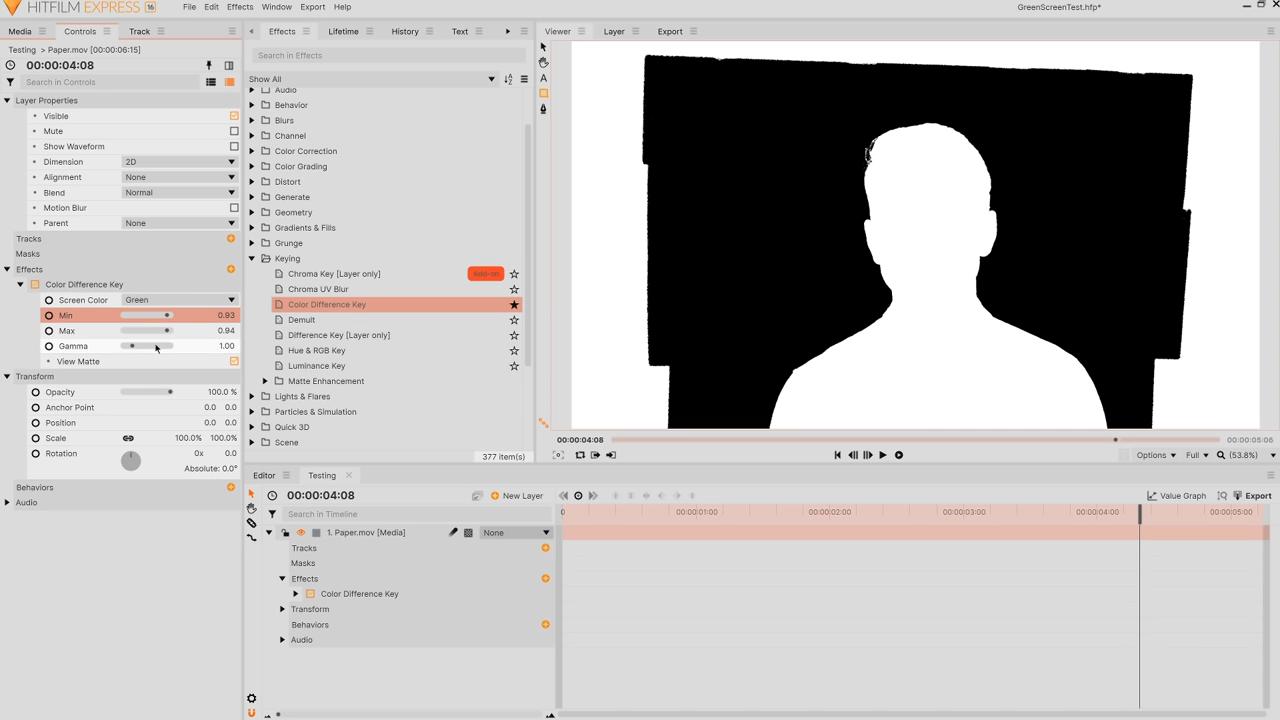
Enabling View Matte under the effect’s settings allows us to view what is happening whereby the black areas are the sections that are removed. Then, we adjusted the Min and Max values to achieve the desired look. We then applied a Matte Cleaner effect to reduce the appearance of noise along the hair border, increasing the effect’s Smooth and Choke values. Finally, the Spill Removal effect was used to remove the accidentally subtracted areas from the subject. Under Options in the Viewer, selecting checkboard background allows us to see the areas that have been removed.
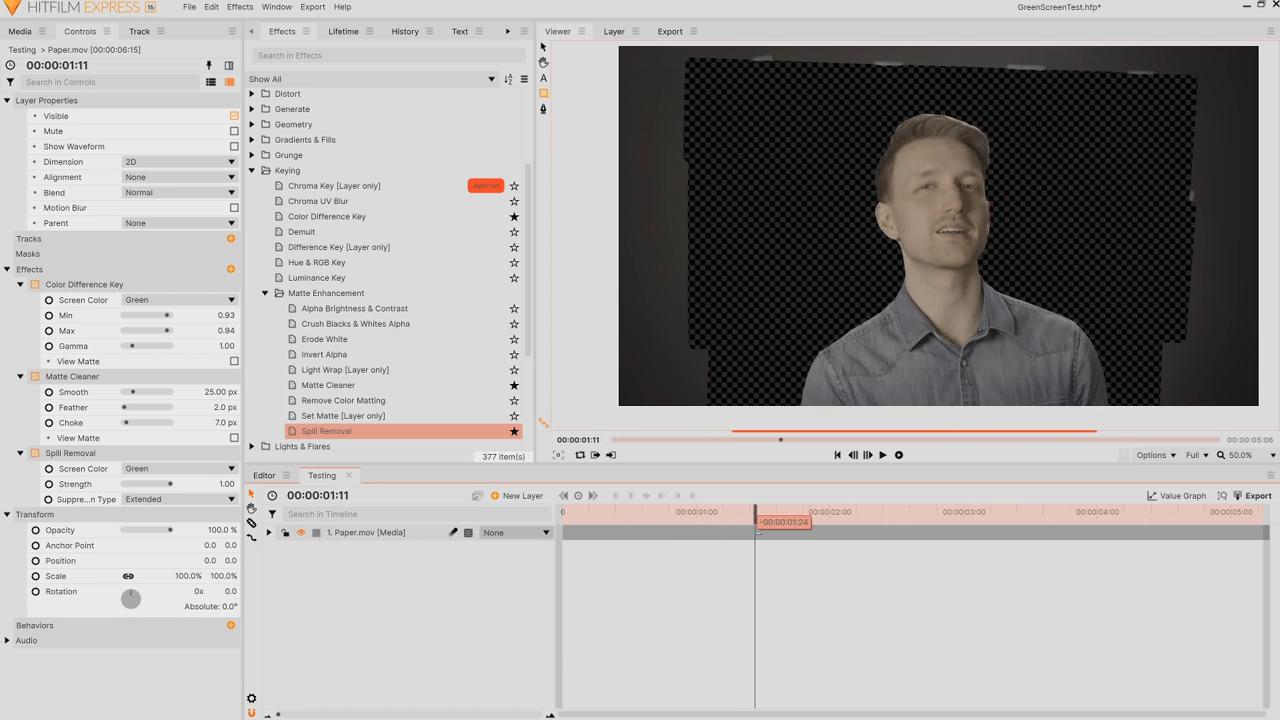
Overall, the craft paper gave some relatively good results, although there was some noise along the hair and frame edges.
Green screen alternative: Disposable “Party” Table Cloth
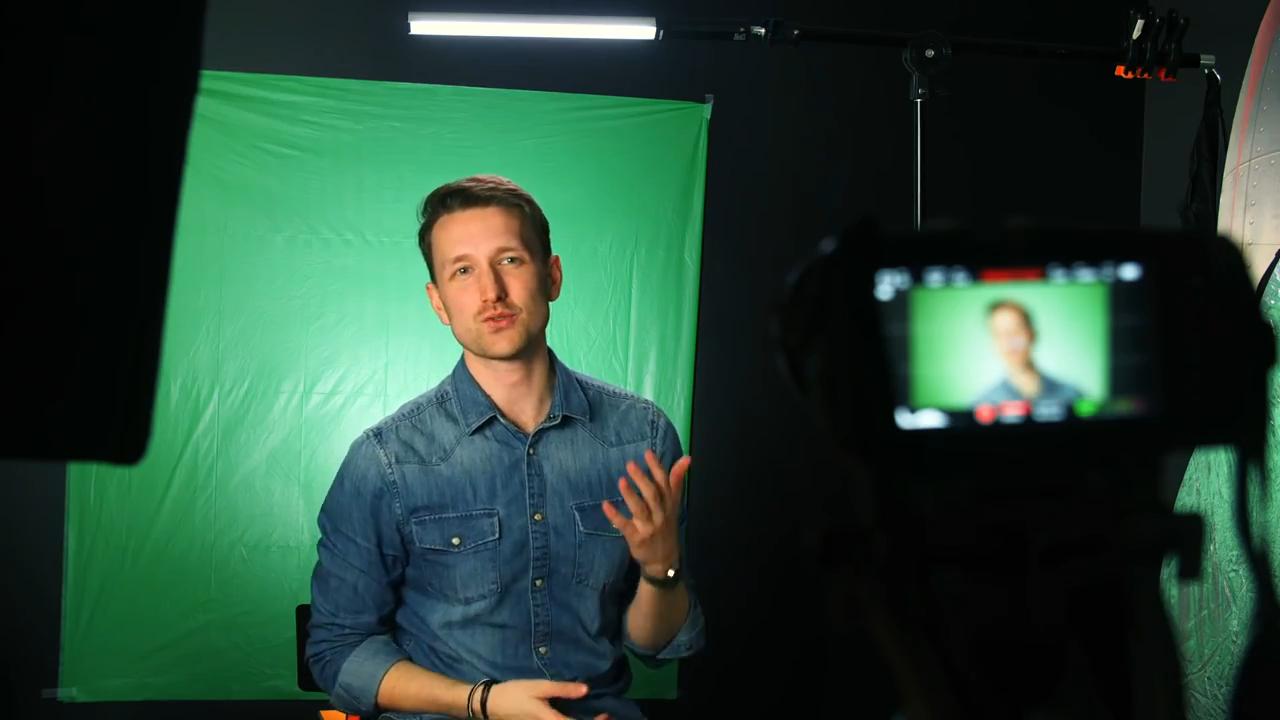
We bought a plastic table covering for $2. You can easily purchase one below $10 depending on the product’s size
Pros:
- Versatile – you can easily fit the cloth in a bag to transport around
- Waterproof – Liquid spills will not cause any issues
- Quick and easy to set up
- Cheap
Cons:
- It could appear overly reflective
- You may need to double up the layers if it seems to be excessively translucent
- When trying to remove wrinkles, the cloth may tear when pulled taut
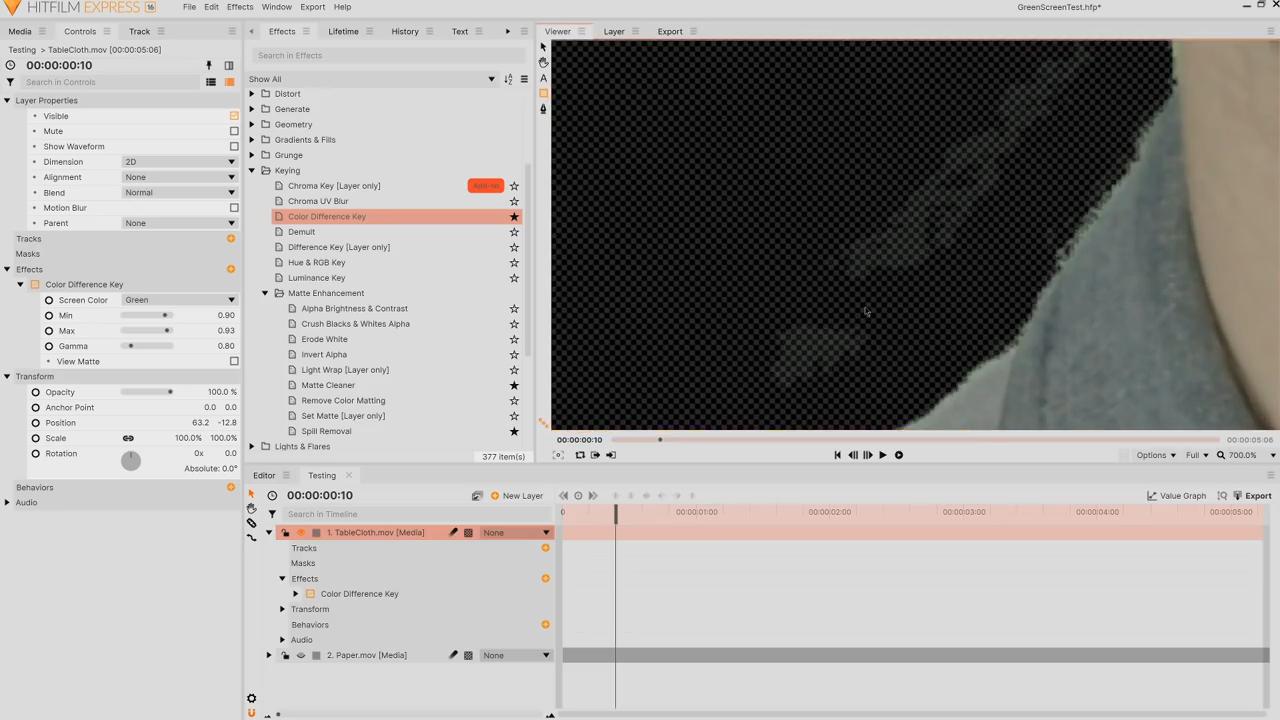
In post-production, we followed the same steps as done previously. We applied a Color Difference Key effect to the footage layer and a Matte Cleaner effect, then a Spill Removal effect. This method provided a relatively good key however due to the presence of slight wrinkles and reflections of light on the cloth, some noise was visible on the footage once keyed. To remove said noise, we had to use some masks. However, one must be note that this noise removal solution is not ideal for when the footage has a lot of foreground movement.
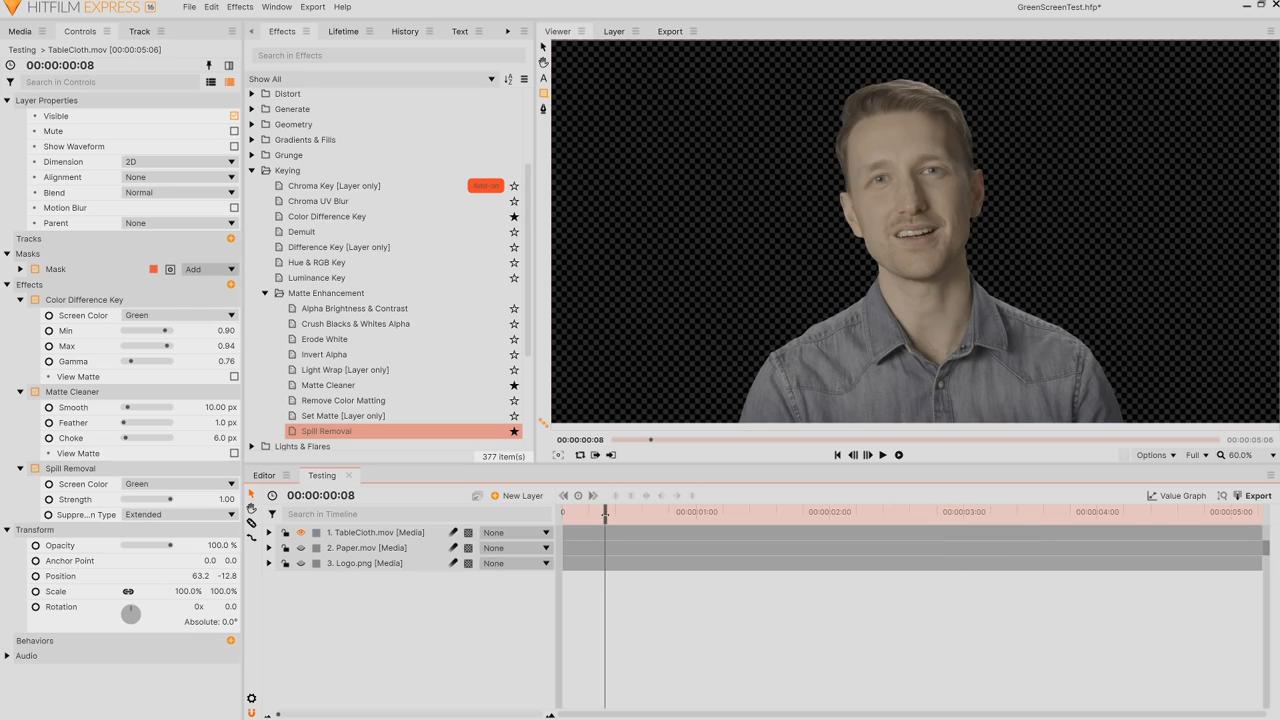
Green screen alternative: Green Fabric
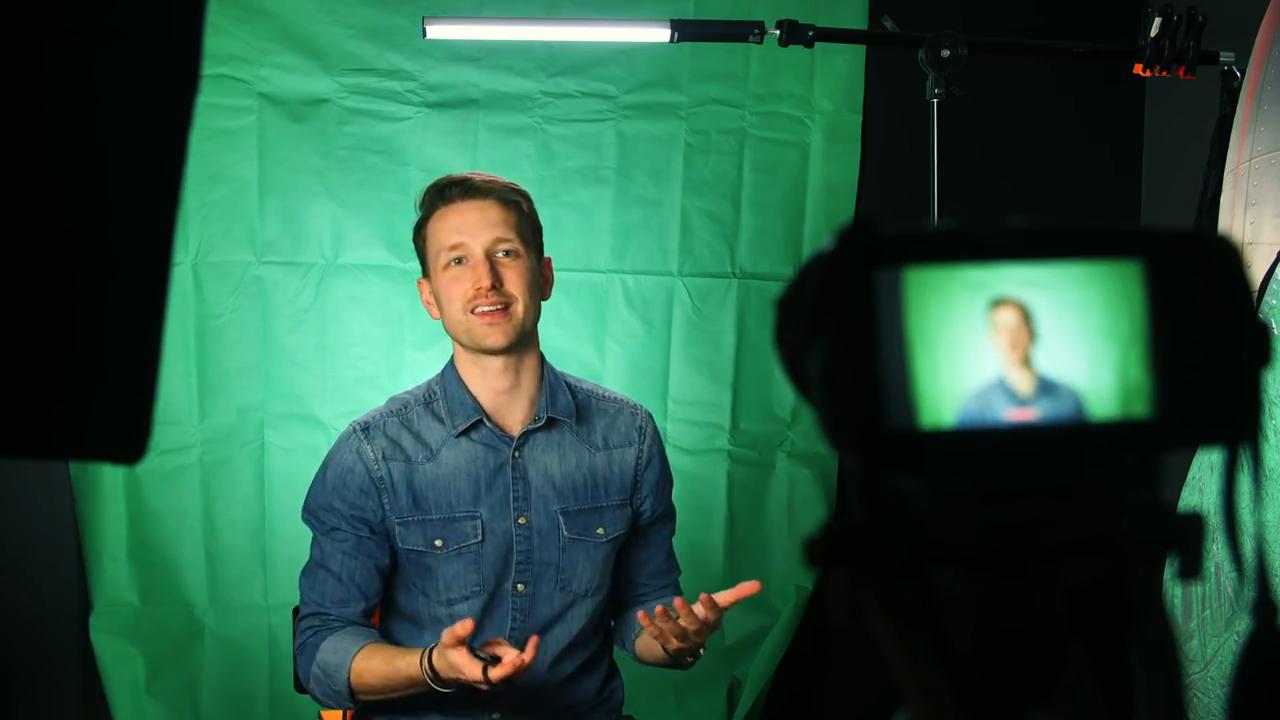
We purchased 2 meters of green non reflective fabric for $12
Pros:
- Relatively easy to set up
- Versatile – you can easily fit the cloth in a bag to transport around
Cons:
- More expensive than the other options
- Due to its weight, it’s harder to keep it up on a wall without falling. You would be better off using clips and a stand to keep it up, which is another expense.
- It would need to be ironed/steamed to remove the creases.
As before, we applied a Color Difference Key effect, a Matte Cleaner effect, and a Spill Removal effect to the footage layer. This option gave us some of the best chroma key results
Green screen alternative: Green Matte Paint
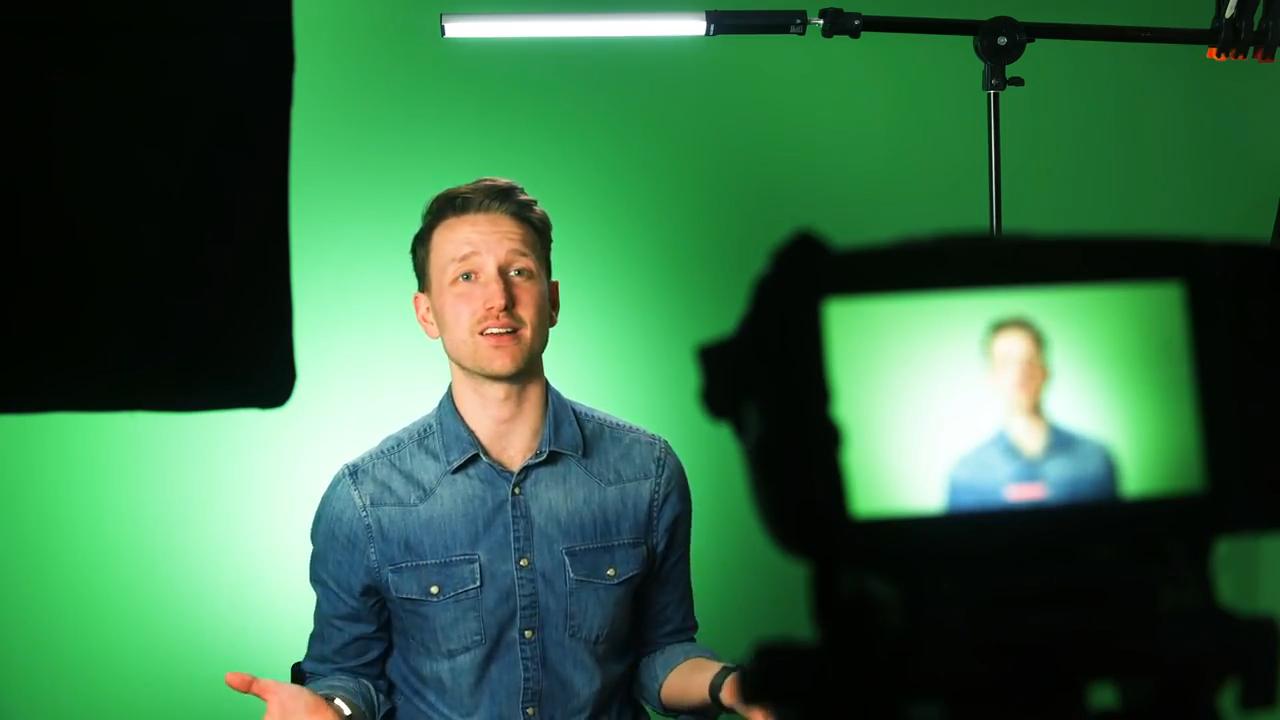
Green matte paint is the perfect alternative for a permanent solution. You can easily pick up a can of paint for $6-20 at any DIY store. Just ensure that you have the owner of the property’s permission before you begin painting.
Pros:
- One-time set up. Once painted future productions will not require green screen set up
- Minimal maintenance
- Relatively cheap depending on the chosen paint brand and the size of the canvas you are trying to fill.
Cons:
- Lighting the painted wall may be difficult. To prevent a vignette effect from appearing, ideally, you’ll need several lights. This ensures that the wall is lit evenly.
After taking our footage into post-production we discovered that the painted wall acted as a very effective green screen.
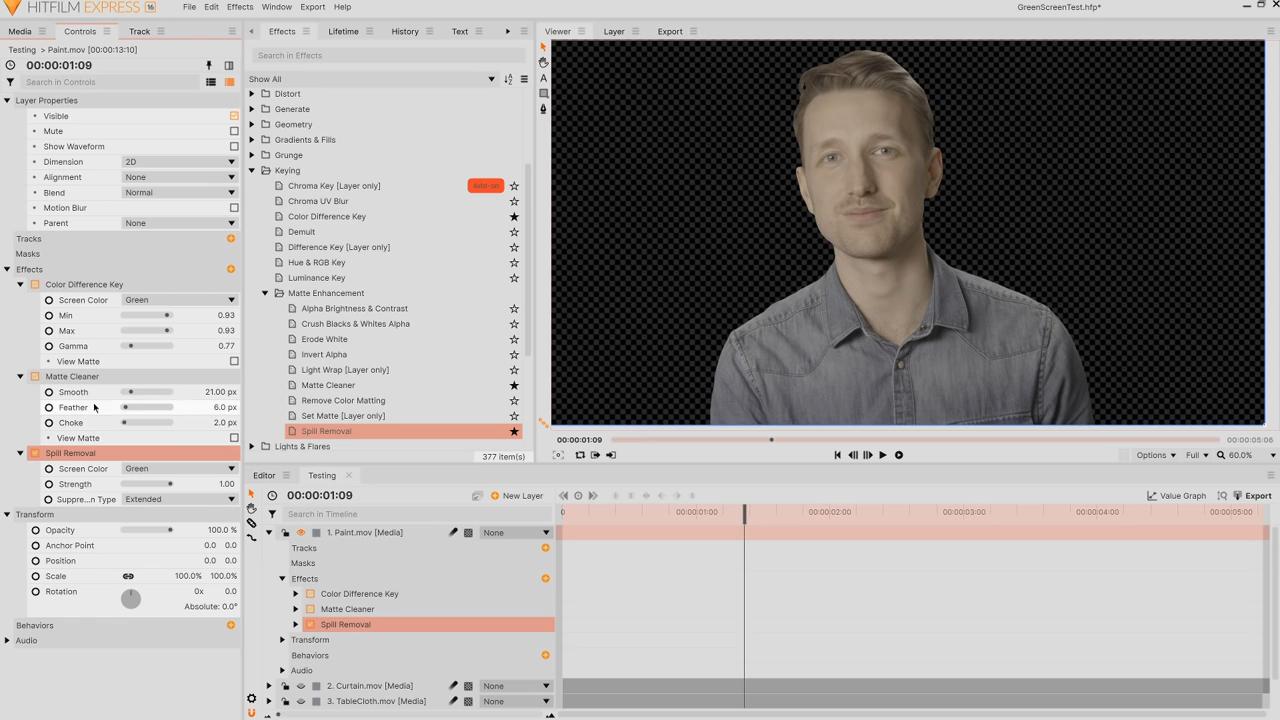
In brief, all of the materials had resulted in effective green screens. No matter what technique you use or what budget you’re working with, you have the ability and tools to craft your very own green screen for your YouTube videos, streaming, films and more! Rather than the material itself, what’s most important is the material’s application. This includes ensuring that the material is lit correctly and has been pulled taught, and, when applicable, ironed/steamed to remove creases.

