


Rotoscoping might seem like a super-advanced editing technique, but it is a straightforward premise. Rotoscoping mixes frame-by-frame animation with live-action footage, allowing you to create complex-looking compositions with a few Keyframes. Today, we’ll show you how to Rotoscope and explain why you’d want to; let’s get started.
- Learn what Rotoscoping Animation is and how to use it in your videos.
- Find out how to Rotoscope in HitFilm with our step-by-step guide.
- Discover our top tips on Rotoscoping basics.
What is Rotoscoping Animation?
Rotoscoping is an editing term for the separation of an element in a shot from the background. Unlike Green Screen and Motion Capture, which use effects to render the composition, Rotoscoping requires each Frame to be treated individually.
In practice, there are several ways to Rotoscope your clips depending on the results you want to achieve, such as Masks or drawing directly on the footage. The best thing about Rotoscoping is that there are endless creative possibilities for the technique once you know how.
Reasons to use Rotoscoping
Along with being a creative tool to use in your videos, Rotoscoping is a fantastic solution for many Filmmaking problems. Rotoscoping can be used to create special effects, troubleshoot shots, or add a fun flourish to your video.
Special Effects Shots
Rotoscoping is a vital skill for any VFX artist and is often mixed with Green Screen and Motion Capture to create the fantastical worlds we see on the big screen. Rotoscoping allows the editor to cut elements from one shot and put them in another or remove unwanted elements from the Frame.
Content creators also use rotoscoping to produce unique compositions and videos. The YouTube channel Corridor Crew frequently uses Rotoscoping and other VFX tools to recreate trailers and improve film clips.
Creating a Style
Rotoscoping is also an incredible tool for creating a style for your videos and movies. The unique look of the 2006 Richard Linklater movie A Scanner Darkly is created using Rotoscoping techniques. Music videos have also utilized Rotoscoping; the Take On Me video from A-ha offers a sketchy style, while Kanye West’s Heartless uses block-color designs.
You can also use Rotoscoping techniques to create animated flourishes for your projects. From commercials and presentations to music videos and showreels, adding hand-drawn animations to emphasize movement in your shots is a popular style.
Fixing shots
Sometimes you’ll have a shot with something that does not belong; a stray coffee cup or a poorly placed script. In other instances, there might be something missing from a shot; Rotoscoping can be used to fix both of these issues.
Sometimes the shot doesn’t need fixing, but you want to change it anyway; YouTube creators Bad Lip Reading use Rotoscoping techniques to add things to TV Shows and Movies.
Alternatives to Rotoscoping
Color or Chroma Keying and Motion Capture are both techniques that allow you to create some of the same effects as Rotoscoping; it can be challenging to know which to use when.
Chroma Key vs Rotoscoping
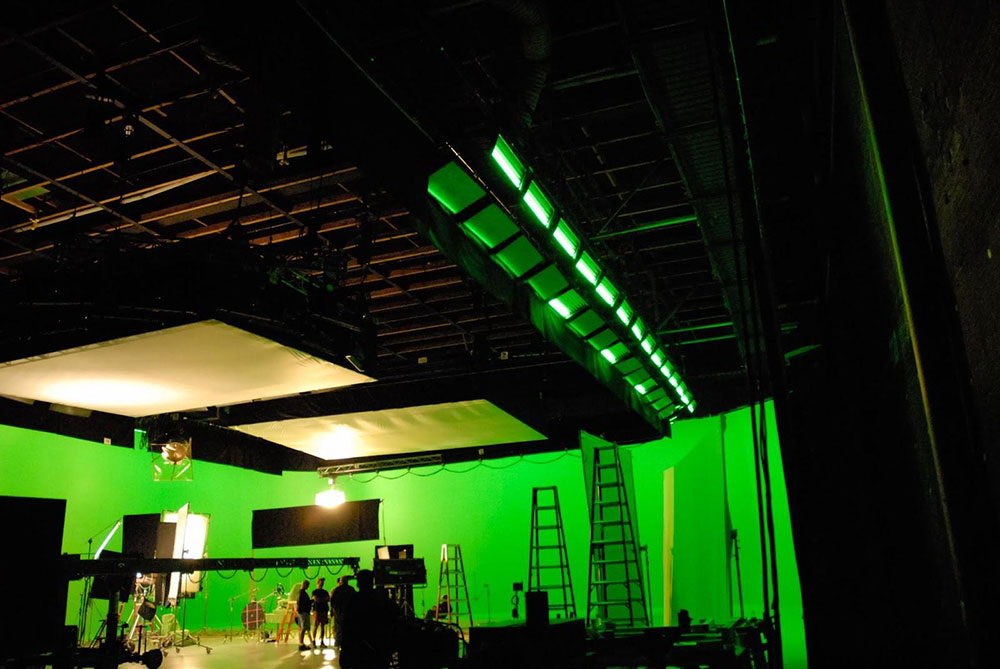
Chroma Keying is an incredible tool for Compositing work in VFX; this is the process used with Green Screen. Where Rotoscoping allows you to separate elements in a shot onto separate layers, Chroma Keying will enable you to remove anything of a particular color from a shot.
Color Key is most often used when the subject of the shot can’t be filmed in the location, such as space set movies. The performer will be filmed against the Green Screen and then laid over the background once the green has been removed.
For Chroma Keying to be successful, the footage needs to be shot against a well-lit and consistent background, whereas Rotoscoping can be done to any footage.
Motion Capture vs Rotoscoping
Motion Capture is a complicated process and definitely something you need to plan your projects around. While some apps and TikTok filters use a Motion Capture system, it is an incredibly advanced skill in film.
You’ve probably seen photos of actors in gray onesies covered in spots; that’s Motion Capture. The cameras record the actors’ movements and use the location of the spots/dots to map the movement digitally. After the Motion Capture is complete, VFX artists create realistic renderings of characters based on the original performances.
Advantages/ disadvantages of rotoscoping
While Rotoscoping is a powerful technique, it does have some downsides that might make Chroma Keying or Motion Capture a better option for you.
| RotoScoping | Color Key | Motion Capture | |
|---|---|---|---|
| Available in HitFilm | Yes | Yes | No |
| Does the process have specific filming requirements? | No | Yes | Yes |
| Is it quick to do? | Depends on complexity and length | Yes | No |
| Are there additional costs? | No | Yes – Green Screen and lighting | Yes – Will require a complete set up |
| Skill level | Beginners | Beginners | Professionals |
Tips to Rotoscope like a Pro
Plan for Rotoscoping
While you can use Rotoscoping techniques on any clip, you’ll get better results if you film your clips, knowing what you want the end result to look like. Limiting camera movement and designing your lighting around any Rotoscoping requirements can give you an easier time in the edit.
Take Your Time
Rotoscoping requires you to go through each Frame and create Keyframes animation, so it takes time. Rotoscoping is very similar to traditional hand-drawn animation, with the advantage of having a video of the action to follow. It is super important that you don’t rush the process if you want a polished, professional look.
Know when to use Green Screen
Color Keying and Rotoscoping are very similar techniques; both allow you to separate elements of a shot into Layers. If you are a content creator or filmmaker engaged in every area of production, knowing when to use Green Screen and when to use Rotoscoping is a must.
Each project is different, but by learning each technique, you’ll be able to plan for your shoots, knowing what you need to capture.
Practice Makes Perfect
As with most editing, practicing the method will improve your skills and allow you to be more creative. Keyframing and Masking are essential skills for an editor; learning to Rotoscope can help you improve your technique and save you time.
How to Rotoscope in HitFilm
Rotoscoping refers to a technique that can create a vast range of styles and looks. We’re going to show you a straightforward use for Rotoscoping, so you can take the method and apply it to any clips or shots you want.
We will use this fantastic Tennis Ball Bouncing shot from ArtGrid, separate the ball from the background and create a Cartoon Effect, all in HitFilm. Let’s jump in;
- Place your clip on the Timeline and trim the ends as needed.
- Select the clip and hit Command/Control C followed by Command/Control V.
- Choose Create New Track(s); the duplicate clip will now appear in the Timeline above.
- Place your playhead on the first Frame of the clip and select the Freehand Mask tool from the Viewer
- Click and drag to create points around the element you want to separate, adjusting the Handles to create a smooth Mask.
- There are 2 things you can do to make this process easier; turn off the bottom Layer using the Eye icon and use the Viewer zoom dropdown to select a larger scale.
- Select the dropdown arrow alongside Masks in the Controls Panel, followed by the Transform settings.
- Activate keyframes by clicking the button next to Path & Position to create your first Keyframes.
- Move one Frame along the Timeline; you can do this by dragging the playhead or typing manually into the Timecode.
- Adjust the Mask on the screen to fit your subject’s new position/shape; a new Keyframe will be created automatically.
- If you want to move multiple Path points simultaneously, drag to highlight several points, or hold Shift and select those you want to adjust.
- Move through your Timeline, adjusting the Mask for each Frame of your shot.
- When you are done, zoom back out of the Viewer and make the bottom Layer visible.
- You now have two layers, the top containing just the separated element; from here, you can have some fun and try different things.
- Select the top Layer in the Timeline and go to the Controls panel.
- Alongside Effects, click the green + icon to open the browser; search for Cartoon and add it to your Layer.
- Adjust the Effect settings until you are happy with your look.
Rotoscoping is a simple, albeit time-consuming, process that allows you to be creative in your effects and composition styles. Now you know how to separate basic shapes from their background, you can grow your skill set with more complex shots and effects. If you’d like to discover more about VFX work, check out this informative guide.