


What are we doing when we produce any film or video project? Whatever the style or form, it’s usually about saying something and telling a story.
One shot leads on to another shot, then another, then another, etc. This sequencing creates a narrative that informs the viewer of where the action is going.
Doing this well is the essence of video editing, but what does that mean in practice?
Cutting and Trimming
How to edit or cut video has become a common skill on mobile phones. Reducing clips down to send or post online is something most of us take for granted.
However this tends to be about cropping, splitting or “trimming” a clip down, rather than making meaningful cuts.
Defining the two phrases in videography terms:
| To cut or “cutting” | To trim or “trimming” |
|---|---|
| Most basically describes the most abrupt moment where a video sequence (shot or clip) stops. In editing terms, this can be thought of as a join or splice point for the next sequence. | Refers to shortening the start (head) or end (tail) points of a video clip. Used to shrink length down in order to “zero in” on a portion of interest. |
Trimming is much more of an editing tool. While cutting is also an editing action, it requires a bigger creative choice that the viewer will notice.
The importance of the cut in filmmaking
Ever wonder why film directors yell “And… cut!” during a shoot? Well, it audibly records the end of a shot while telling the crew to stop filming.
This technique could be a useful cue in video editing too, using the audio track to inform the editor of a cut point.
More generally, these cuts are made to guide audience perspective and push the visual story along. Each cut links shorter sequences into a longer, more engaging experience.
TIP: A rough, assembly or final “cut” refers to full versions of film and video projects.
What are some of the most common cuts?
Across filmmaking and video editing, there are many types of cut. These range from being fairly easy to being more technically complicated to pull off.
Here we will identify five of the most common cuts for video editors. Each varies in suggested skill level as beginner, intermediate or advanced video editing techniques.
Hard cut (Beginner)
Perhaps the easiest technically, it’s actually quite rarely used. Hard cut video editing is surprising for viewers because they join two very different clips immediately together.
Often they can be quite disconnected or unrelated to get a certain unsettling cinematic effect.
TIP: Horror films or surrealist directors like David Lynch use this cut to create shock.
Jump cut (Beginner)
Abrupt like a hard cut, but still following a set logical sequence.
The same subject or person appears to “jump” because similar shots are cut straight together. It might be over time or varying camera angles, but takes skill to get right.
- Avoid it: Video with multiple cameras/angles and cut between the shots.
- Use it: When you want to speed up a sequence or suggest time passing.
Often appearing unnatural when not purposeful, jump cuts can be a stylistic choice. YouTube editors often use it for varying camera angles and adding extra dynamism.
TIP: Avoiding unnecessary jump cuts is considered a vital skill to a good video editor.
Standard cut (Intermediate)
This is the most used cut in film and video editing. It refers to the cut between every shot, or the move between cameras and subjects.
While common, it takes some skill to do well. Standard, or straight cut video editing, relies on having enough well-shot footage that can be cut together coherently.
The editor must also keep track of all the sequences and clips available for use.
TIP: Secondary footage or “B-roll” can help to fill shot gaps between standard cuts.
J-cut or L-cut (Intermediate)
These cuts relate more specifically to the audio and how it overlaps picture change.
J-cuts bring in the audio of the next scene before the visual cut happens on-screen. Conversely, an L-cut carries audio from the current scene over onto the next.
In practice, maybe you have a character’s words or a sound effect like birdsong trail between a cut. It works like a cue or an emotional tie into or from a sequence.
Both J and L-cuts rely on skilful sound editing plus the ability to separate audio and video tracks.
Match cut (Advanced)
Uses similar shots to cut two sequences together more neatly. Match cuts require an artistic eye during filming and editing to “mirror” the scenes together.
For example, one clip ends on a shot that forms a particular shape. This cuts to the second clip that begins on a wildly different shot, but forms the same shape.
- Use it: To smooth a normally very big visual leap between clips.
Famous cinematic examples of the match cut include Stanley Kubrick’s 2001: A Space Odyssey. In this scene, a bone thrown into blue sky cuts to a spaceship of similar shape falling in black space.
TIP: Shot positioning and good timing is key to making effective match cuts.
Where do Transitions fit in?
Transitions are post-production effects applied between or over a cut. They are generally used to creatively draw attention to a join, rather than hide it away.
Five favorite types of recognizable video transitions:
- Dissolve. Known also as a “Mix” or “Crossfade” with clips dissolving together.
- Fade. Shot or clip “A” fades out to black, with shot or clip “B” fading in from black.
- Flash. Light or color flash blinds the momentarily camera to reveal the next shot.
- Wipe. Uses a sliding animation to brush or wipe from one shot to another.
- Graphics. Motion graphics (VFX) are used to connect sequences.
Not only do these various transitions highlight a cut, but they also say something. Just a simple, stylish visual effect can imply a strong narrative note in your project.
How HitFilm helps edit your video projects
HitFilm is among the best video editing apps for making cuts and applying transitions.
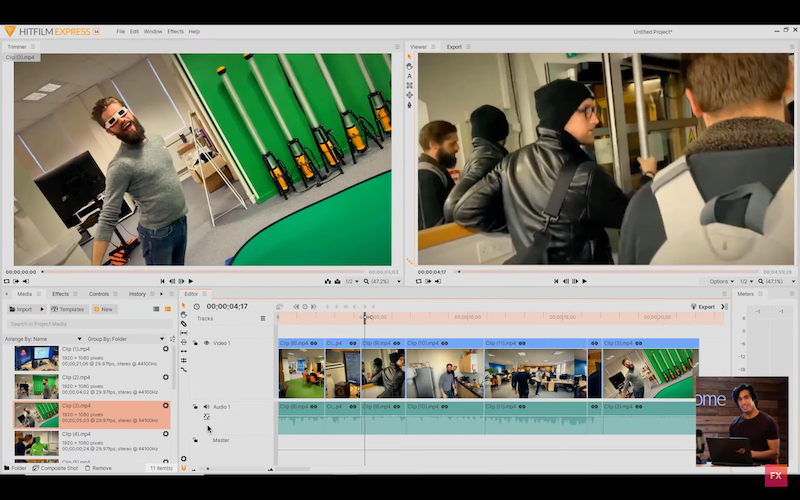
For starters, it features timeline-based editing with unlimited video and audio tracks.
Browse available clip footage and drag them into the Trimmer window. This lets you preview with scrubbable playback, using buttons to set custom in (start) and out (end) points to trim the clip length.
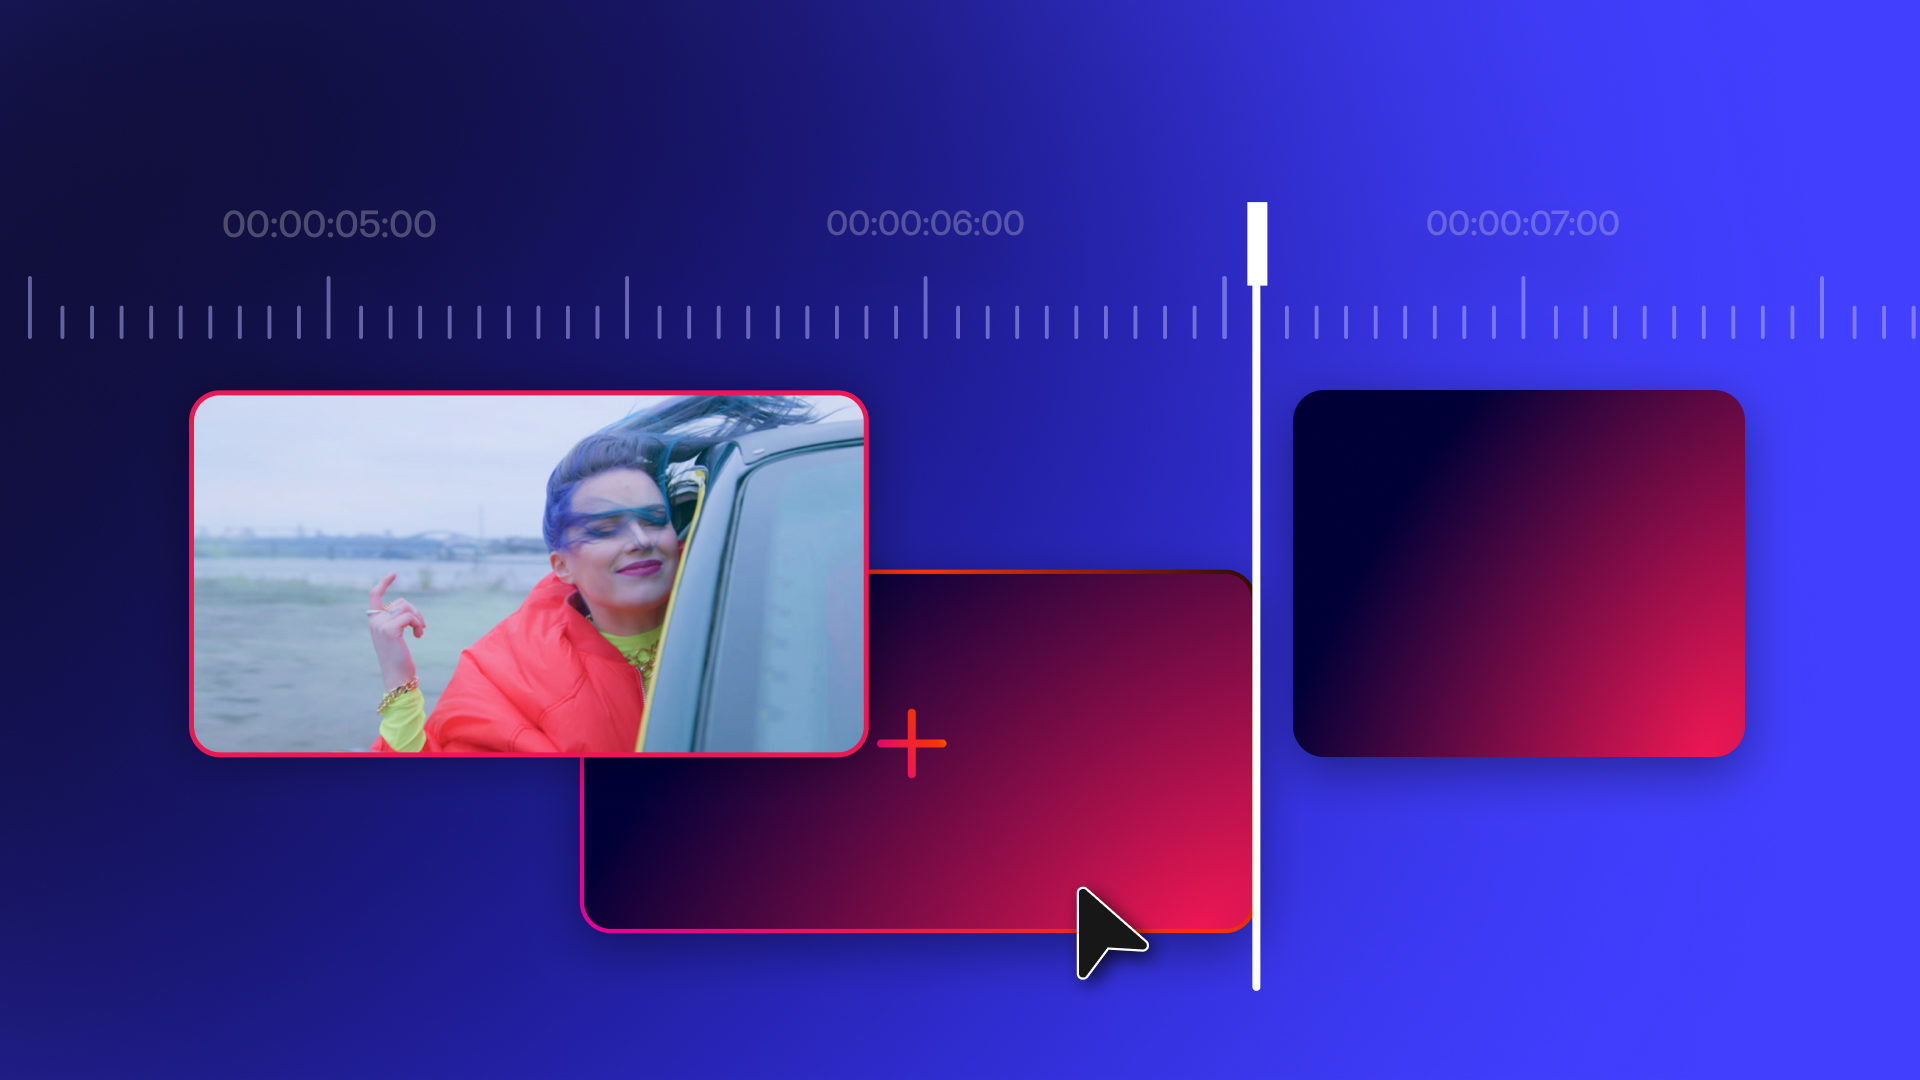
These clips are then dragged into the main project timeline where video and audio tracks can be edited together side-by-side to form each cut.
Making your cuts and adding transitions
HitFilm uses a number of tools for making and organizing cuts for timeline clips.
- Selection Tool: Used to select clips and move them on the timeline.
- Slice Tool: Makes a definite “slice” cut at a chosen point in a clip.
- Slip Tool: Moves the in/out points within the clip from inside the timeline.
- Ripple/Roll: Adjusts clip lengths without creating gaps between your cuts.
HitFilm’s editor updates video thumbnails on each clip. Being able to see the first frame at a glance is hugely helpful for aligning your cuts.
A variety of built-in transition effects including dissolves, fades and slides can also be inserted. Just drag and drop each over a cut point and set the duration – simple!
TIP: Hold down the ALT key when dragging timeline clips to create J or L-cuts.
The final frame… where next?
HitFilm’s video compositing and VFX capabilities go way beyond basic video editing.
Start by experimenting with how cuts and transitions can transform your projects into something more advanced. Take inspiration from TV or film and watch for the cuts while thinking about why they work.
Of course, not everything can be fixed in the edit. It’s also important to nail the video production and shooting steps when making a film.
To learn more cool or trendy video techniques, be sure to visit the FXhome blog and YouTube channel.
