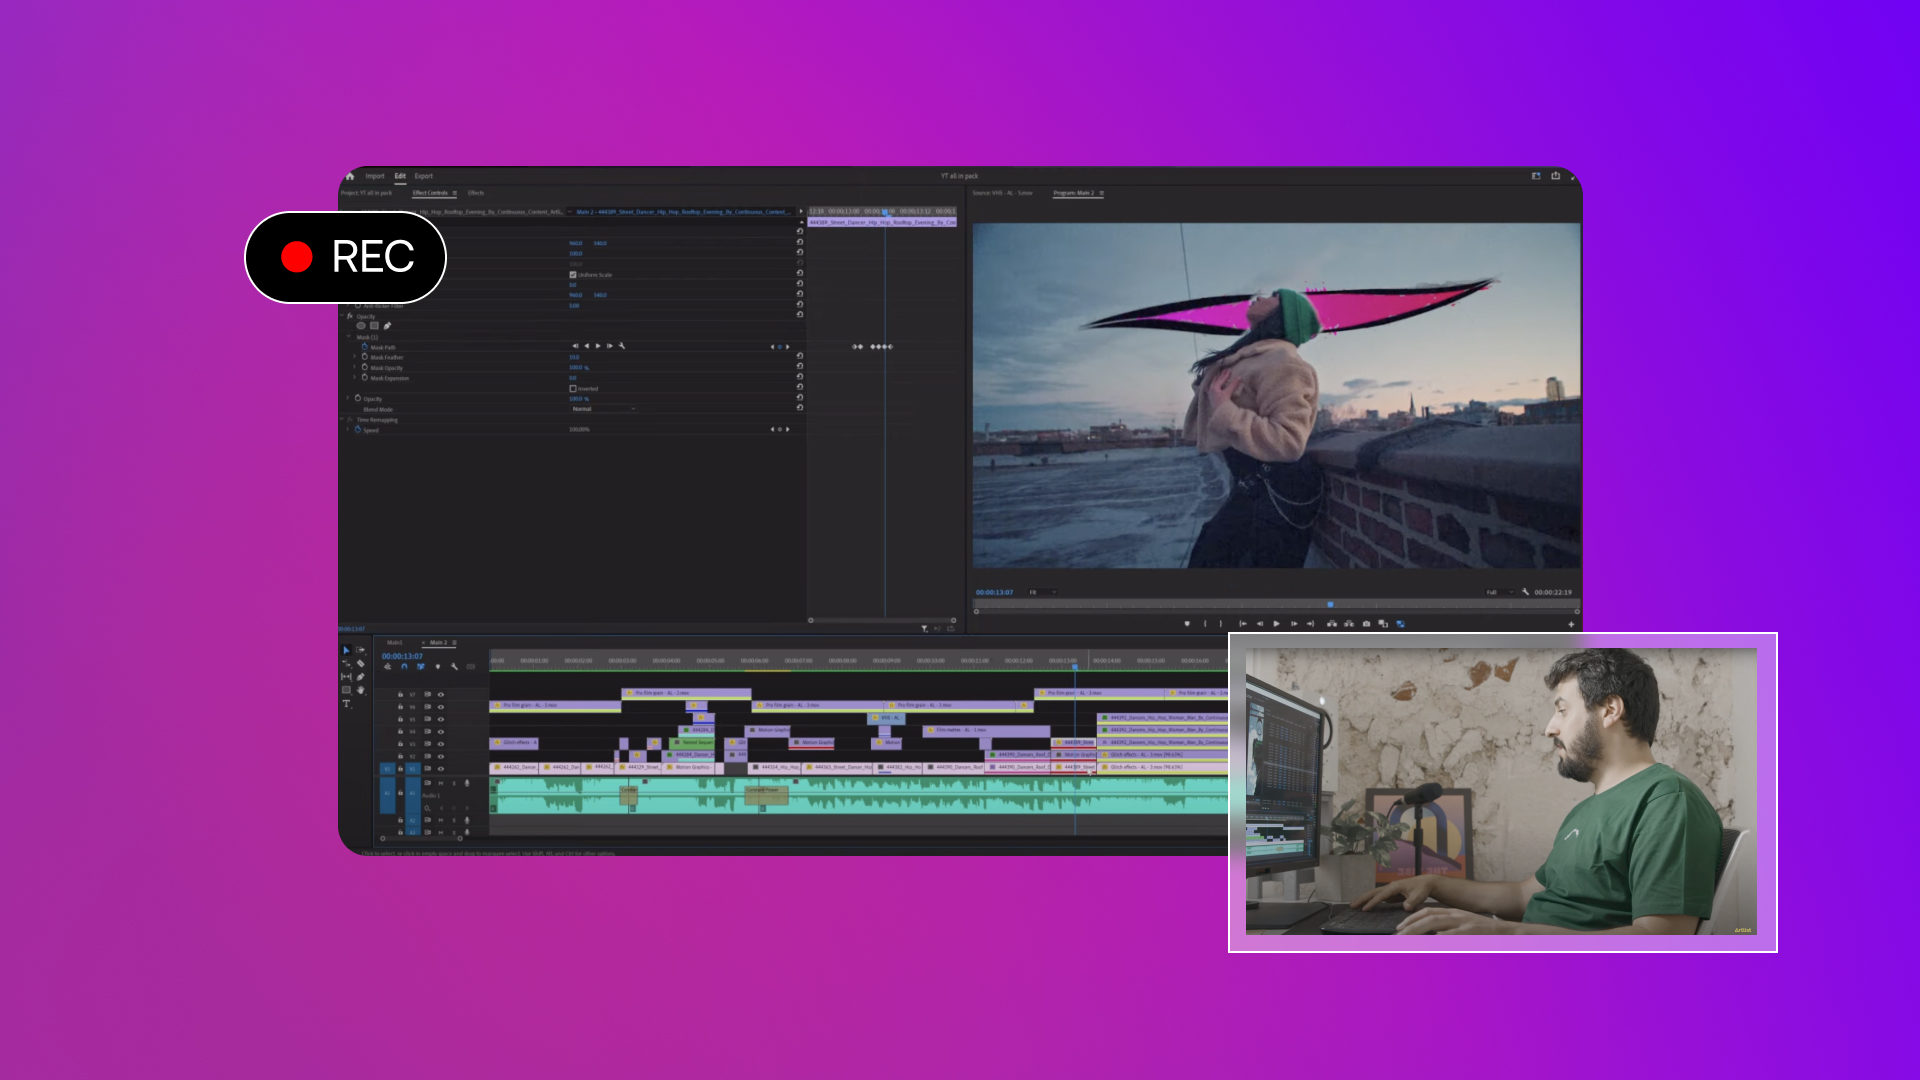
Screencasting is everywhere, and even if you’re not sure what it is, you’ll definitely have seen it. Screencasting is the process of creating video content from screen recorded footage; if you’ve ever watched one of our tutorial videos, that’s a screencast. There are many different uses for Screencasts, so let’s jump in with our beginner’s guide to Screencasting.
- Learn what Screencasting is and how you can use it in your videos.
- Follow our top tips to create high-quality Screen Recordings for your projects.
- Check out these 4 simple editing techniques for Screencast videos.
What is a Screencast?
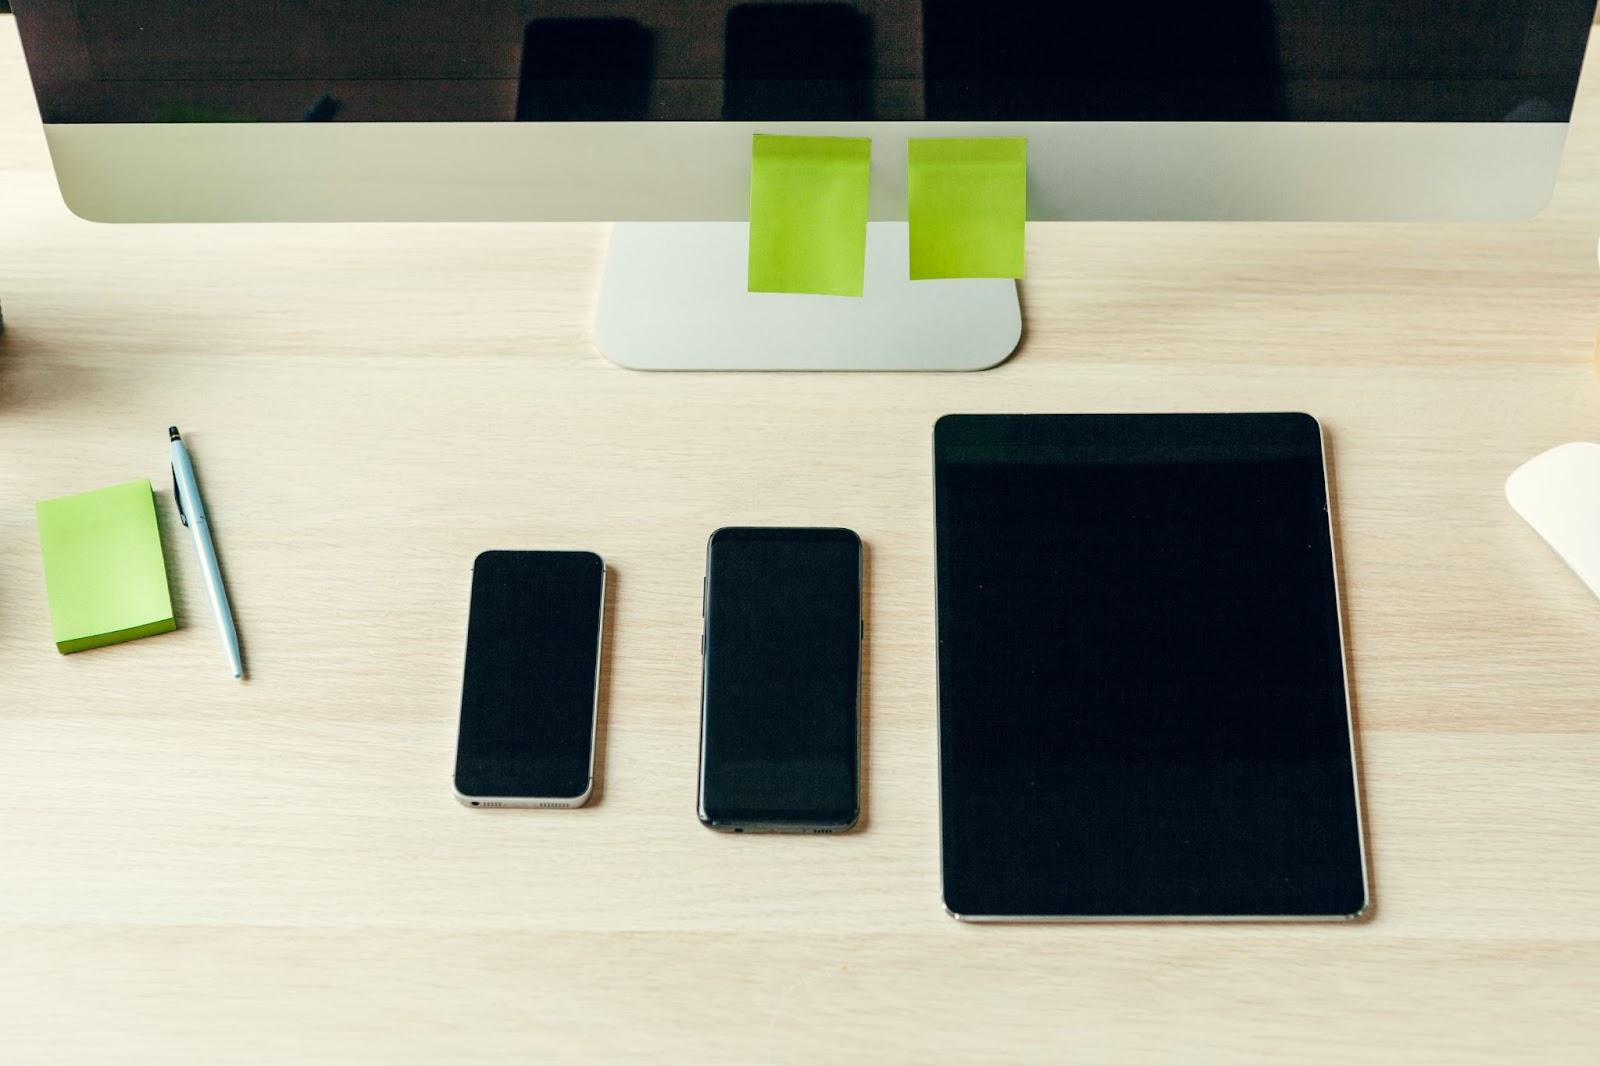
A Screen Recording is a video of what is occurring on a digital screen; a computer, laptop, TV, Smartphone, or tablet. A Screencast is an edited version of your screen recording with all the bells and whistles – titles, music, and screen actions.
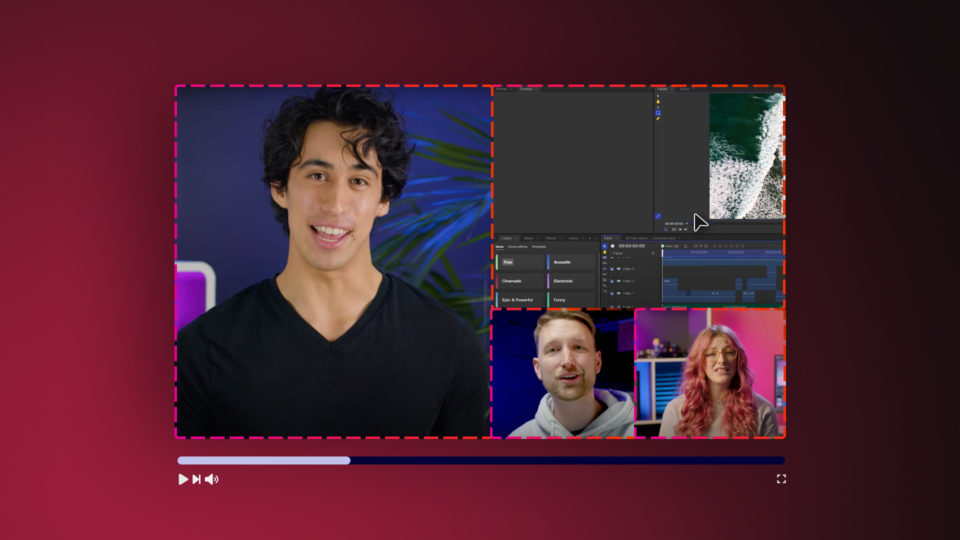
Screencasting is most often used to produce how-to and walkthrough videos, showing users how to navigate computer software and programming. Along with tutorials, Screencasting is used by content creators for reaction videos and reviews. Check out this fantastic example using Screencasting to promote the Artlist Royalty Free Music library.
Anytime you want to show your audience something on your device, you need to use screen recording software. Some devices and programs have screen recording software pre-installed, such as the iPhone and iPad, but there are plenty of options for producing screencasts on any device.
Things to Consider when Screen Recording
Before you jump into creating a screen recording, you must spend a little time planning your content.
How Big is Your Screen?
The first consideration is how big your screen is compared to how you want to display the video. When recording on a laptop or desktop computer, the size of your screen is set, but you can adjust the size of your browser or program window. Your screen can be either portrait or horizontal on the phone, but you may be restricted based on the limitations of the apps you want to screen record.
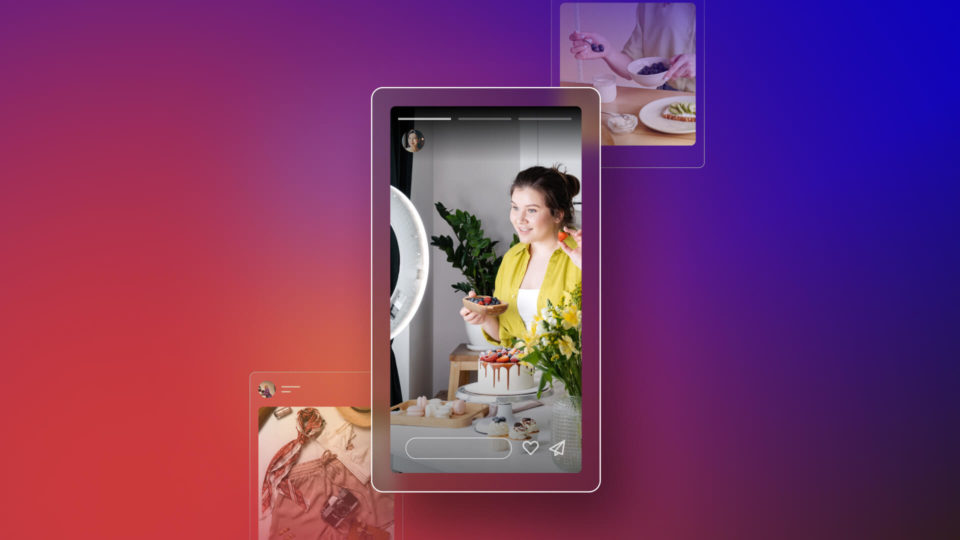
When you output your finished Screencast, you may wish to publish a horizontal, square, or portrait video, so it is essential to think about the size you will export before recording.

Are you using a Frame or Background?
When creating a screencast, you don’t need to have the recording fullscreen, and Frames are a fantastic solution for resizing screen recordings to fit the export format. Frames come in all sorts of designs, and you can download some amazing options over at ArtGrid.
Some Frames will shrink the screen recordings to fit inside a graphic of the device; super handy for walkthroughs and tutorials. Other Frames will help fill in the blank space on either side of your recording when you want to add a portrait video to a horizontal sequence.
How will you Record your Screen?
There are several ways to record your screen, and some devices will have pre-installed screen recording software. There are many other programs and apps you can download to record your screen, each of which will have its own specifications.
When considering which Software, you need to think about what you want to achieve and how much you want to spend. Quicktime is a fantastic free program that will allow you to record your screen, but it won’t let you do much more. Programs like Screenflow offer editing solutions with the recording software, including handy time-saving tools, such as adding cursor clicks and pulses.
One key issue with Screencasting is recording audio; most free-to-use recorders will disable audio recording functions.
Is what you’re Recording legal?
As we’ve just mentioned, a lot of screen recording software will not allow you to record audio simultaneously, and this is a legal requirement. By preventing the ability to screen record visuals and sound simultaneously, you are prevented from duplicating copyrighted content.
Before you begin screen recording, it is vital to consider the legality of what you are recording. There are rules in place about fair use for reaction videos and reviews, and it is worth checking the laws where you are and any user agreements for your publishing platform.
How long will you be Recording for?
How long you will be recording is a vital consideration; you need to know that your device can record for that long and that you have the space to save the video file. Running Software uses RAM, and it is essential to remember that your device will need to split the RAM between the recording software and the actions you are recording.
You can also use Screen Recording software to film Timelapse videos of lengthy processes, such as graphic design. Since these processes take several hours, it can become problematic for your device. Instead, look for Software and Apps that allow you to create Timelapse Screen Recordings; this will enable you to set the intervals at which screenshots are automatically taken.
How to edit the Screencast
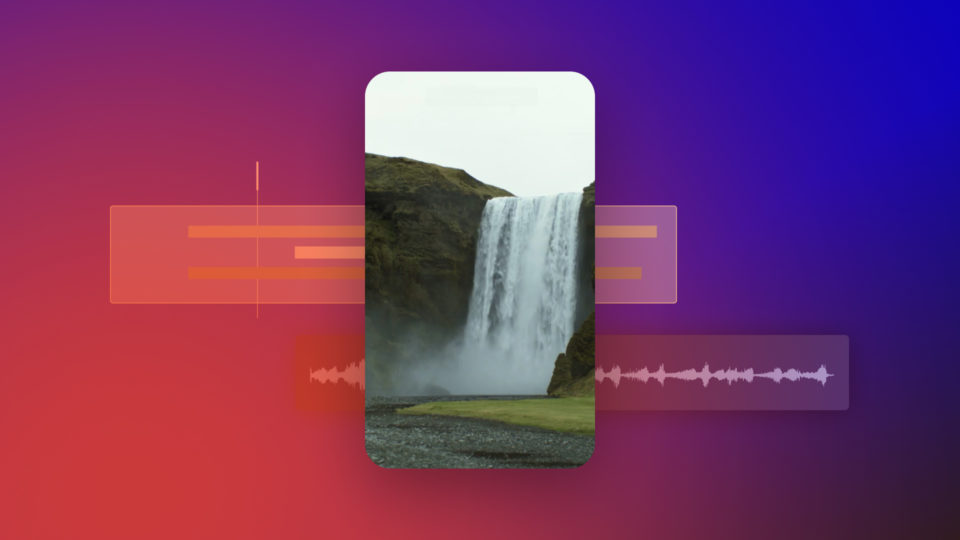
How you edit your Screencast will depend on what you want to achieve, but there are some general basics to help you get Screencasting today. We’re using HitFilm, which is the perfect choice for editing your Screen Recordings and adding titles, music, backgrounds and Frames.
Trim and Cut
Being able to Trim and Cut your Screen Recording is super helpful and means you can record in smaller sections. Drag the ends of your clip to Trim, or use the Blade tool (C on your Keyboard) to slice the clip and delete the unwanted sections.
Scale and Position
Once you have Cut your Screen Recording, you can add movement to it by zooming in and repositioning the sections to show a focus area. Select the section you want to adjust and go to the Controls Panel; change the Scale and Position as needed.
Use Picture-in-Picture effects
Picture-in-Picture effects allow you to add two videos to the screen simultaneously. With Screencasting, you will often see the person performing the actions in a box in the corner of the screen. Place your video layer above your Screen Recording in the Timeline and adjust the Scale and Position of the top video.
Use a Frame Overlay
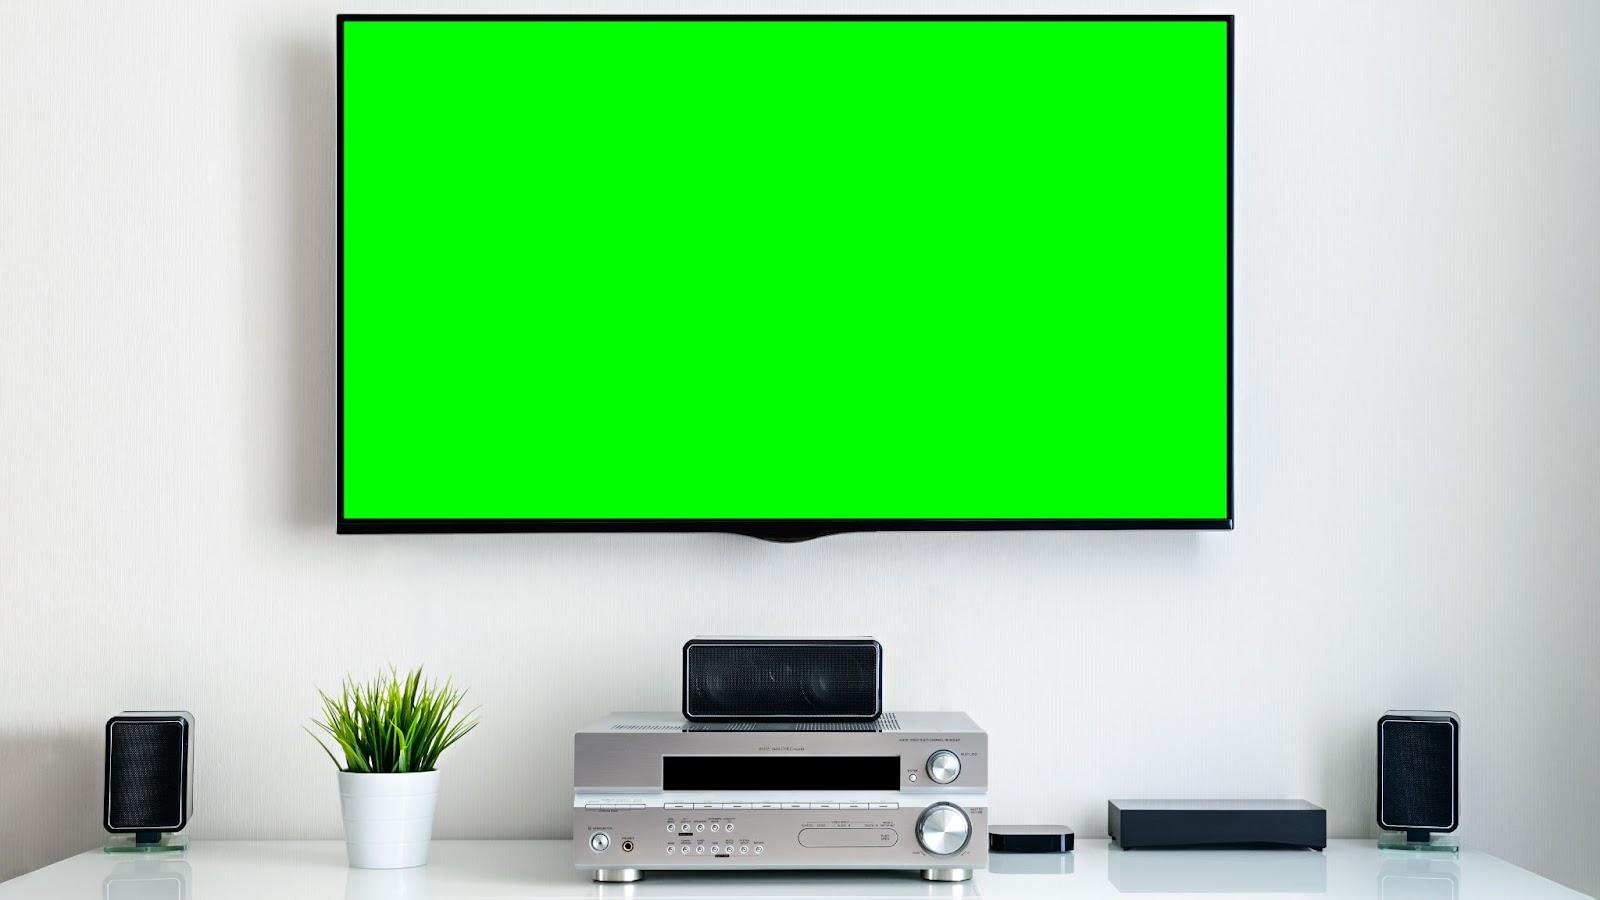
Adding a Frame in HitFilm is super easy and can help you create a branded look for your Screencast videos. Many Frames use removable Green Screen elements to allow you to add your video.
- Cut and edit your video in the Timeline and add the Frame to the Track above it.
- Select the Frame Layer and adjust the Size and Position to fit your screen.
- Click the Green + icon in the Controls Panel and type Color Difference Key.
- Add it to your Frame and adjust the settings until you are happy with the Green Screen removal.
- Adjust the Scale and Position of your video track underneath to fit nicely in the space.
Top Tips for Good Quality Screen Recording
Creating a high-quality screencast takes time and practice; once you know the basics of editing your screen recordings, you’ll find new ways to be creative with your work.
Think About Design
When planning your Screencast, it is vital to think about the end design. If you are producing content for a channel or a business, you must offer your viewers consistency in style. Consider the Frames you can use, where you will play titles, and if you are using Picture-in-Picture effects.
Choose the best Software for your needs.
It is worth researching the screen recording software separate from the editing program you will use. While some Screen Recorders will provide editing solutions, it can sometimes be best to mix and match your Software. Creating a Screencast is a two-step process; you record the screen, then you edit the recording; it’s OK to have separate Software for each.
There are many free Screen Recorders, but Editing software can be pretty expensive, especially if you’re a beginner. HitFilm is a fantastic option for editing your Screen Recordings; it’s free to use but offers a range of add-ons to grow your editing capabilities as and when you want to.
Take your Time
It is vital to take your time with the recording, especially if you provide walkthroughs and tutorials. Remember, your viewers need to be able to follow what is happening on screen; if you are recording actions, such as navigating around a website, take your time and move the cursor deliberately, pausing for emphasis.
Make it Interesting
Screencasts need to be engaging to keep an audience interested. Even if you are providing valuable information, a boring video can quickly have the viewer clicking on something else. Use editing techniques to change the Scale and Position, and add movement and animated elements to keep it exciting.
FAQs
You can edit your Screencast in any editing software, but HitFilm is a favorite because it is easy to use. If you have never edited before, HitFilm can help you pick up the basics for free, giving you everything you need to edit screencast videos with titles, and music.
Screencasting is used a lot with tutorials, walkthroughs, and explainer videos, showcasing Software and programs. You might also see screenshots and recordings used as a part of promotional videos.
Content Creators also use Screencasting to produce reviews and reactions, screen recording what they are watching and displaying it as picture-in-picture. Social media is also full of Screencasting examples; even popular memes and videos containing movie clips or news reports will have been screen recorded.
Screencasting is the best way of displaying everything that is happening on your screen to an audience that can not see it.
Screencasting can also be used to produce content it is impractical to shoot for real within the online world. Software such as Zoom or Microsoft Teams has built-in screencasting software, allowing you to film interviews and talking-heads with people worldwide.
Screencast and Screen Recording are pretty much used interchangeably, but there are a couple of differences. A screen recording is the video output of what is happening on the device. A Screencast is the output of the screen recording after editing and can include cursor clicks, zoom functions, and keyboard actions.
Screencasting has a lot of uses, from Promotionals videos to informative resources and fun reaction-based content. Whatever you’re using your screen recordings for, it is crucial to take the time to make your content as engaging as possible. If you’re interested in adding a Voice Over to your Screencast, check out this handy guide.

