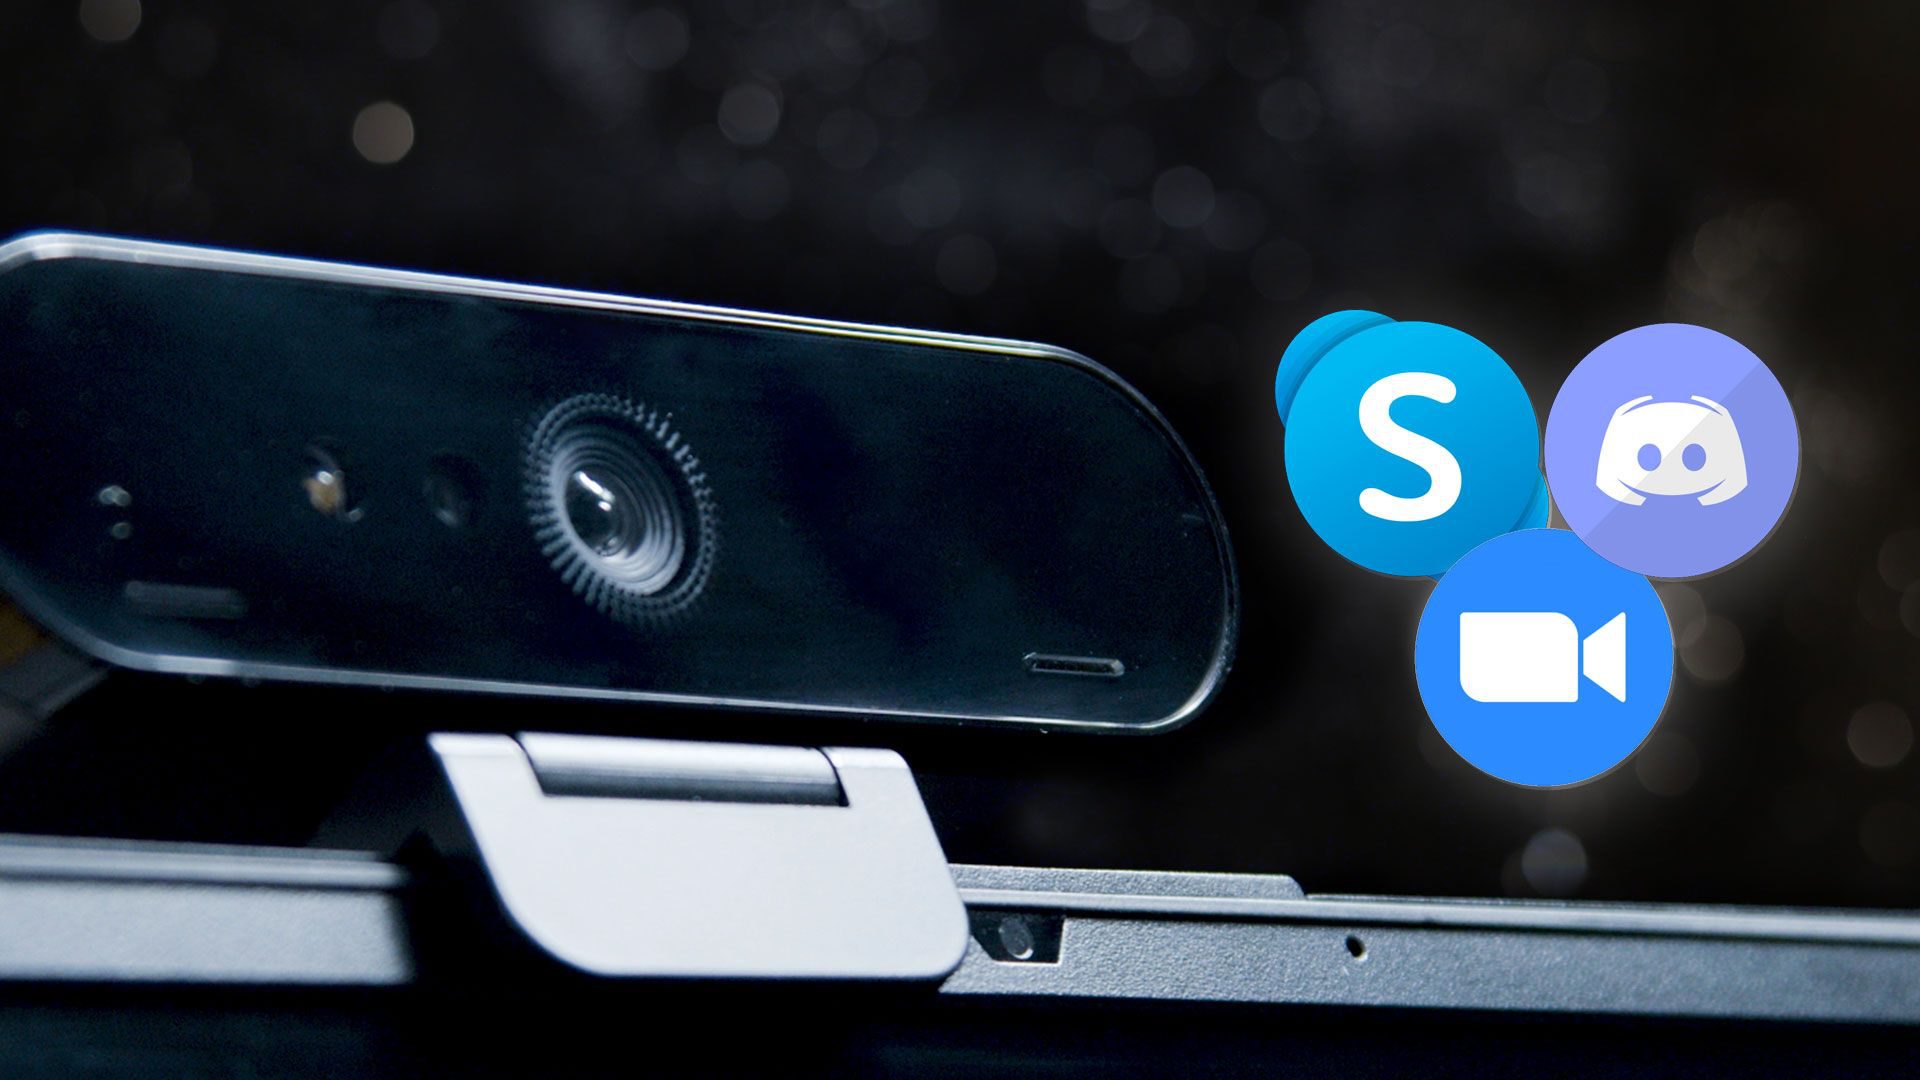
In these tutorials, we’ll guide you through how to edit a zoom recording and how to get polished webcam footage. This masterclass covers everything from getting a clean setup to optimizing your settings and getting a flawless edit. Whether you’re using Zoom, Google Meet, Microsoft Teams, Discord, Skype, or any other video calling platform- these techniques will help you master any virtual meeting.
It’s all about the angle
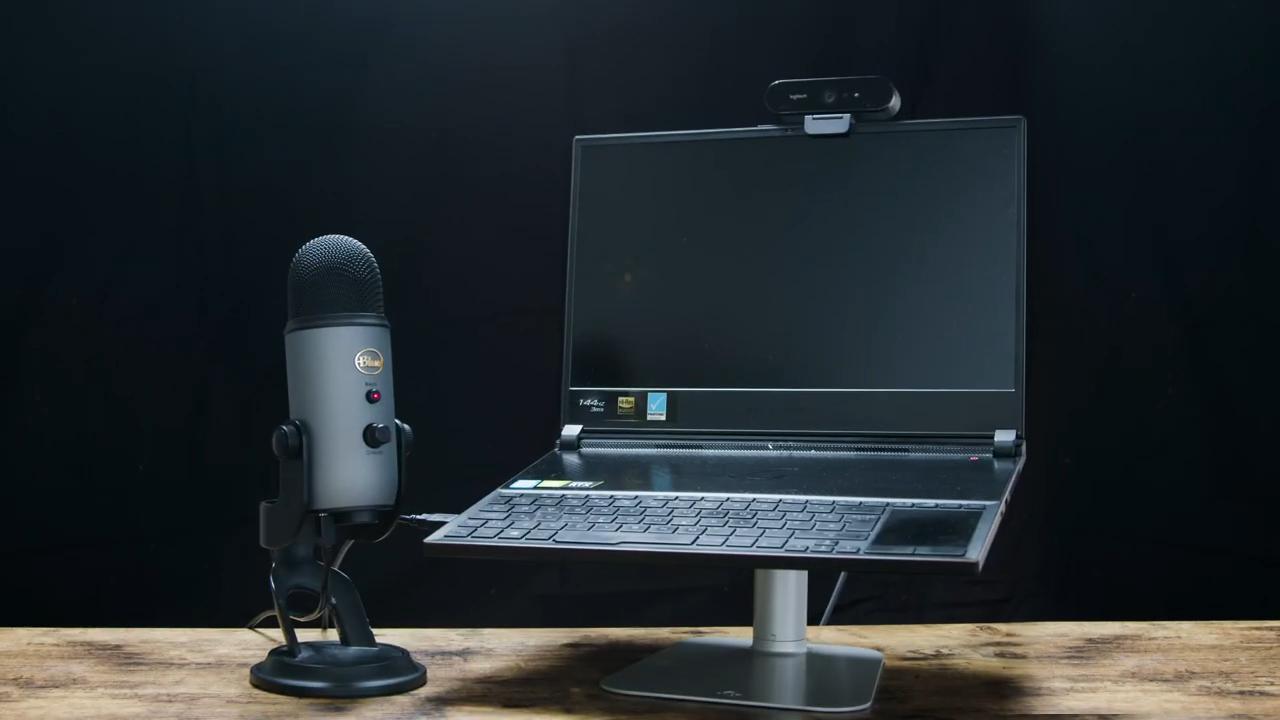
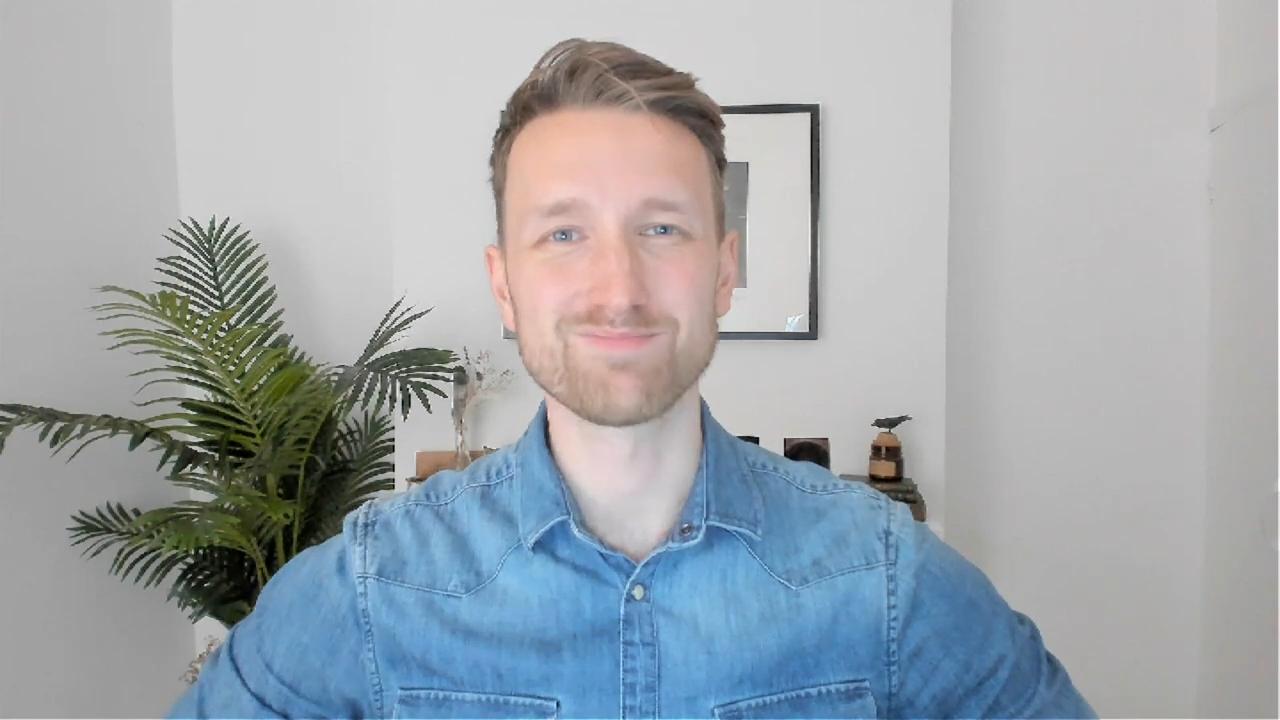
A camera’s position makes a huge difference in how a subject appears in the final image; your webcam is no exception to this. In a video call, you ideally want to position your laptop/webcam to a place that is eye level to prevent an unflattering angle. To improve your camera angle, you can use a pile of books, a laptop stand, or even a box lying around your house.
Create a sense of depth and contrast
Creating some depth between yourself and the background is aesthetically pleasing; it gives you more room to play around with lighting and further adds to your shot’s visual dynamics. However, you must not forget to tidy up your background to ensure that professionalism is maintained.
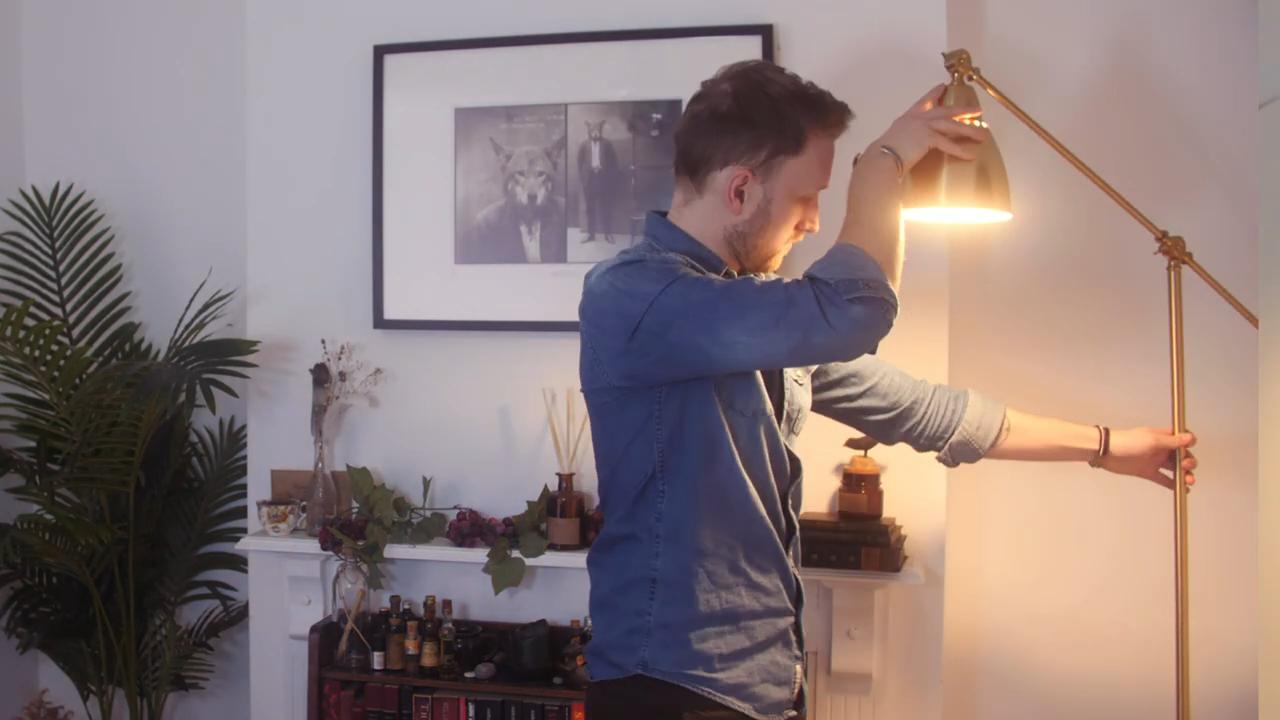
You can achieve contrast by lighting yourself with a desk lamp, facing a bright window, or even increasing your screen’s brightness. Another excellent way of creating a divide between yourself and your surroundings is by introducing a practical soft light into the background.
Fine-tune your audio

To prevent your video call from picking up unwanted audio, try using a pair of earphones. Earphones are perfect as their mics are usually positioned very close to your mouth but be mindful, you don’t want your mic rubbing against your hair or clothing.
How to improve your webcam quality
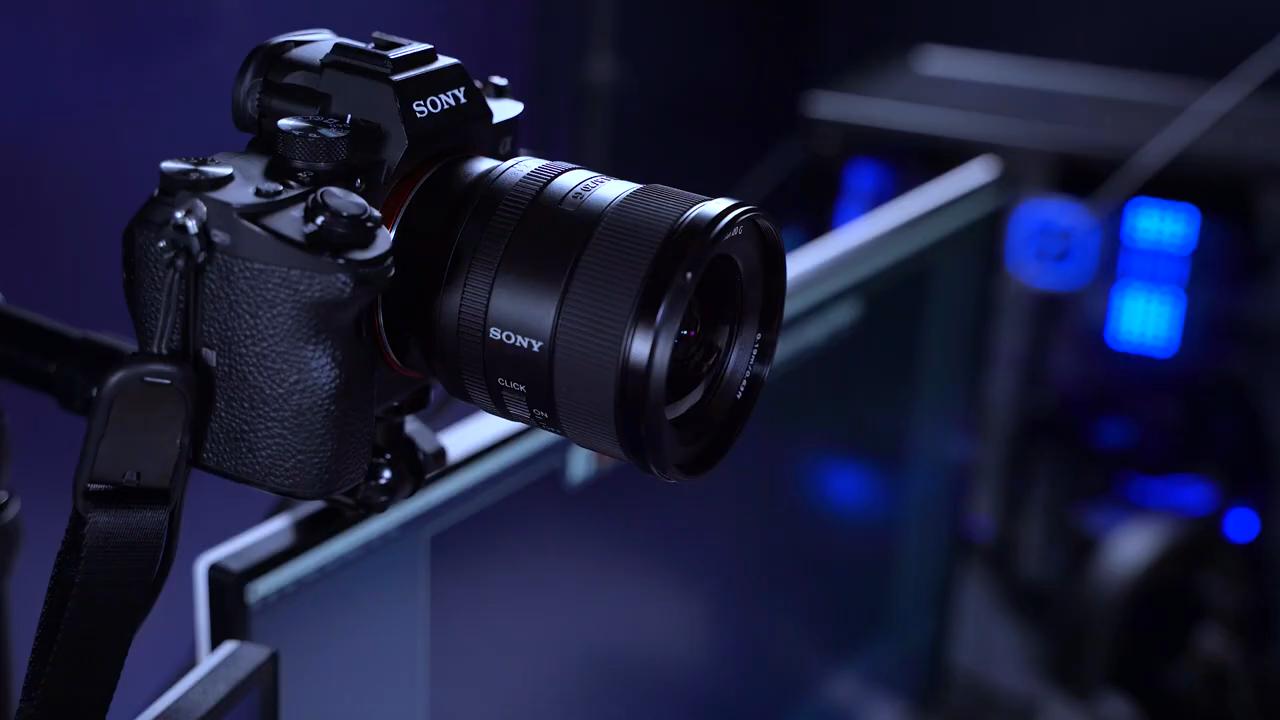
To improve your camera quality:
- External webcams are an easy USB plug-in option that now comes in up to 4k resolution.
- Apps like Epoccam allow you to use your phone as a webcam
- Cam link adapters enable you to use your DSLR as a webcam
To enhance your audio quality external mics such as a Blue Yeti mic can be used.
In this tutorial, We’ll guide you through how to set up and optimize your Zoom settings so that you can record your calls in the best possible quality. We’ll also cover how to edit your Zoom recordings in HitFilm.
Optimizing your Zoom settings
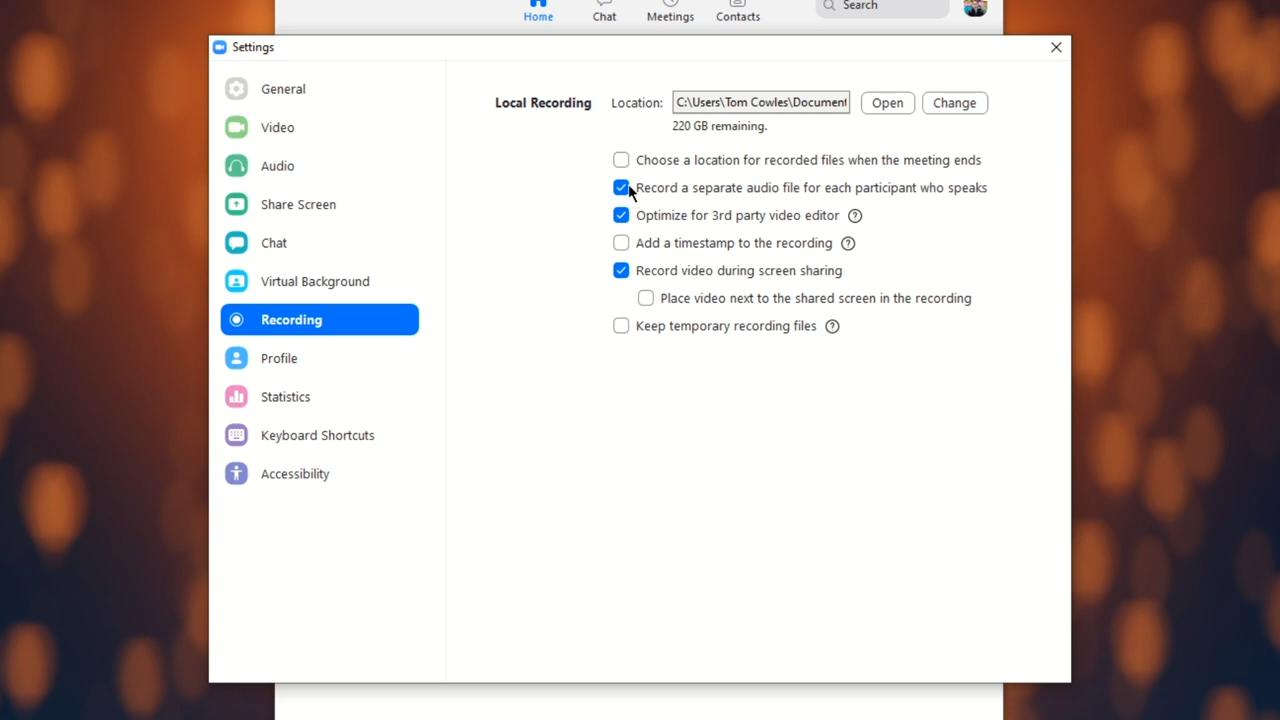
Once you have opened Zoom on your device, to access the settings select the gear icon. In Settings>Recording, you can choose the file path that you want your recording to go; it is also here that you can tick the following settings to optimize your recordings:
- “Record a separate audio file for each participant who speaks” -to make it easier to cut out unwanted audio
- “Optimize for 3rd party video editor“
- “Record video during screen sharing” – to allow those that are reviewing the call to view what is shared on-screen
- “Keep temporary recording files” – to ensure that your files save even if you encounter connection issues
Recording your Zoom call
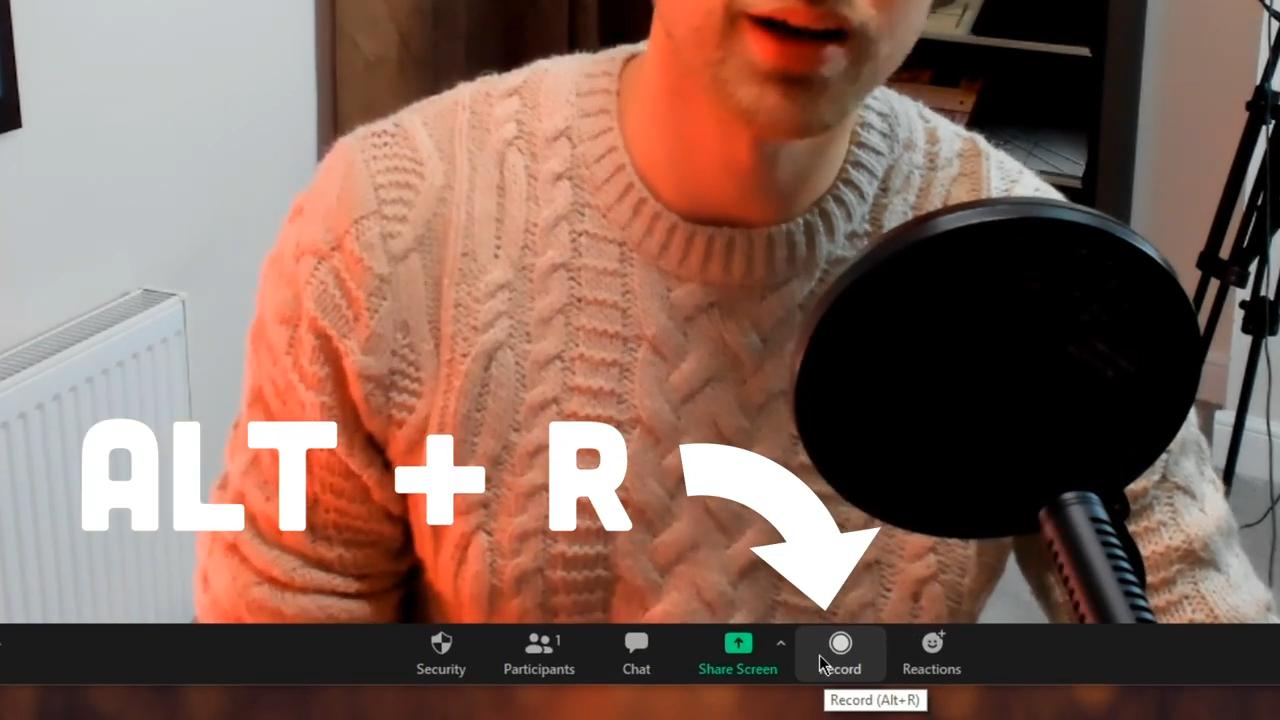
If you’re the host of your zoom call, you can record the meeting either using the Alt + R shortcut or by pressing the record button in the bottom right of the screen.

If you want someone else to take on the recording responsibilities, in the Participants panel, right-click over the assigned person’s name and select “Allow Record”
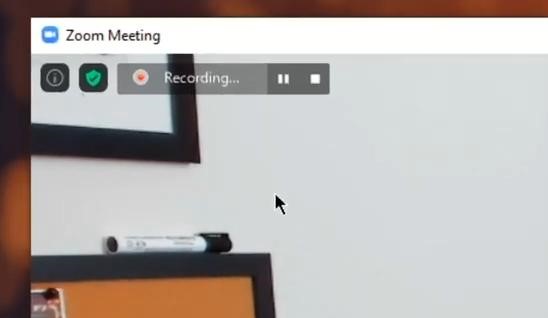
Once the recording commences, your recording settings will appear in the top left corner of your screen, where the Pause or Stop recording options appear. We’d advise you to select Active Speaker View in your Display setting to make the editing process more straightforward.
Once you’ve finished recording, you can select the Stop option in the recording settings and end the meeting. Now zoom will create your mp4 files, which you can locate using the Zoom home page under the Recorded section.
How to edit a zoom recording
In HitFilm, we first want to open up a New Project. For ease, we can stick with the default. The first thing we need to do to edit our zoom recording is import our footage. You can do this in the Media panel either by selecting the Import icon and go to the file location, or alternatively, you can open the file window and simply drag in your files to the Media Panel.
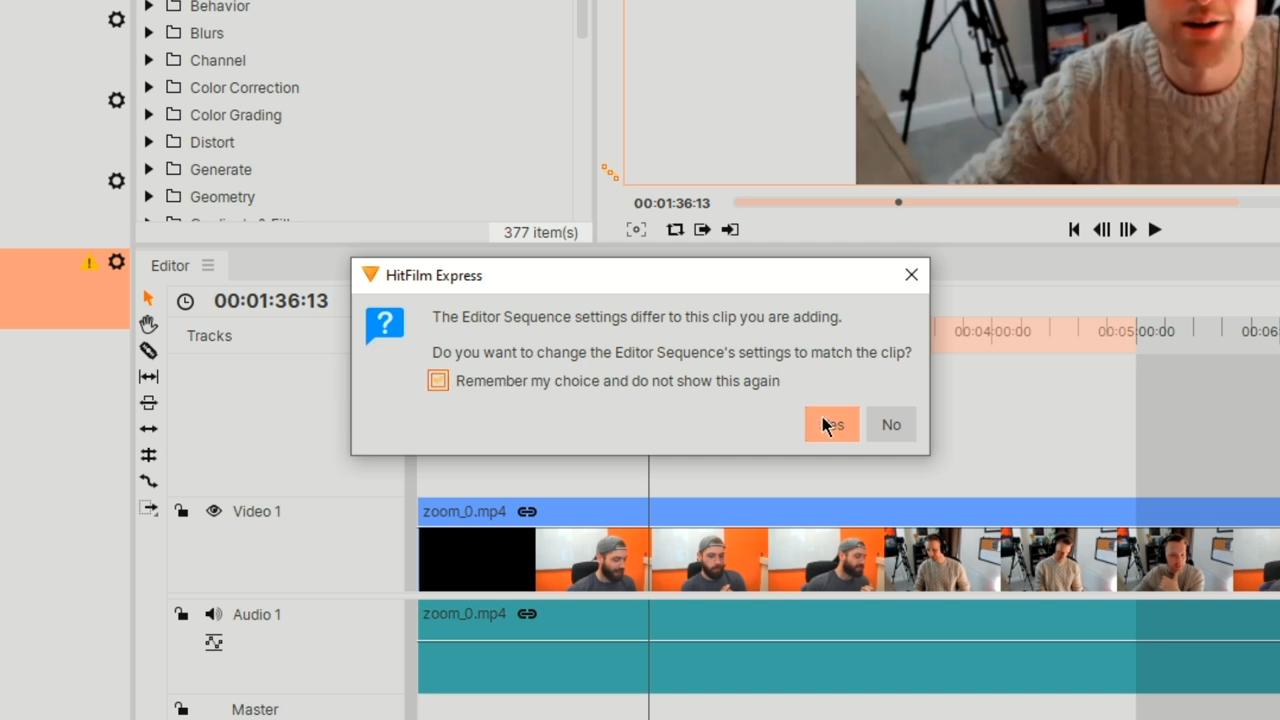
Once imported, drag your footage into the editor timeline. A prompt will then appear informing you that your settings are different from the footage. To remove this for the future, Enable “Remember my choice and do not show this again” and select “Yes”. You must also remember to bring in and align all your audio files.
The trimming tool can be used to remove the unwanted moments at the start of the clip. Once you have used this tool, be sure to then drag the clip to the beginning of the timeline.
Alternatively, for unwanted moments that are taking place in the center of the recording, we can use the slice tool. To do so, with the slice tool selected, click on either side of the moment and then hit delete on the keyboard. Then switch back to the Selection tool and drag the footage on the gap’s right towards the left to close the gap.

To remove unwanted audio from specific channels, we can keyframe the audio to dip quieter for that time. To add the keyframes, holding Ctrl, hover your mouse over the start of the moment and left-click. Repeat this at the end of the moment. Then, drag the line between the keyframes down to lower the audio level.
Exporting your audio
With the recording cleaned up, it’s time to export your project. Select the Export tab and head over to Add to Que. This will bring up the export window. In this tab, we can set the file format in the Preset drop-down menu. Then hit Start Exporting.
There you go, you have now successfully created a great virtual meeting recording with flawless visuals and fine-tuned audio!