


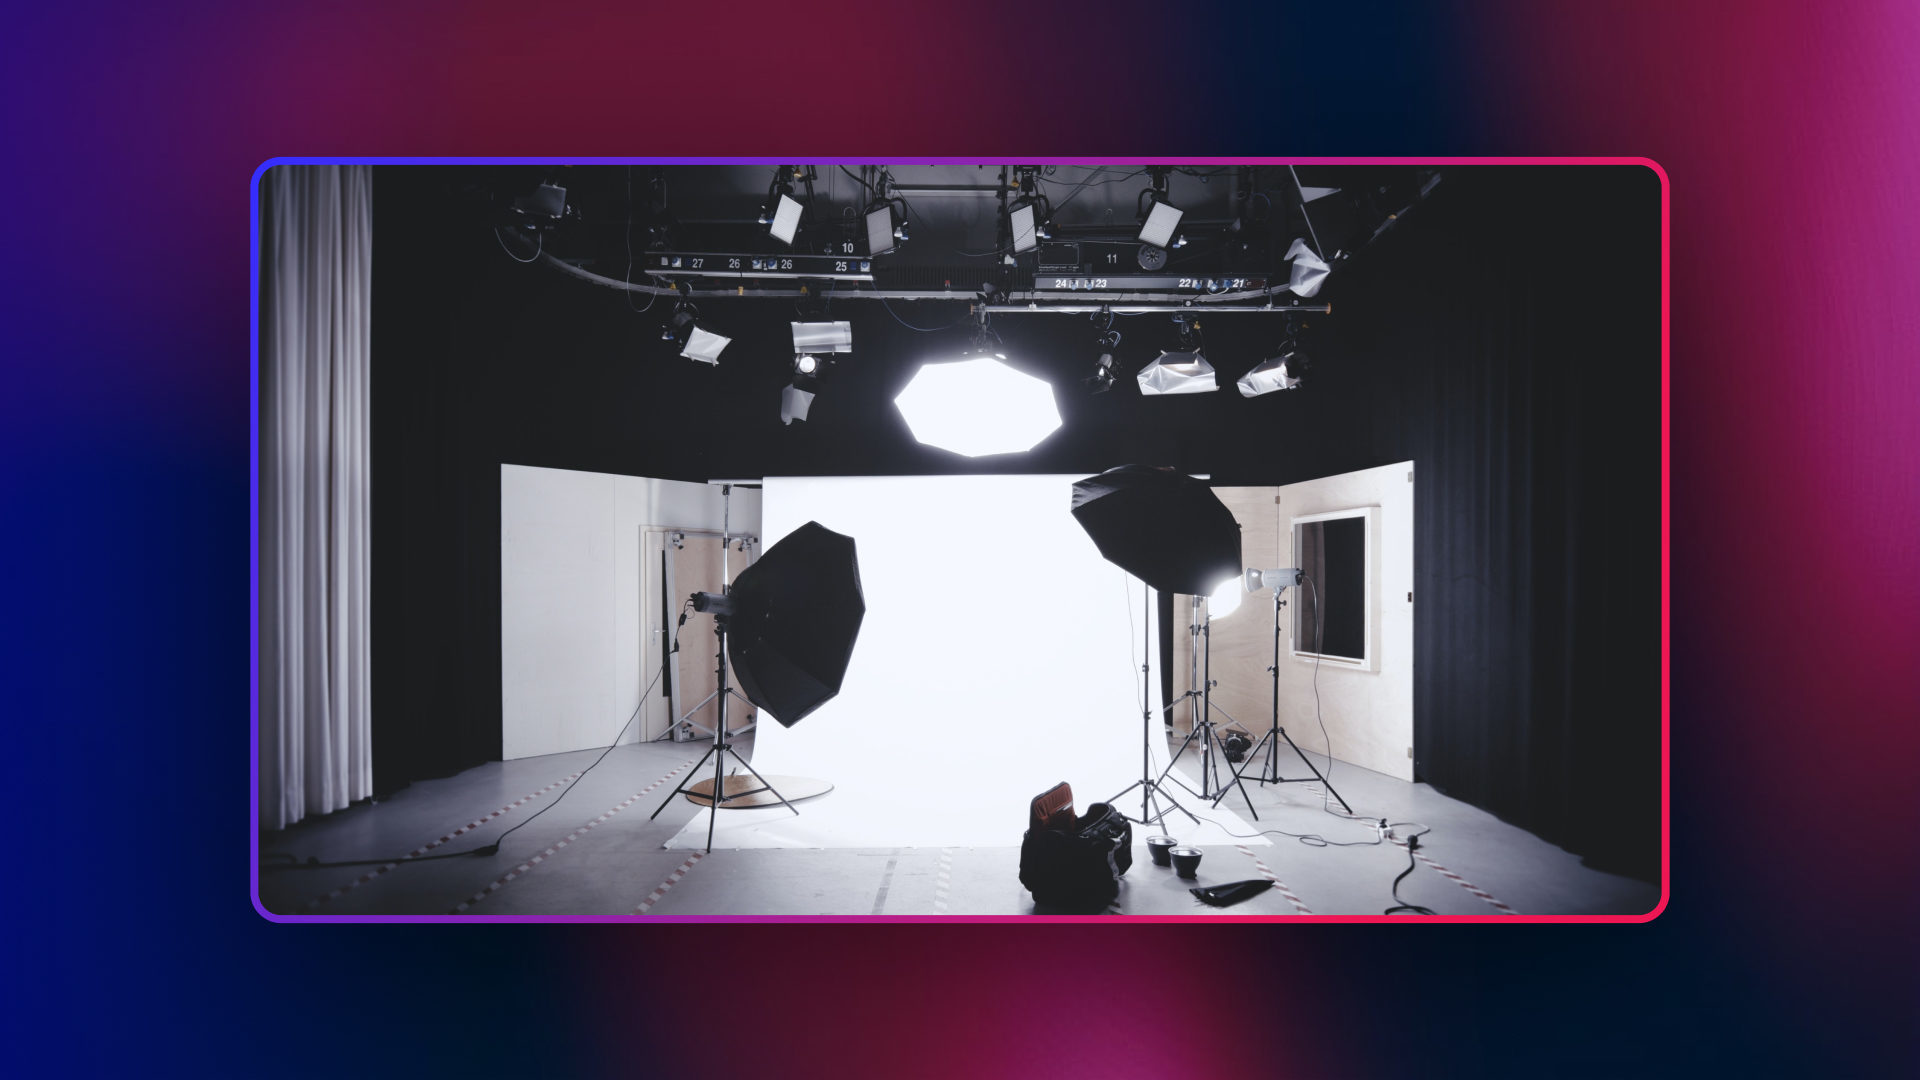
Lighting is an essential aspect of video production, but it is often lacking in lower-budget and amateur shoots. Learning to light a shot well is a vital skill for any filmmaker and can help you improve the quality of your scenes and the experience for your viewers. In this article we will cover some incredible DIY video lighting hacks so you can make the most of your production.
- Check out our top lighting hacks for low-budget DIY videos.
- Understand how to use DIY lighting to create an atmosphere and improve your viewer’s experience.
- Find cost-effective solutions for your low-budget video lighting.
Part 1: Why is Lighting important in a Video
Everyone knows the saying, Lights, Camera, Action! There is a good reason that lights are first on the list; without lighting, the camera wouldn’t be able to see the action. Knowing how to light your shots can help improve the overall quality of your productions.
Create Mood and Atmosphere
Lighting is vital for color grading, which helps you create a mood and tone for your shots. On a set, the look of a film is built from the lighting; horror films will often use lower layers of light to build a scene, whereas comedy productions will create a bright, more vivid shot.
Lighting is just as essential for content creators, even if it can be a little less creative. Shooting in low light can often cause grain, where the camera struggles to differentiate between dark areas. Adding lighting can improve the quality of your shot, but it can also help you create a consistent look for your projects.
Tell your Story
Different lighting styles can help you tell a story, and some specific looks can immediately inform the viewer of what is happening. In most cases, these lighting setups will be particular to the context of the shot, for example, using a bright, ethereal light for dream sequences.
For content creators, changes in lighting environments can also help cue your viewer into what is happening. It is common, for example, for reactors to change their DIY studio lighting between watching the content and reviewing it. Lighting will always be specific to your content, and you should always consider your viewer’s experience.
Create Special Effects
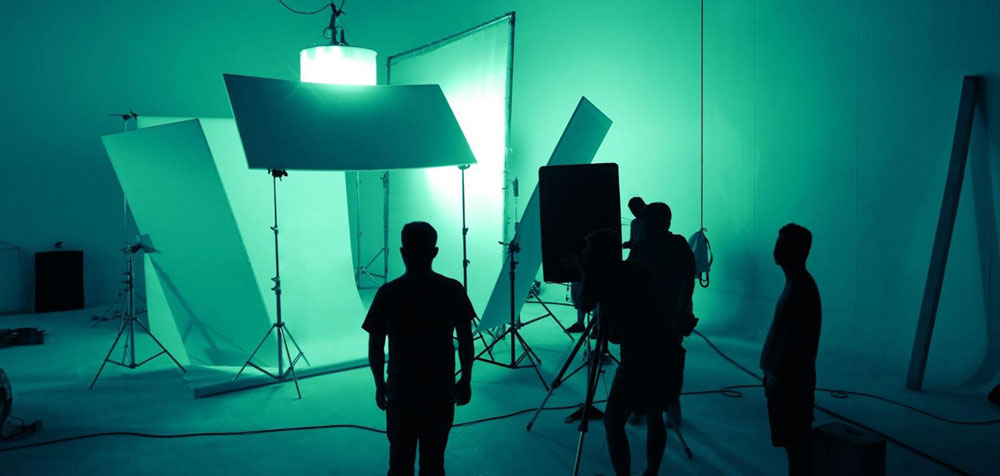
Lighting is also essential for creating high-quality special effects. If you intend to use Green Screen for anything, a good lighting setup is a must, as it will help produce a cleaner edge when you remove the background.
Even simpler special effects, such as adding light leak overlays, can be improved with good base lighting. Simply put, the better your lighting, the more you will be able to do with your shots in the edit.

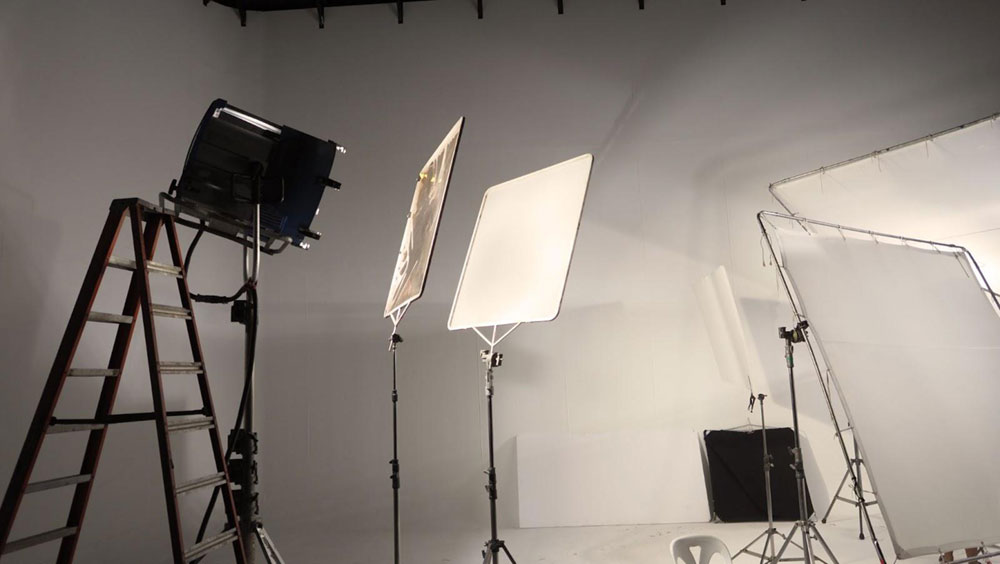
Part 2: How to create a Professional look in your Videos
Professional lighting kits can cost anything from a few hundred to several thousand, but there is no need to spend a lot if you’re just starting out. While professional film lighting has a range of handy settings, such as light temperature and color, learning the basics of lighting can be achieved with standard lamps. If you’d like to see these hacks in action, check out this fantastic video guide.
Tape
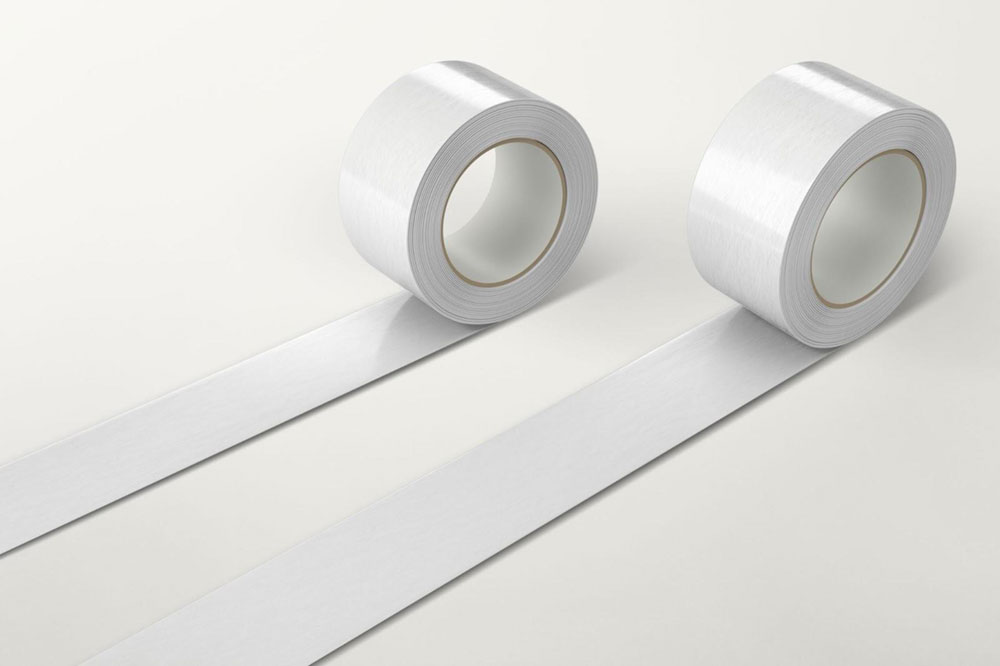
You should always have at least 2 rolls of masking or gaffer tape in your kit bag at any given time. From securing wires to fixing kits, Duct Tape is every filmmaker’s best friend, and this humble product can add lighting assistance to its growing list of uses.
Barn Doors are adjustable shields that sit around your lamps to help you direct the lighting. If your light doesn’t have barn doors, you can create some makeshift ones from tape to easily direct the light. You can even make a single-use lens hood for your camera, which is essential for reducing overexposure, flares, and keeping all that additional light out of the lens.
Bin Bags
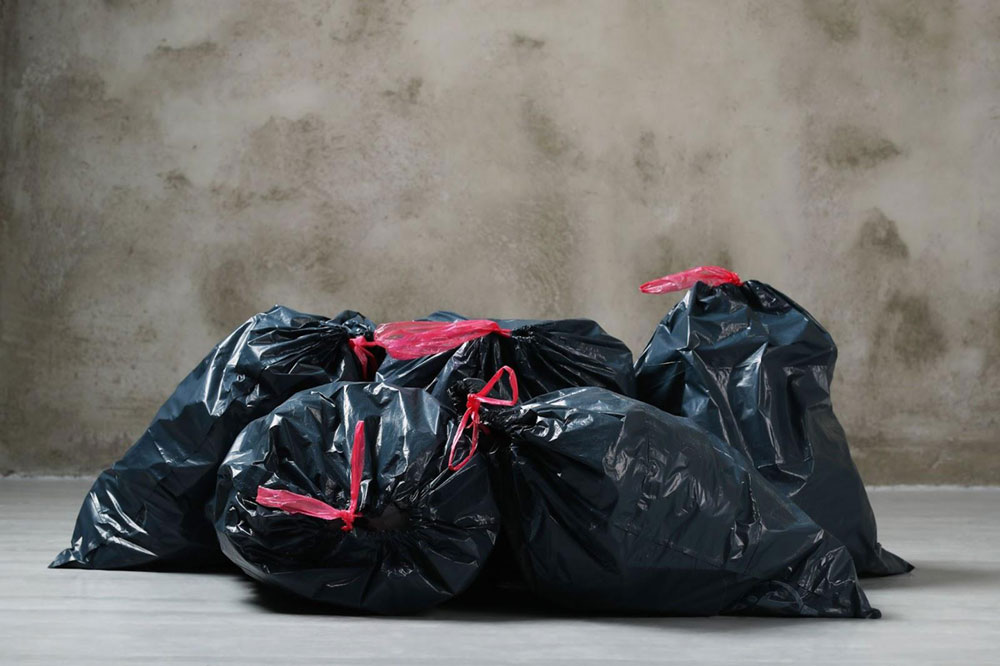
Ironically, the best way to start lighting an interior scene is to begin in darkness and then work backward. However, this can be challenging depending on what type of blinds or curtains you’re working with. Most windows will still let in ambient light, but there’s a quick and easy solution in household bin bags.
Tear each bag down the seam and tape it to the windows covering all the glass; you will need to use a few layers to achieve the blackout effect you need before you start lighting your scene. Remember to make sure your bin bag blackouts are covered to prevent them from being seen in your shot.
Foam Card
Our next video lighting DIY hack is Foam Card, a wonderfully versatile material frequently used to make props or add touches to costumes, but it’s also a friend to your lighting department. This inexpensive everyday-looking piece of white card has a reflective surface that can do an excellent job bouncing onto a filming subject or blocking the light entirely.
Foam Card comes in a variety of sizes, but it is also super easy to stick together with tape to create larger reflectors/blockers. Whatmore, with a bit of care, they can easily be taken apart and used again.
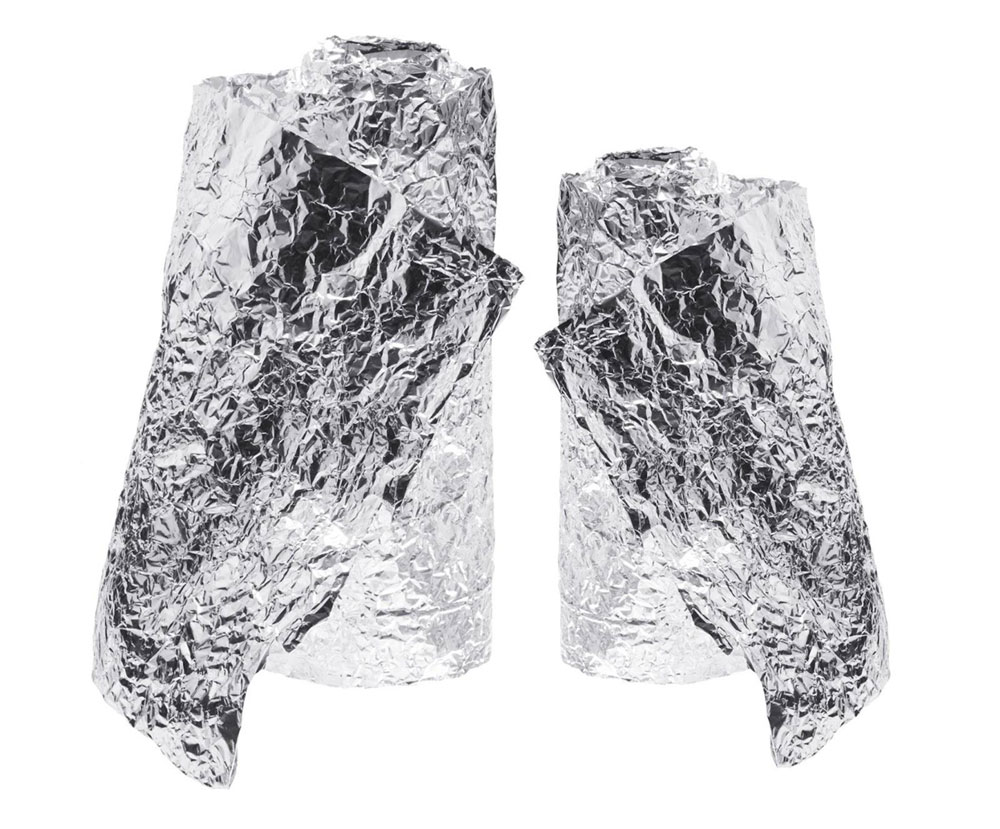
Aluminium Foil
While card foam offers a nice reflective surface to bounce light from, it is occasionally not enough. Aluminum Foil can be quickly wrapped around your foam card to create a super shiny, reflective surface to reflect your lights.
Smaller foil reflectors are ideal for lighting a moving subject, as they are lightweight and easy to hold. Foil can also be applied to surfaces with a little bit of tape, allowing you to turn doors and walls into giant reflectors, filling a space with light.
Shower Curtain
Shower curtains are the ideal DIY light diffuser for video; the super-thin plastic dulls the lights without limiting their spread. Placing shower curtain material over windows and lamps can create a super-effective softbox effect.
The thin shower material is also lightweight, allowing you to build up layers and create more substantial diffusion. Shower Curtains will melt if they get too hot, so make sure you’re using lamps that can’t overheat.
T-Shirts
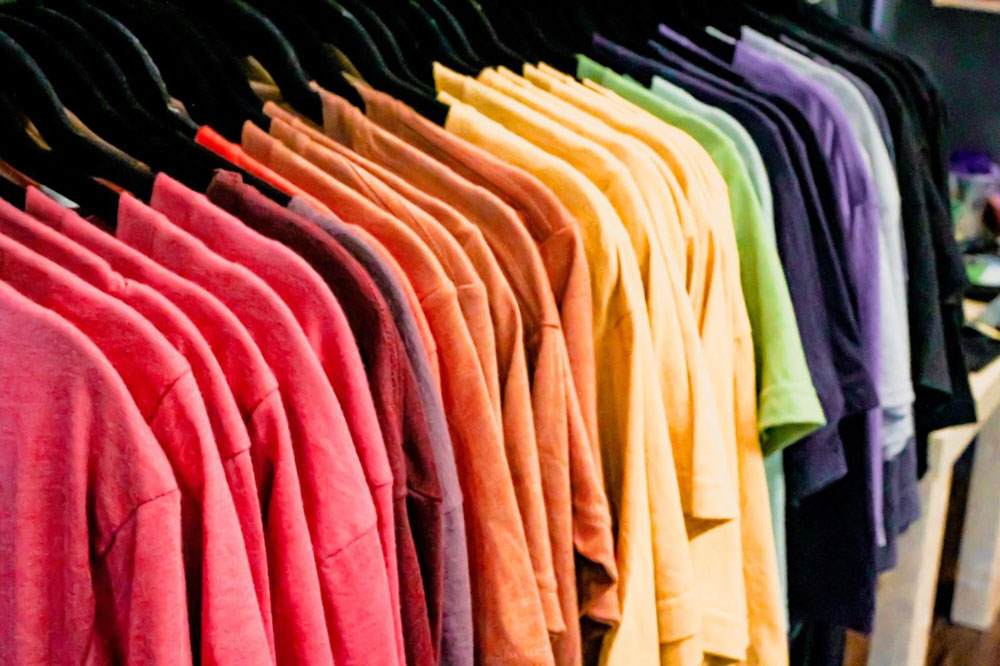
Using lighting color gels is an effective way to create a specific mood or style for a scene, but good quality gels can be costly, and if you’re on a budget, it might not stretch that far. The good news is, if you have lights that can’t overheat, such as Softbox or LEDs, then a t-shirt over your lights can work wonders.
The material will diffuse the light, and the results (wardrobe depending) can be hugely impactful and leave the scene with a tone and depth that a gel can rarely achieve. Again, this is only for lights that cannot overheat, or you will end up with a fire.
There are many tricks in filmmaking that can help you save time and money on your production. Video lighting is one area where you should never cut corners, but you can get creative and find solutions to suit your needs. Now you’ve got some top DIY video lighting solutions; get creative, and make something that looks fantastic.