A shaky camera could be a good thing or a bad thing depending on the type of film you are trying to create. Camera shake can be used to increase the feeling of danger and immerse the audience into the scene. However, occasionally camera shake can be distracting and a scene would be better off without it. In this tutorial, you will learn how to stabilize shaky camera footage using the built-in Point tracker in HitFilm.
To stabilize your footage, begin by importing your clip into a HitFilm Project, then add it into a composite shot. Once imported, select the footage layer and navigate to the Controls panel. In the Control Panel, select the plus icon beside Tracks and position the resulting red box in the viewer over a defined point in your shot – this point needs to have a lot of contrast and be visible throughout the entire scene. HitFilm will look for what’s inside the red box inside the green box for every frame.
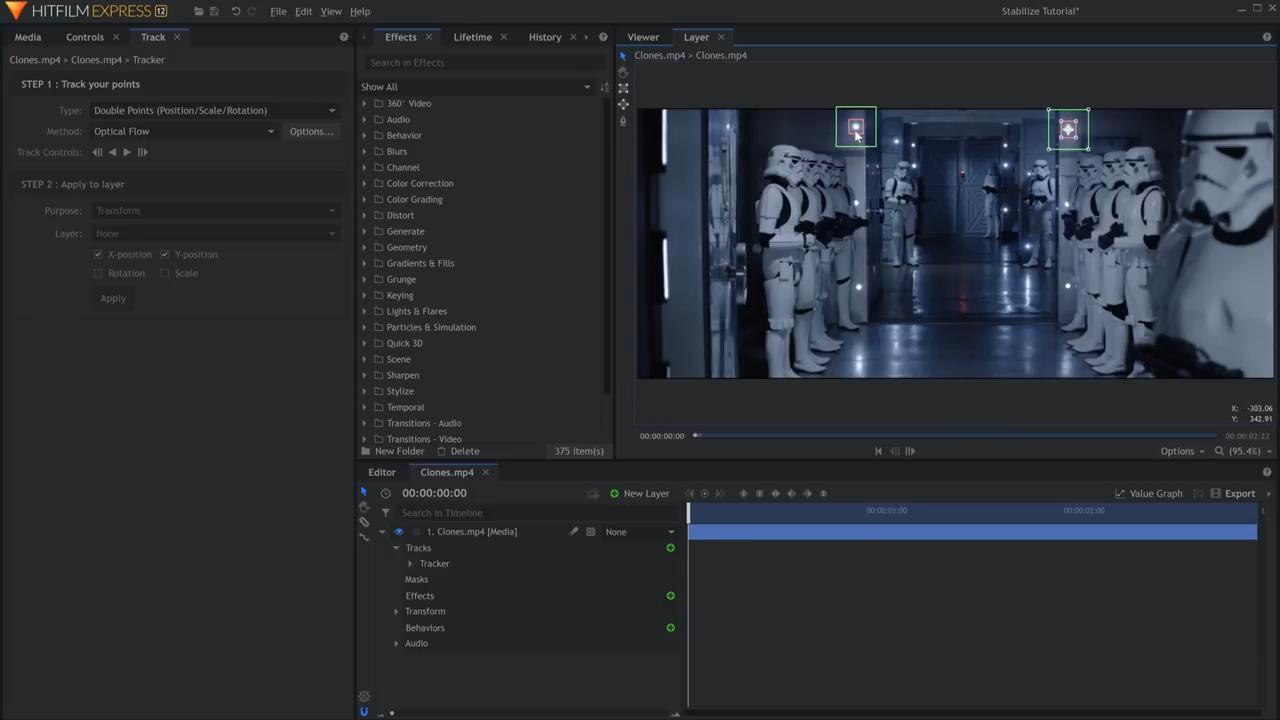
If you want to also stabilize the rotation of the shot, introduce a second point by changing the Type to Double Points and positioning the new box over another area of your video.
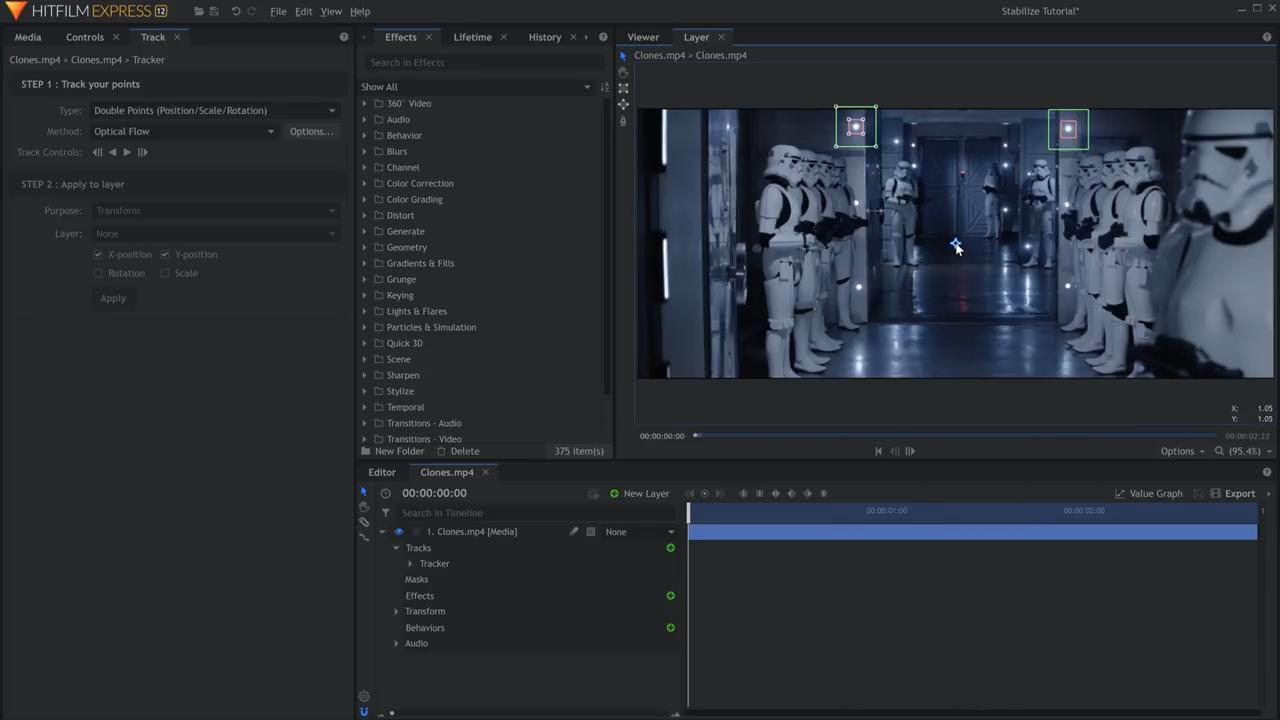
Next, drag the center point of the Track to the center of the frame. You can use the X and Y coordinates in the bottom right of the viewer to get the exact location. Then, press the track forward button, change the Purpose to Stabilize, and hit Apply. If you return to the viewer tab, you should be able to see that your footage has been stabilized.
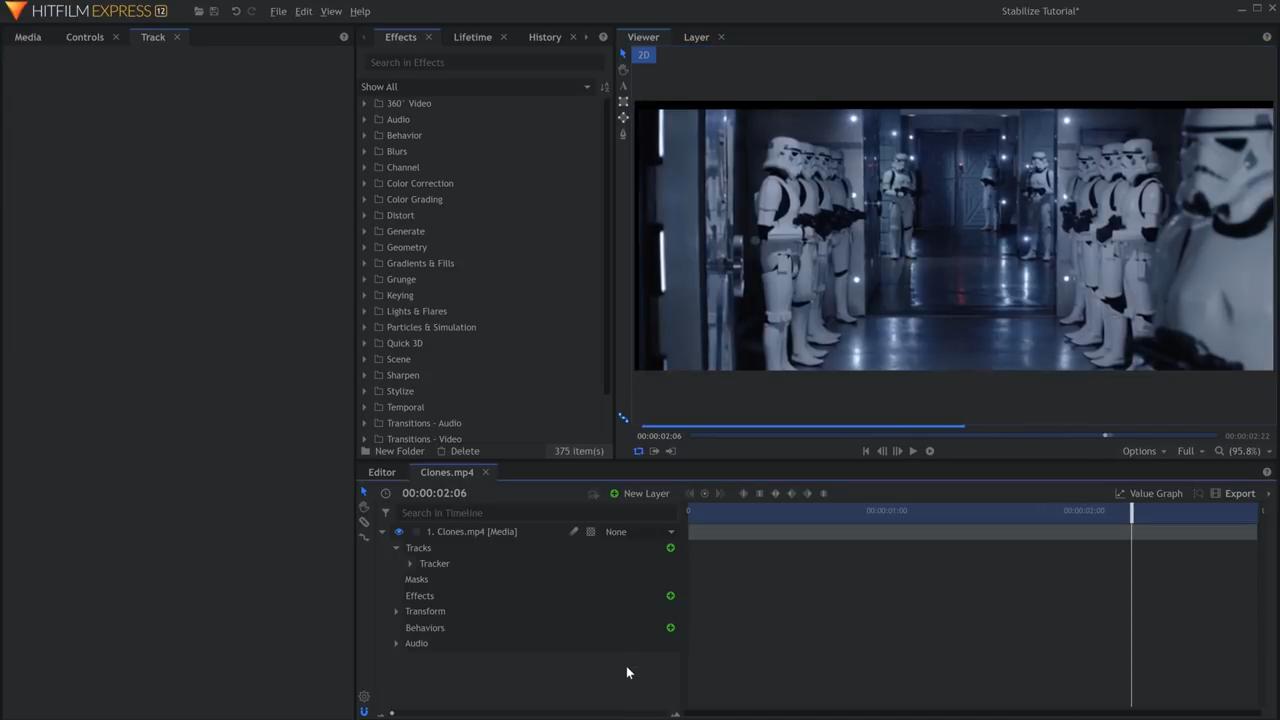
Lastly, in the Controls panel, adjust the position and scale of your footage to hide any edges that are showing. Now you have stabilized your footage!
Check our video on how to stabilize shaky footage in Hitfilm for detailed information in our Learn Panel section.

