If you’re just getting started in the world of photography and filmmaking, you might have come across the term ‘depth of field’. While it might sound quite complicated, depth of field is actually a fairly simple technique that can add a ton of value to your images. In this article, we’ll cover what depth of field is, how it works, and how to use it creatively in your images.
What is depth of field?
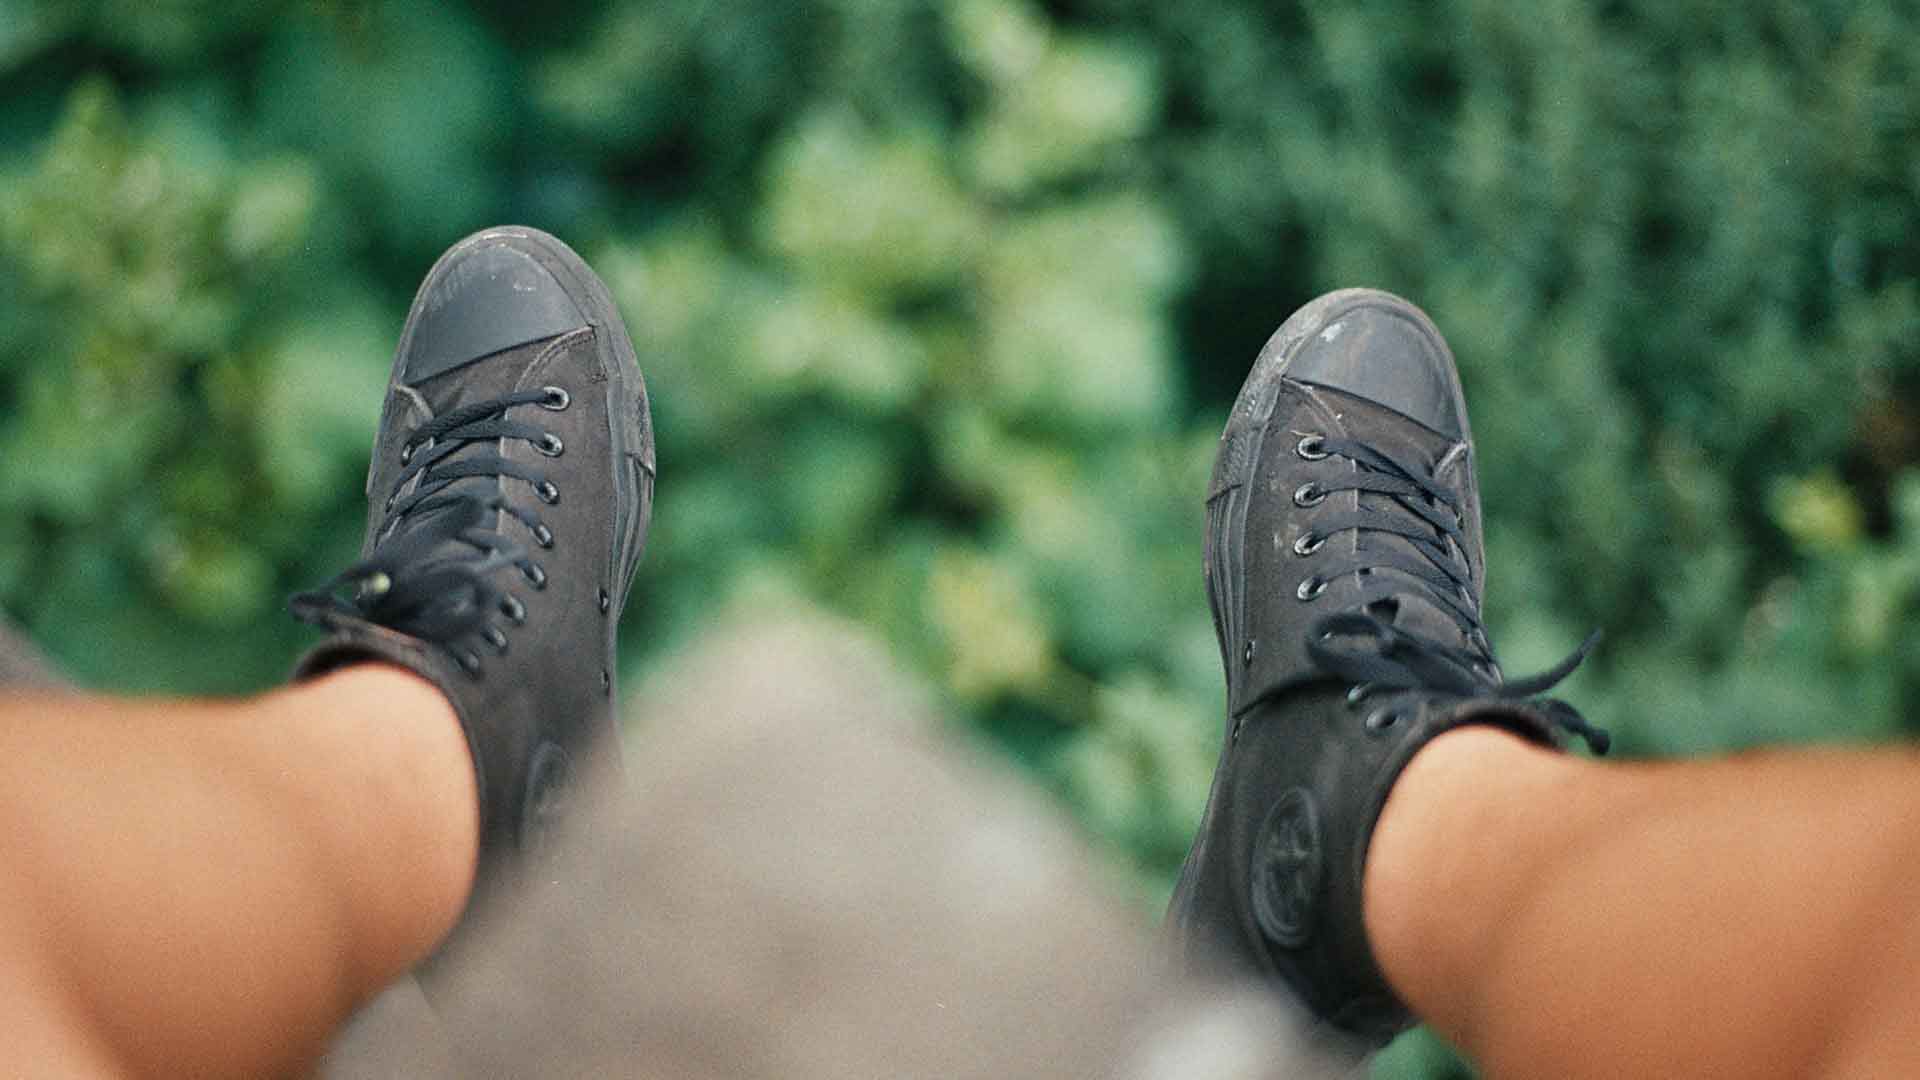
Simply put, depth is the distance from the camera. Depth of field is the portion of that distance or ‘depth’ that is ‘in-focus’. A higher depth of field would see the whole image from foreground to background sharp and in focus, a lower depth would result in blurry backgrounds and blurred elements in the foreground too.
Landscape photography typically (but not always) uses a large depth-of-field to capture all of the detail of the landscape, whereas portrait photography usually utilizes shallow depth-of-field to draw focus onto the subject.
What causes depth of field?
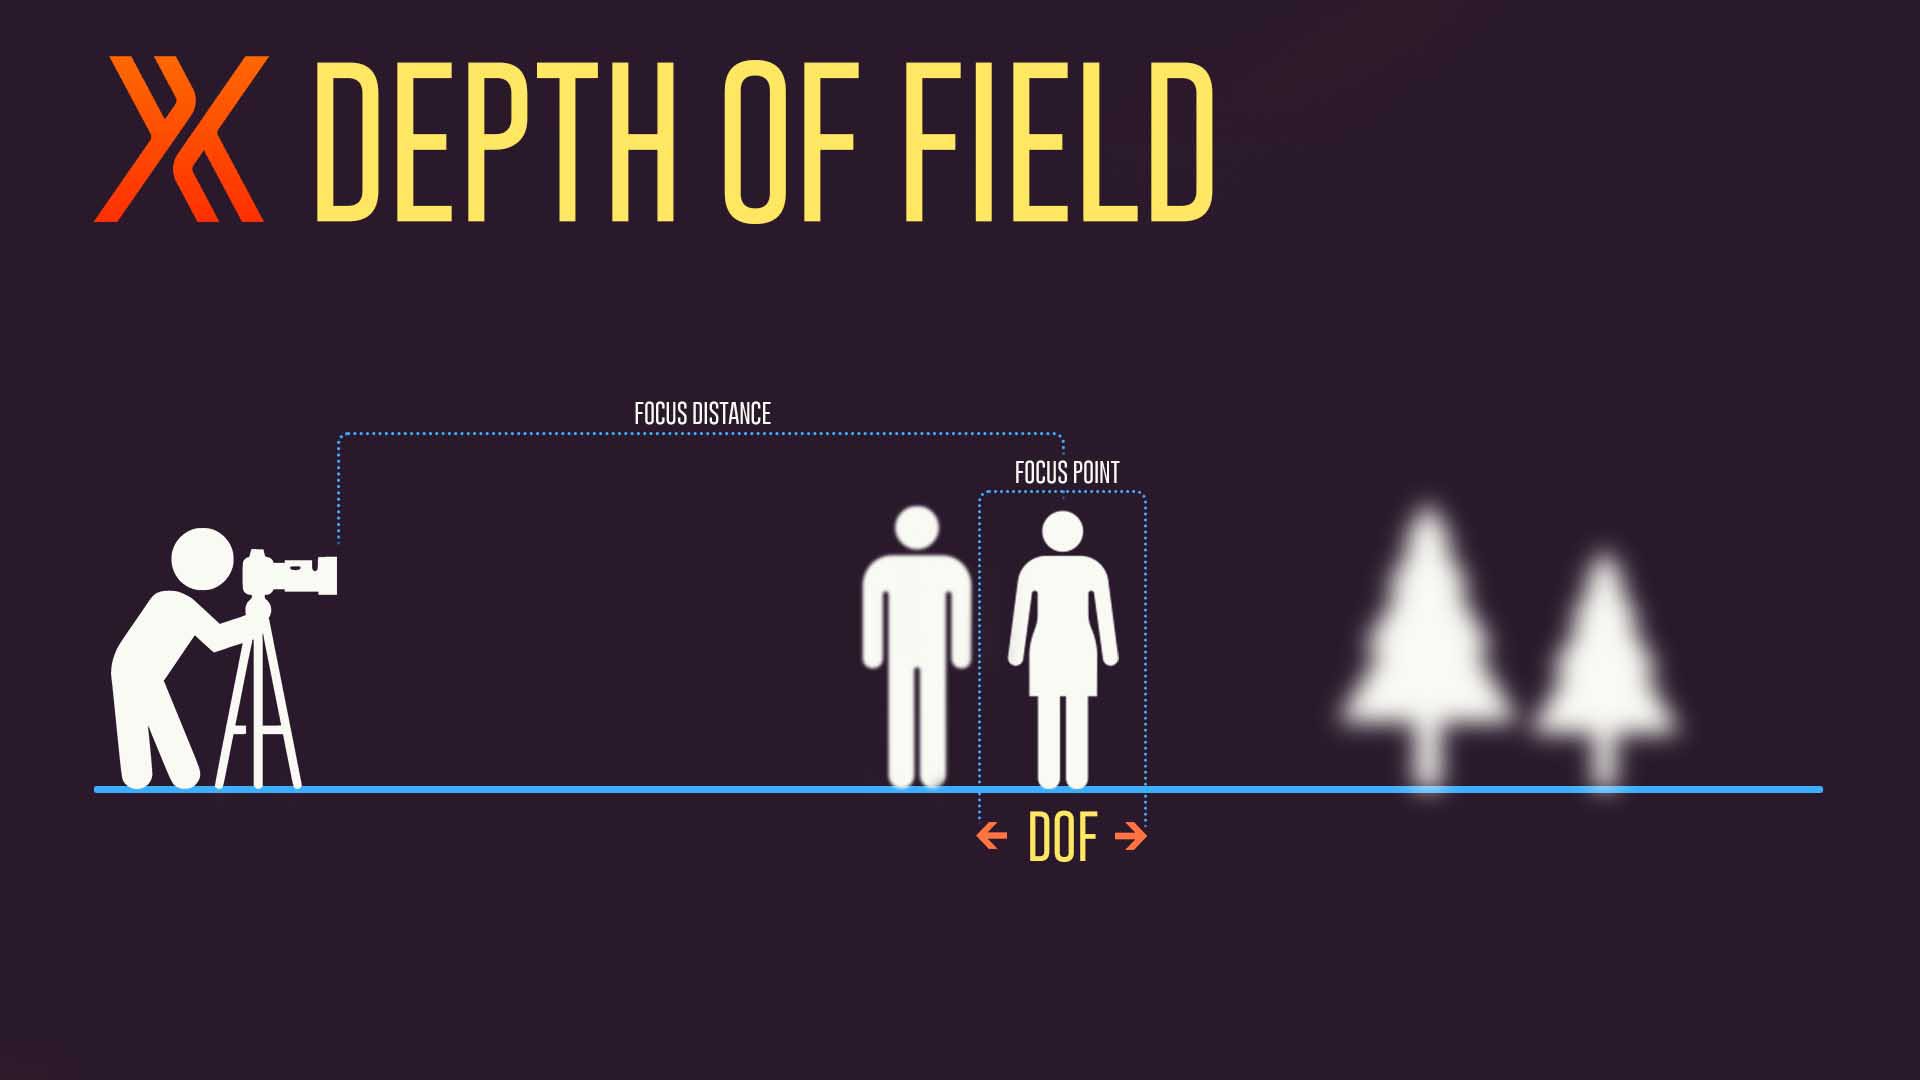
Depth of field is all about drawing focus onto a particular subject and works in much the same way that the lens in your eye does.
Try closing one eye and placing your finger in front of the other. Now focus on your finger, and slowly move it away from your eye whilst staying focused on it. Do you notice how the background slowly comes into focus?
What’s happening here is your eye clamps a ‘focusing range’ around your finger so it can stay focused on it. As you move your finger away, your eye adjusts to move that focusing range with it, meaning the objects in the background are coming closer to the centre of focus.
The reason that the areas that are out of focus appear blurry is that the precision of the light being captured from these areas is sacrificed to benefit the precision of those you want to look at. This means that the light in these areas becomes scattered – usually in the shape of a circle because of the shape of your iris – the part of your eye that ‘steers’ light onto your retina
What is bokeh?
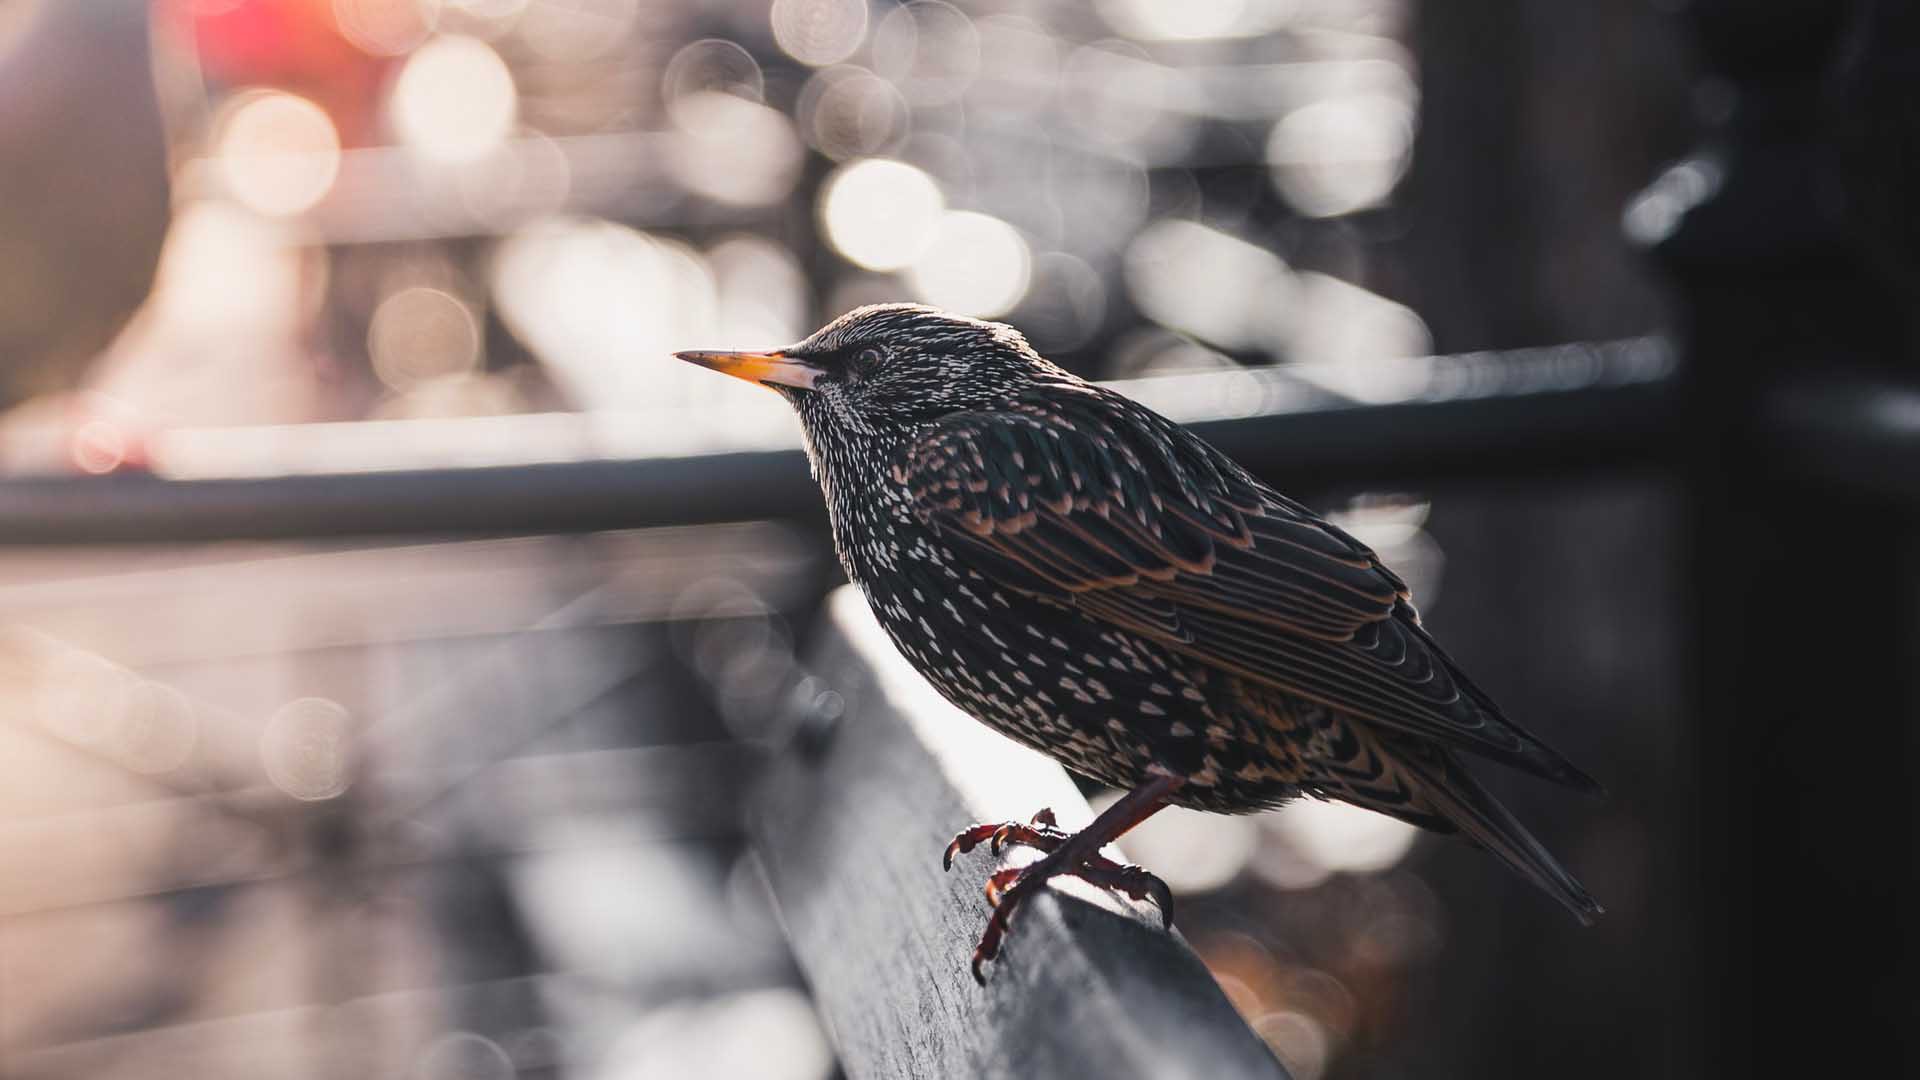
Bokeh is the name for the blur that occurs as a result of a narrow depth of field. It is typically circular because it scatters within the confines of a circular element in the eye or a camera lens called an diaphragm or ‘iris’. The wider the iris, the larger the circles.
How to use depth of field
Subject separation

One of the main purposes of depth of field is to create what’s called ‘subject separation’. Bokeh can be used to soften distracting elements in the background or foreground of an image so that the eye is automatically drawn to the subject of choice.
Drawing the eye to an area
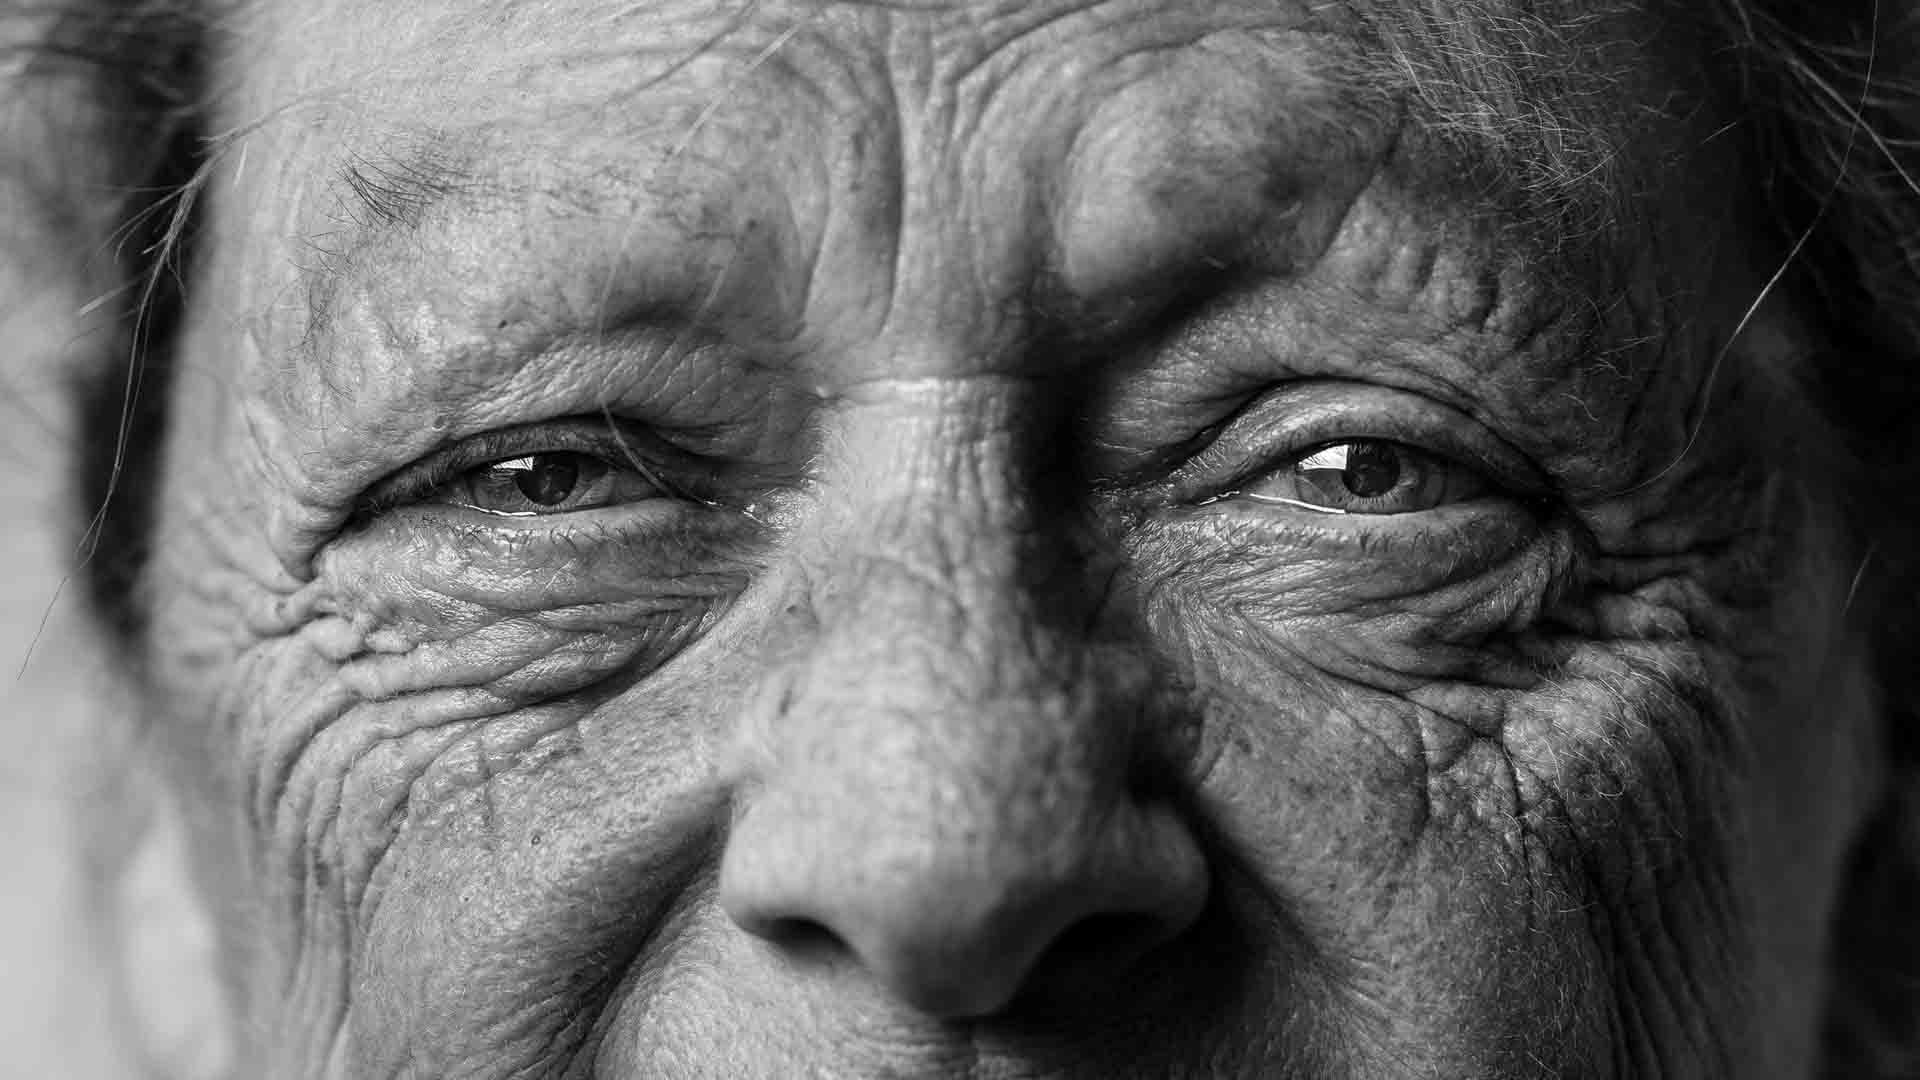
Depth of field can also be used to draw attention to a particular detail in an image – for example the shoelace in a photograph of a boot, or a person’s eyes in a portrait. It increases the contrast in the focus area relative to the areas around it, and our eyes are naturally drawn to areas of high contrast. If you have more than one subject in your shot, you can use depth of field to pull your viewers focus to one in particular.
Composing your shot in layers
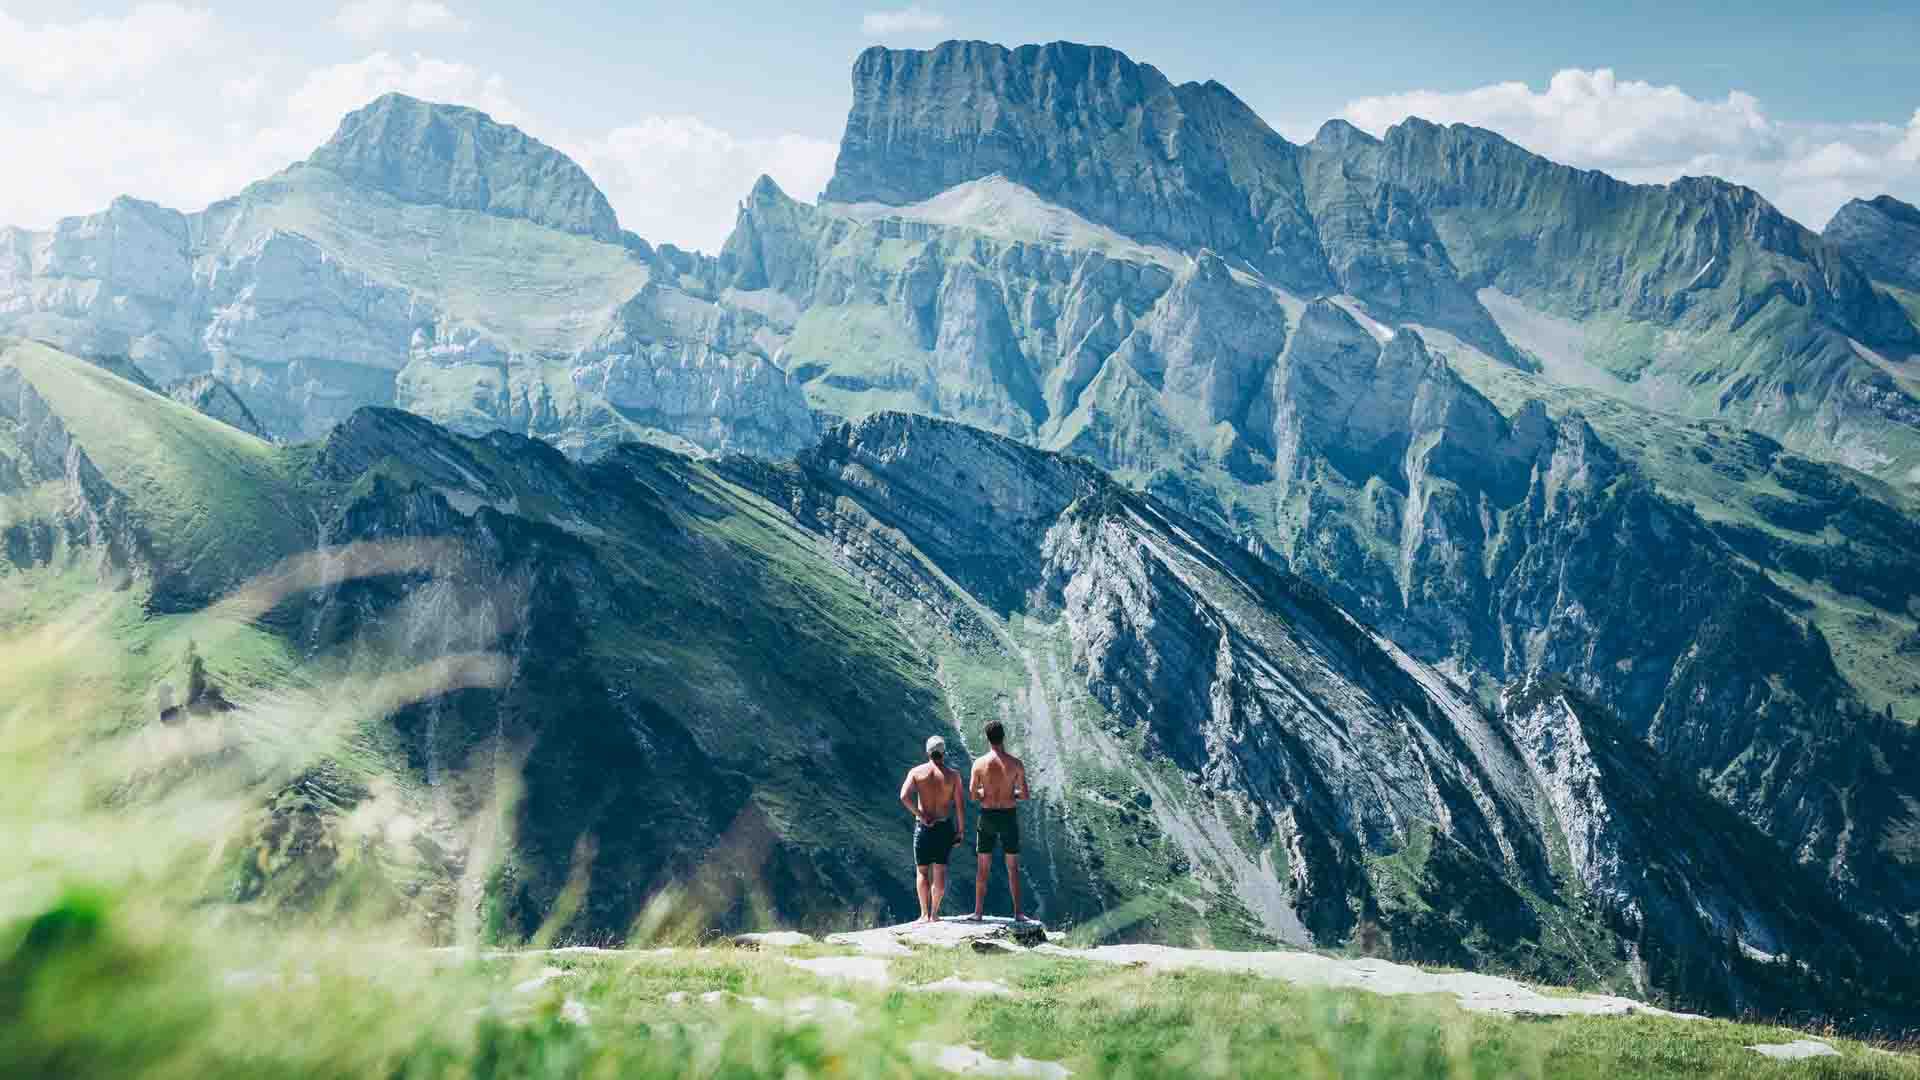
You can also use depth of field to create what’s called ‘layering’. Photographers and cinematographers will often add elements like plants or structural elements as an out-of-focus layer in the foreground. This helps to add dimension to your image, and creates a more immersive perspective for the viewer. Try experimenting with two, three, four, or even five layers to see how it affects your final result.
Obstructing unsightly elements
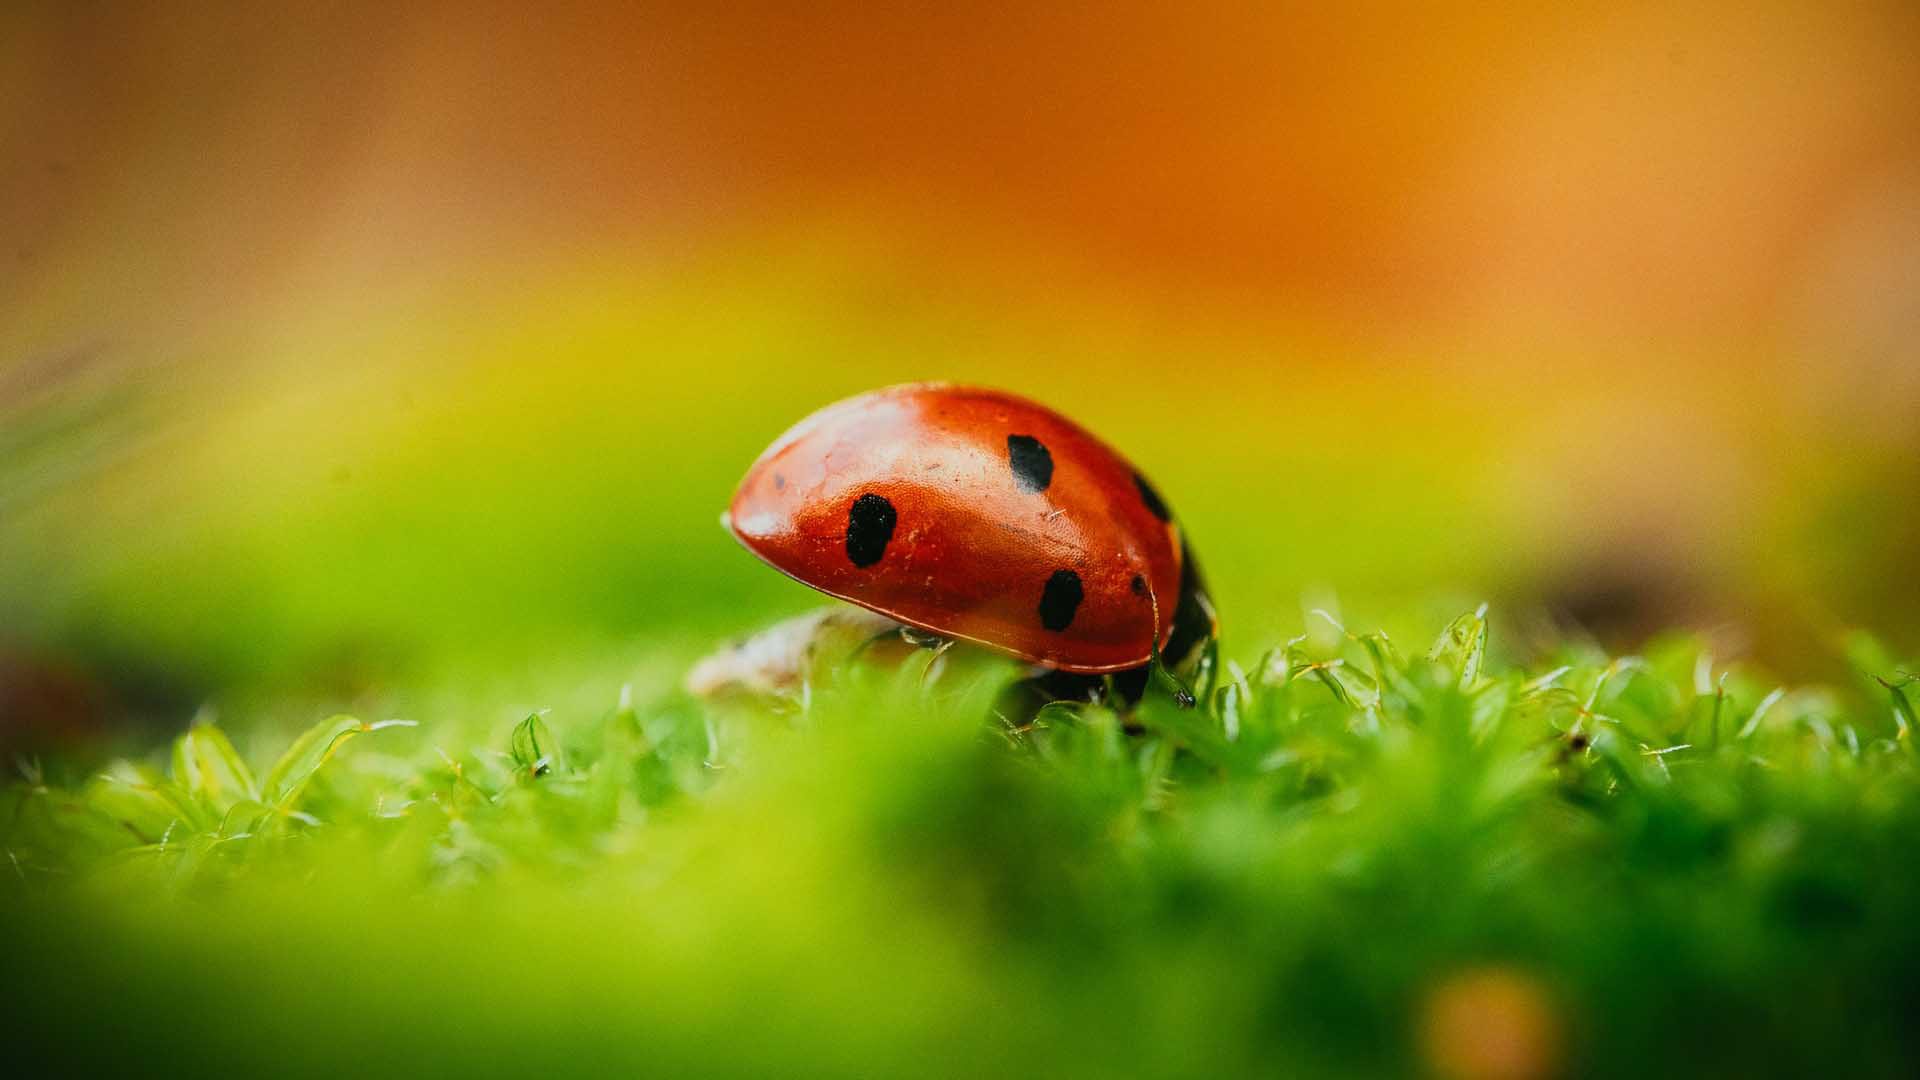
As well as creating dimension and context, out-of-focus elements in the foreground can be used to obstruct unsightly elements in the scene, or create more mystery surrounding the context of your subject. Close up elements can create a subtle and unobtrusive effect that slowly tapers off the detail in an area of the image.
Get down low
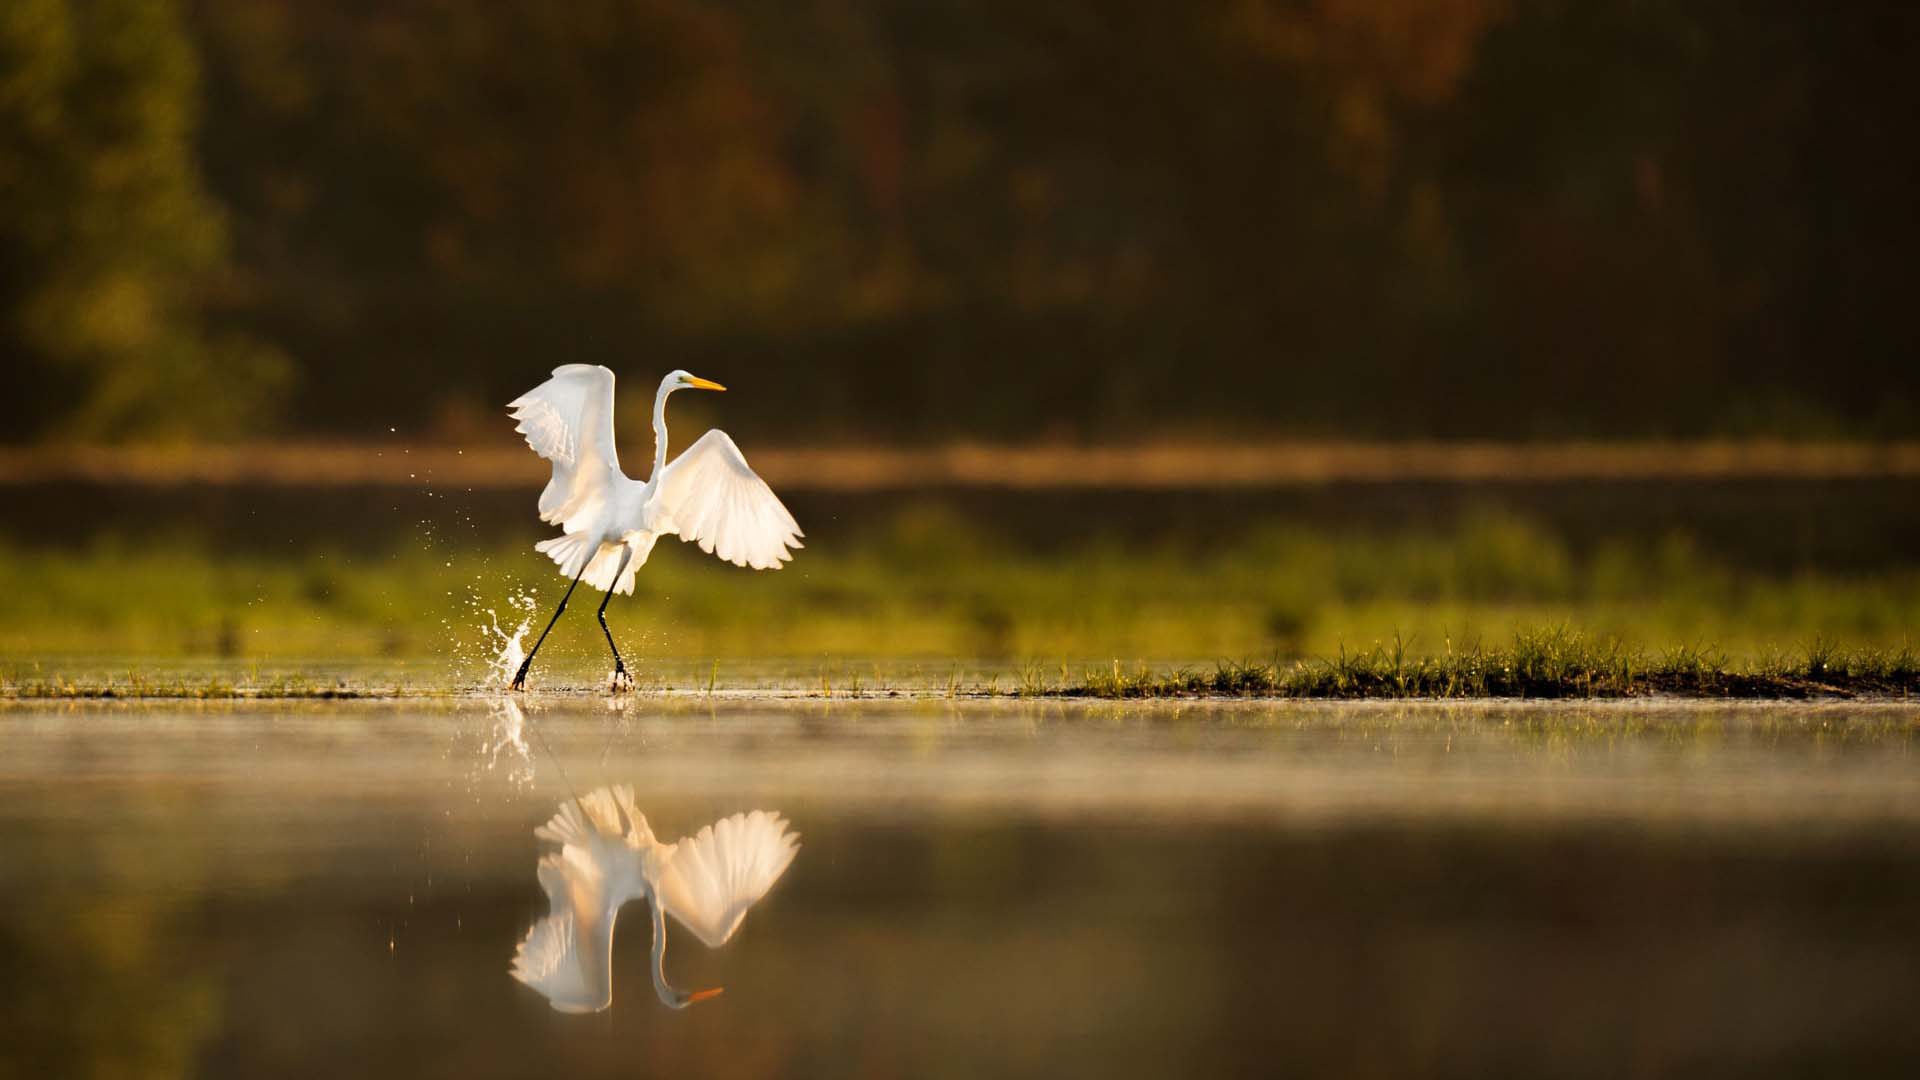
Getting your camera down low can offer unique perspectives in any context. When using a shallow depth of field, it can also create a smooth ‘taper’ effect at ground-level that can look really interesting.
How to control depth of field in a camera
Depth of field is generally dictated by three factors:
- How far the elements in your scene are from each other
- How far your camera is from the elements in your scene
- The aperture of the lens you’re using
How far the elements in your scene are from each other
If the different layers in your scene are too close together, there won’t be enough distance between the objects to create any noticeable difference in how much light can be dispersed. In some ways, this will make the objects appear to be on the same plane (or at least in the vicinity) of each other.
Increasing the space between objects increases the depth, and therefore the distance that light has to disperse and create bokeh. However, it’s not always possible to move the elements in your scene, especially if you’re shooting events, documentary, wildlife, or sports. So what else can you do to control depth of field?
How far your camera is from the elements in your scene
Moving yourself (or the camera) closer towards the objects in the scene increases the relative distance between the objects themselves when compared with the distance from the camera. This increases the perceived depth and can add more lens blur to background and foreground layers. Similarly, moving the camera further away will reduce the depth of field and make objects seem closer together.
The aperture of the lens you’re using
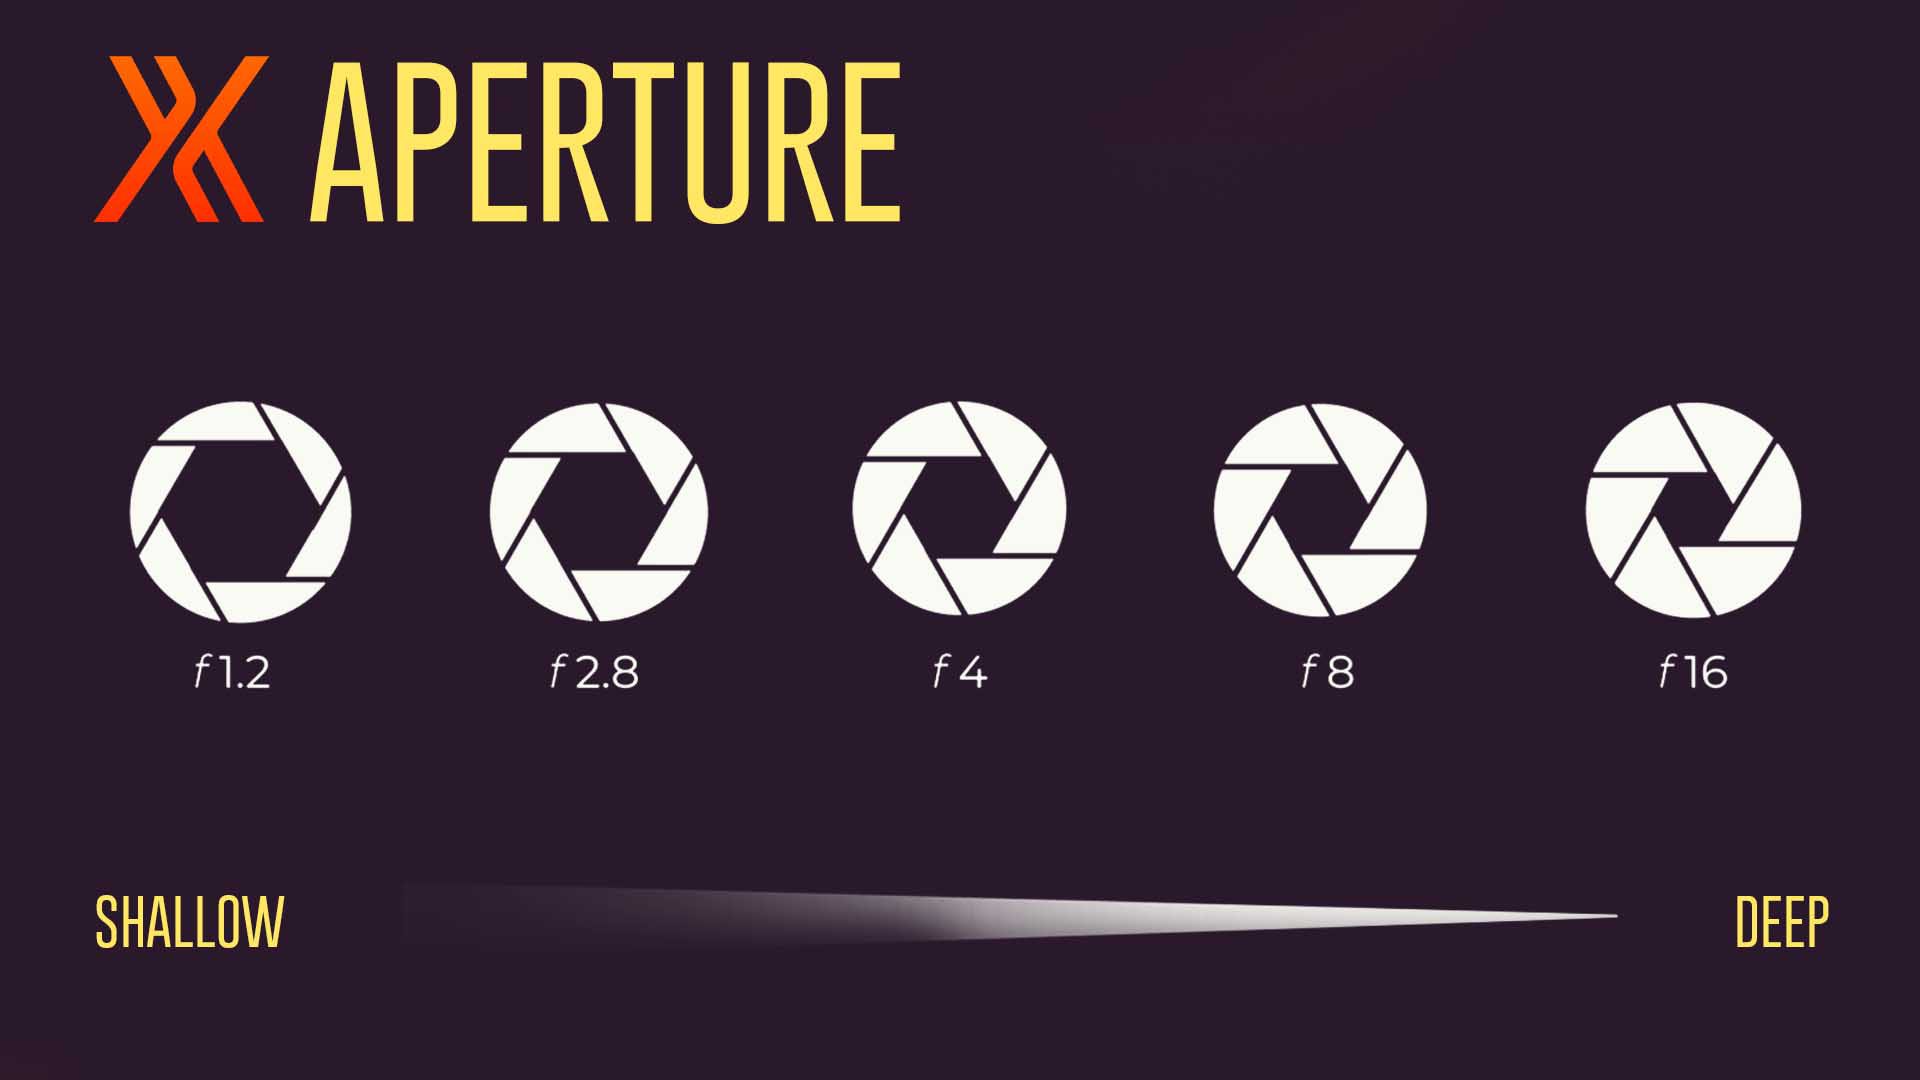
The aperture of your lens refers to how wide the diaphragm or ‘iris’ in your camera opens. When you open the iris wider (a higher aperture), it increases the radius at which light can disperse when making its way to the sensor. This creates lens blur that’s more pronounced, and as a result, reduces the depth of field.
Different lenses have different maximum apertures. Aperture is measured in f-stop and the lower the f-stop number, the higher the aperture (wider the iris). Therefore an f-stop of 1.8 has a wider aperture than an f-stop of 3.5.
It’s also worth noting that when you widen the aperture, you’re letting more light through and therefore need to compensate for exposure by using a faster shutter speed or lower ISO value. If you’re shooting in an ‘auto’ mode, your camera should do this for you.
The focal length of the lens you’re using
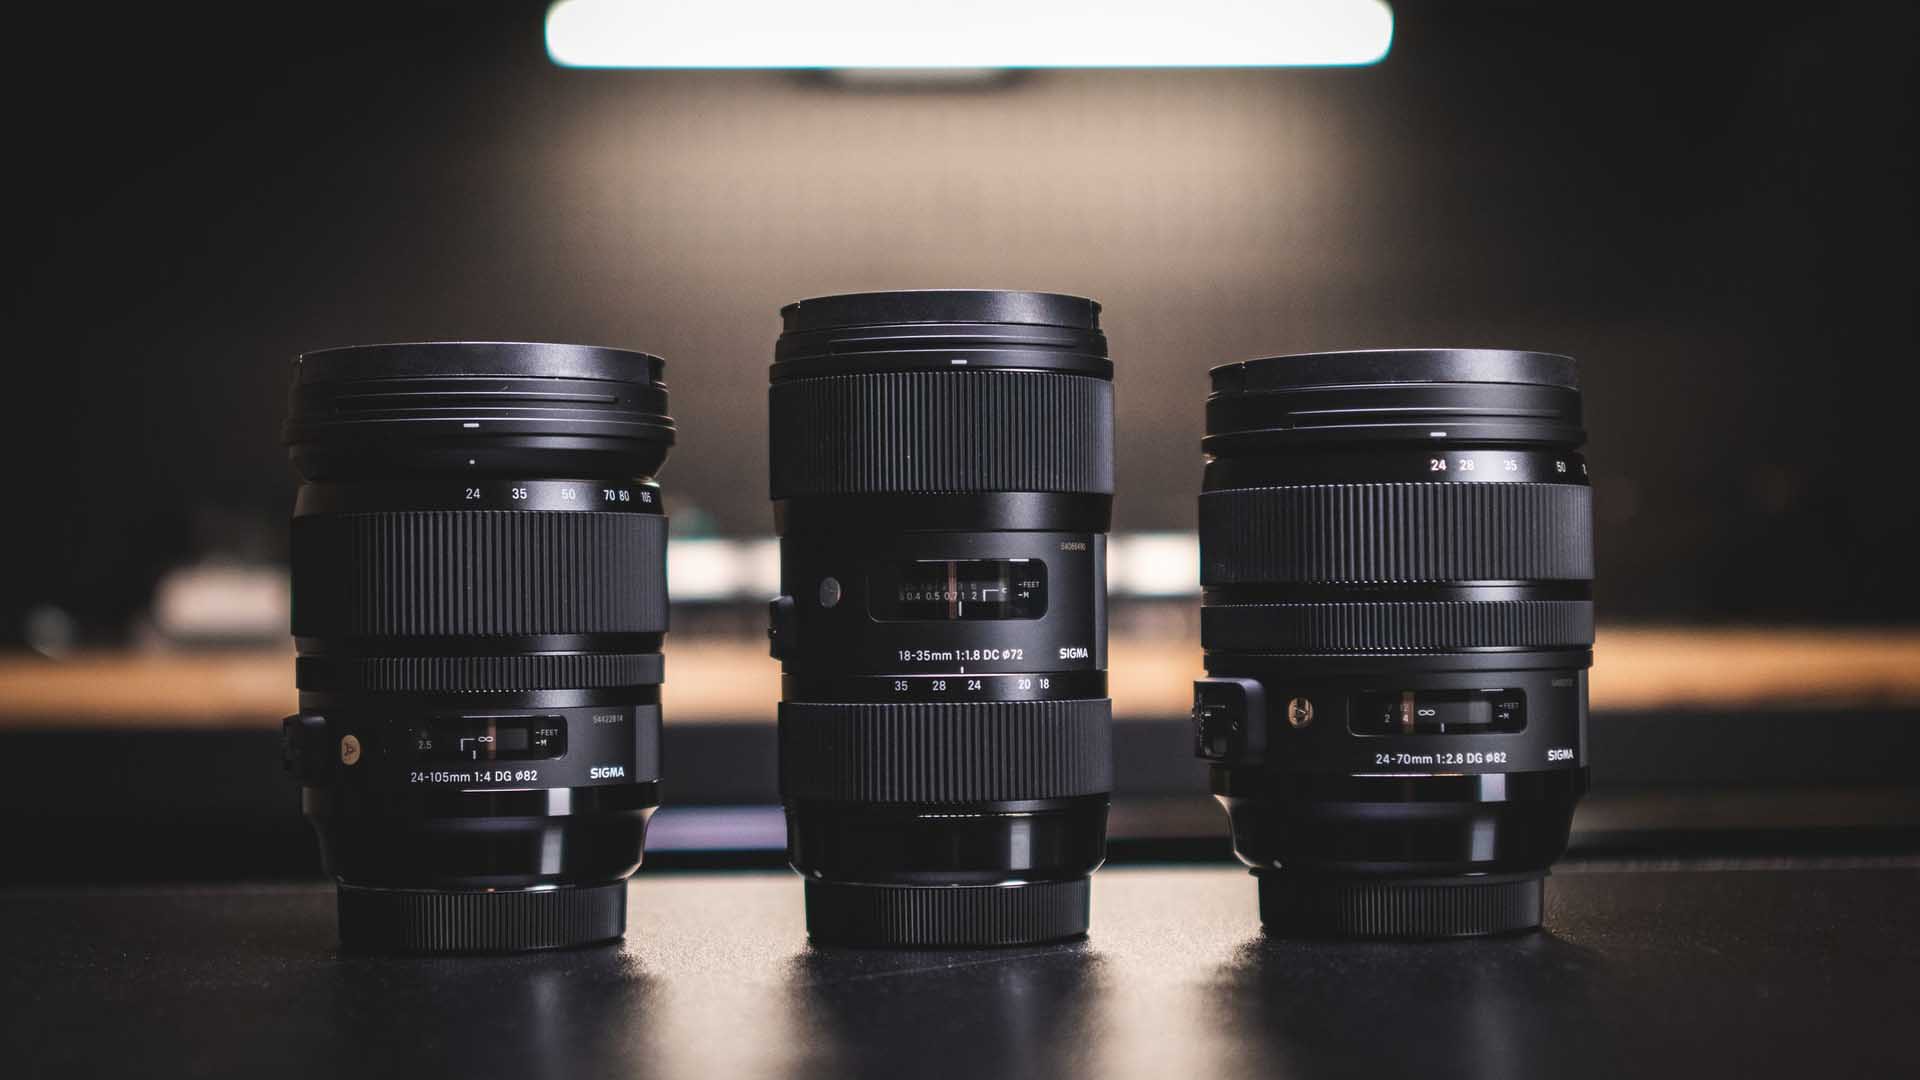
The focal length of your lens can affect depth of field because it affects the apparent distance between you and the objects in your scene. Longer focal lengths tend to have a pronounced depth of field, so using a telephoto lens like an 85mm or 105mm can be a good way to add dimension and depth (providing you use a high enough aperture to make use of it).
Use sparingly
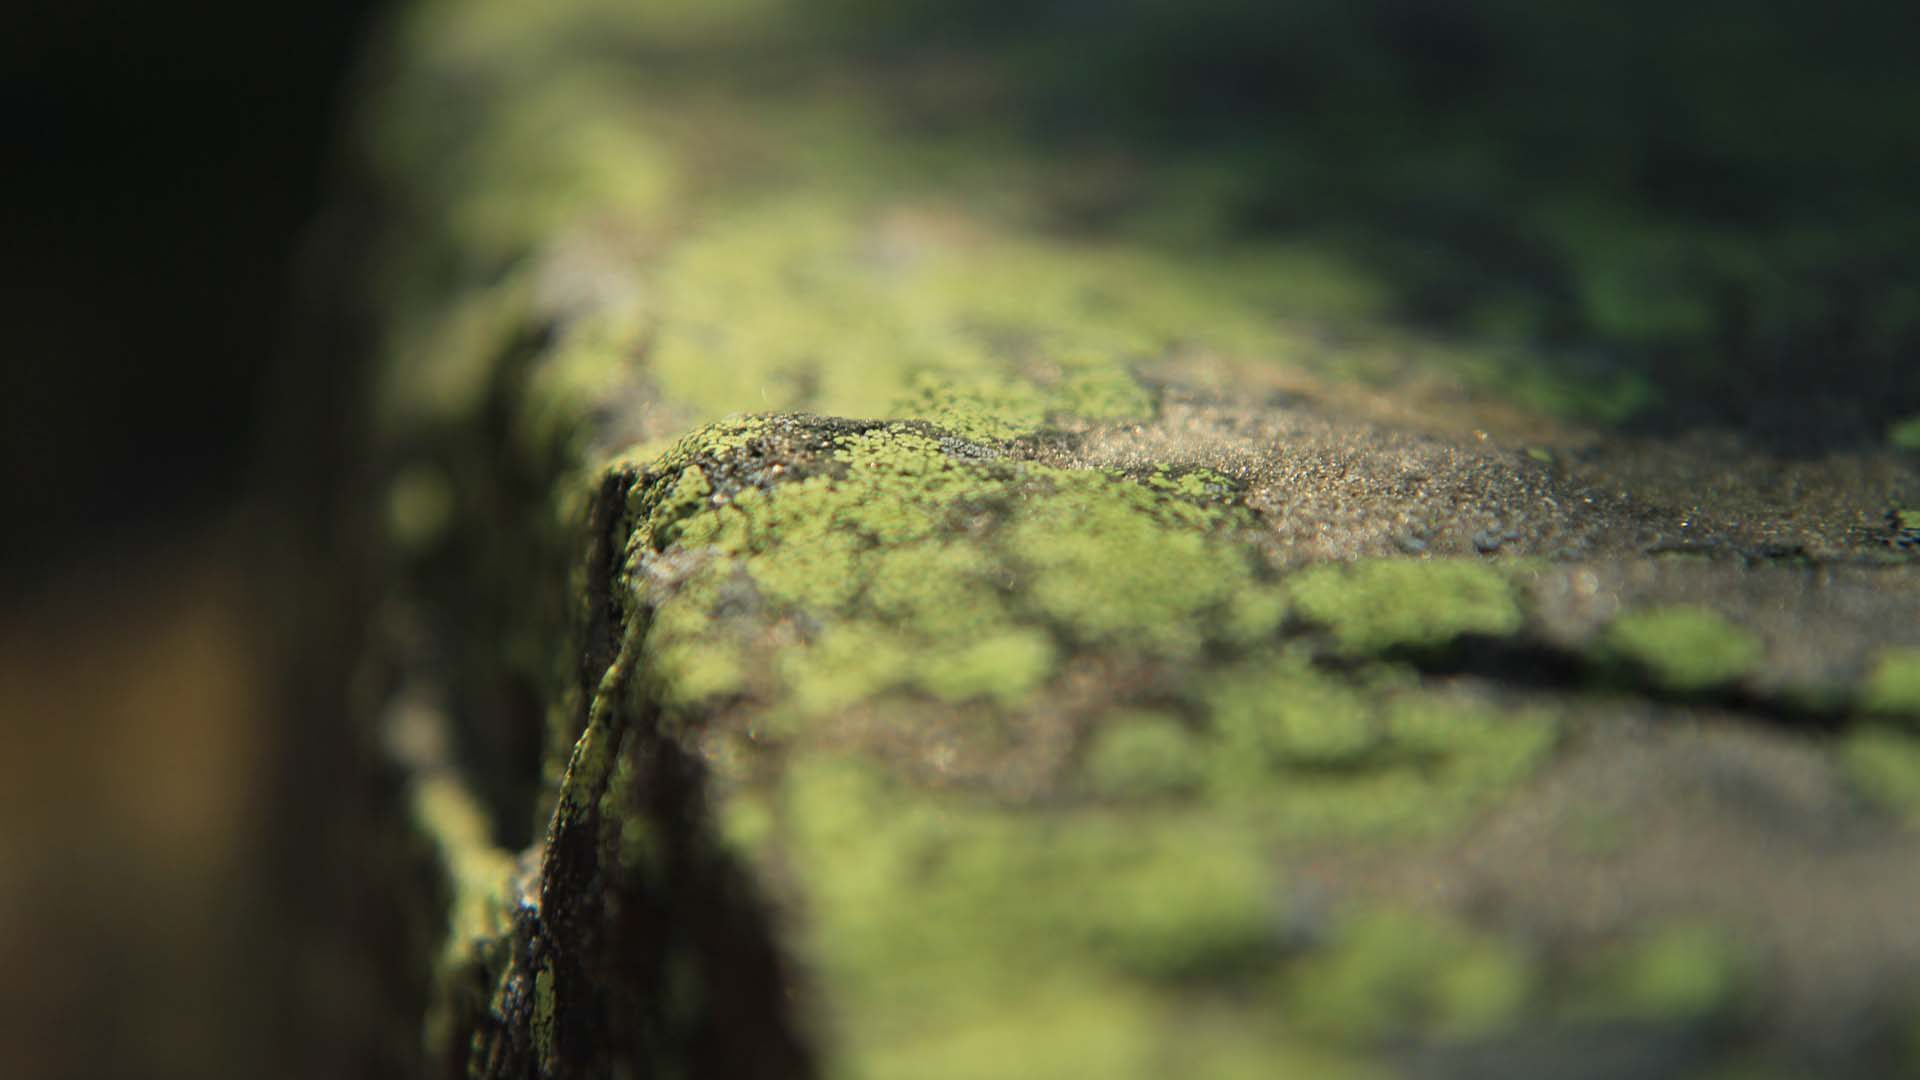
While it can be tempting to go out and shoot everything at the highest possible aperture to get that nice ‘creamy’ bokeh, it’s easy to get carried away and forget what you’re trying to achieve.
Too much depth can make it hard to tell what you’re looking at. Sometimes just a little can achieve the effect you’re looking for – and will preserve some of the context of your scene for viewers to pick up on. The benefit of a wider depth-of-field is also that it’s much easier to keep things in focus – pulling focus on a moving subject is pretty difficult when your depth-of-field only spans a thin sliver of the range.
Other ways to create depth
Depth-of-field may be the most common way to create depth in an image, but it certainly isn’t the only way. You can also use techniques like lens compression, field-of-view, and atmospheric effects. Combining two or more of these techniques can create unique images with lots of dimensionality.
Lens compression
The focal length of a lens dictates its field-of-view, i.e. how ‘wide’ it is. For example ‘wide-angle’ and ‘fisheye’ lenses have a wide focal length (usually between 10 and 35mm) and ‘telephoto’ lenses can have focal lengths of anywhere from 80 to 2000mm or more. The longer the focal length, the more ‘zoomed-in’ the image that the lens produces.
Lens compression is what happens when you have really ‘zoomed-in’ telephoto lenses. It refers to the ‘squishing’ of elements or layers together so they seem closer together (or farther apart) than they actually are.
Longer lenses can be used to bring objects ‘closer together’ in the resulting image, reducing the depth and increasing the implied ‘intimacy’ between them. Wider (or shorter) lenses can be used to make things seem far apart, for example – using a fisheye lens to shoot a long corridor can make it appear to go on almost forever.
Atmospheric effects
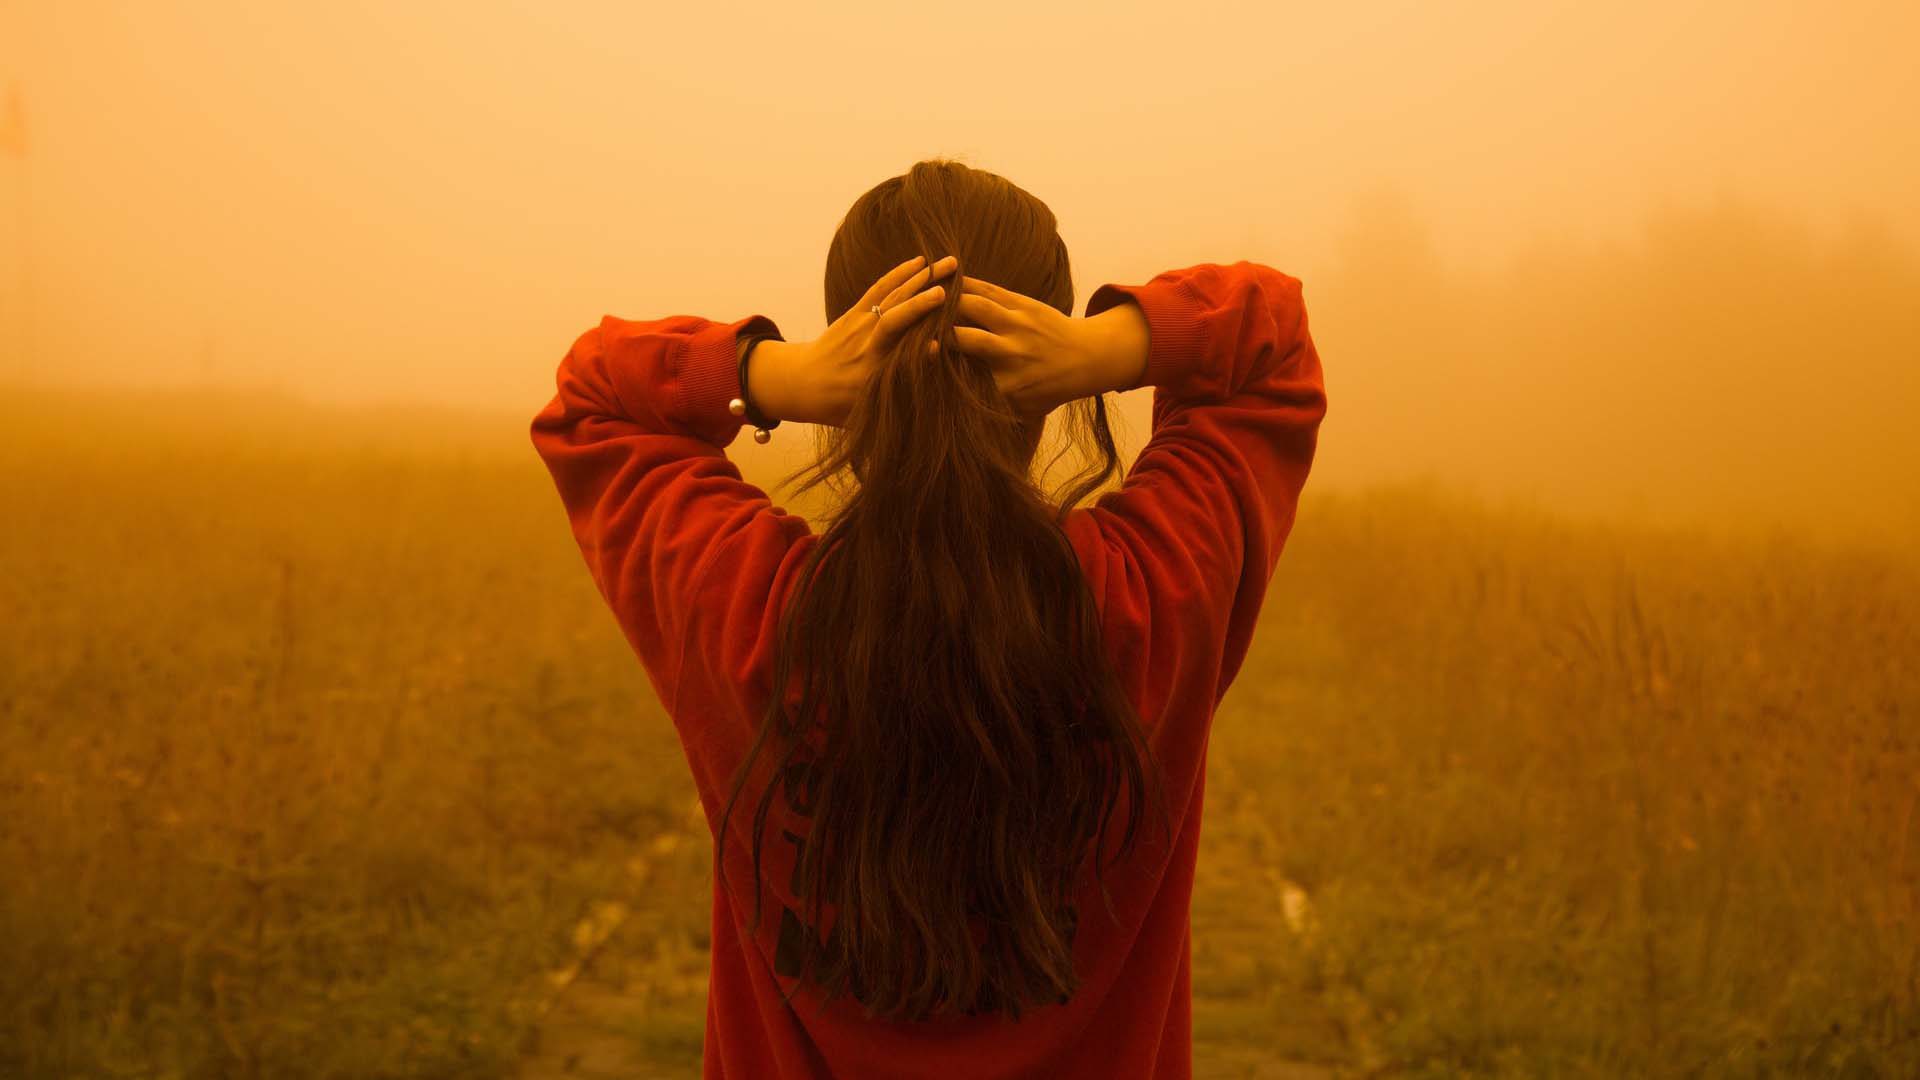
Another way to create a sense of depth in your imagery is with atmospheric effects. We’re talking about things like mist, fog, haze, or dust. These types of effects usually create a subtle ‘diffusion’ of light and reduce the contrast between different layers. The heavier the atmosphere, the stronger the effect and sense of depth. Using atmospheric effects in combination with long lenses can create powerful layering in your images.
Learn more about depth of field with Imerge’s Lens Blur effect
Imerge has the most authentic Lens Blur effect on the market complete with realistic ‘bokeh balls’. Buy Imerge now and play around with settings for different results, mask out different areas to create realistic subject separation, and more.
Imerge is the world’s first fully non-destructive RAW image compositor. Take control of your color with Imerge’s unique workflow for end-to-end color preservation, or get creative with 68 non-destructive effects. Imerge is almost entirely GPU-accelerated to make the most of your hardware – leaving you more time to focus on the important stuff.

