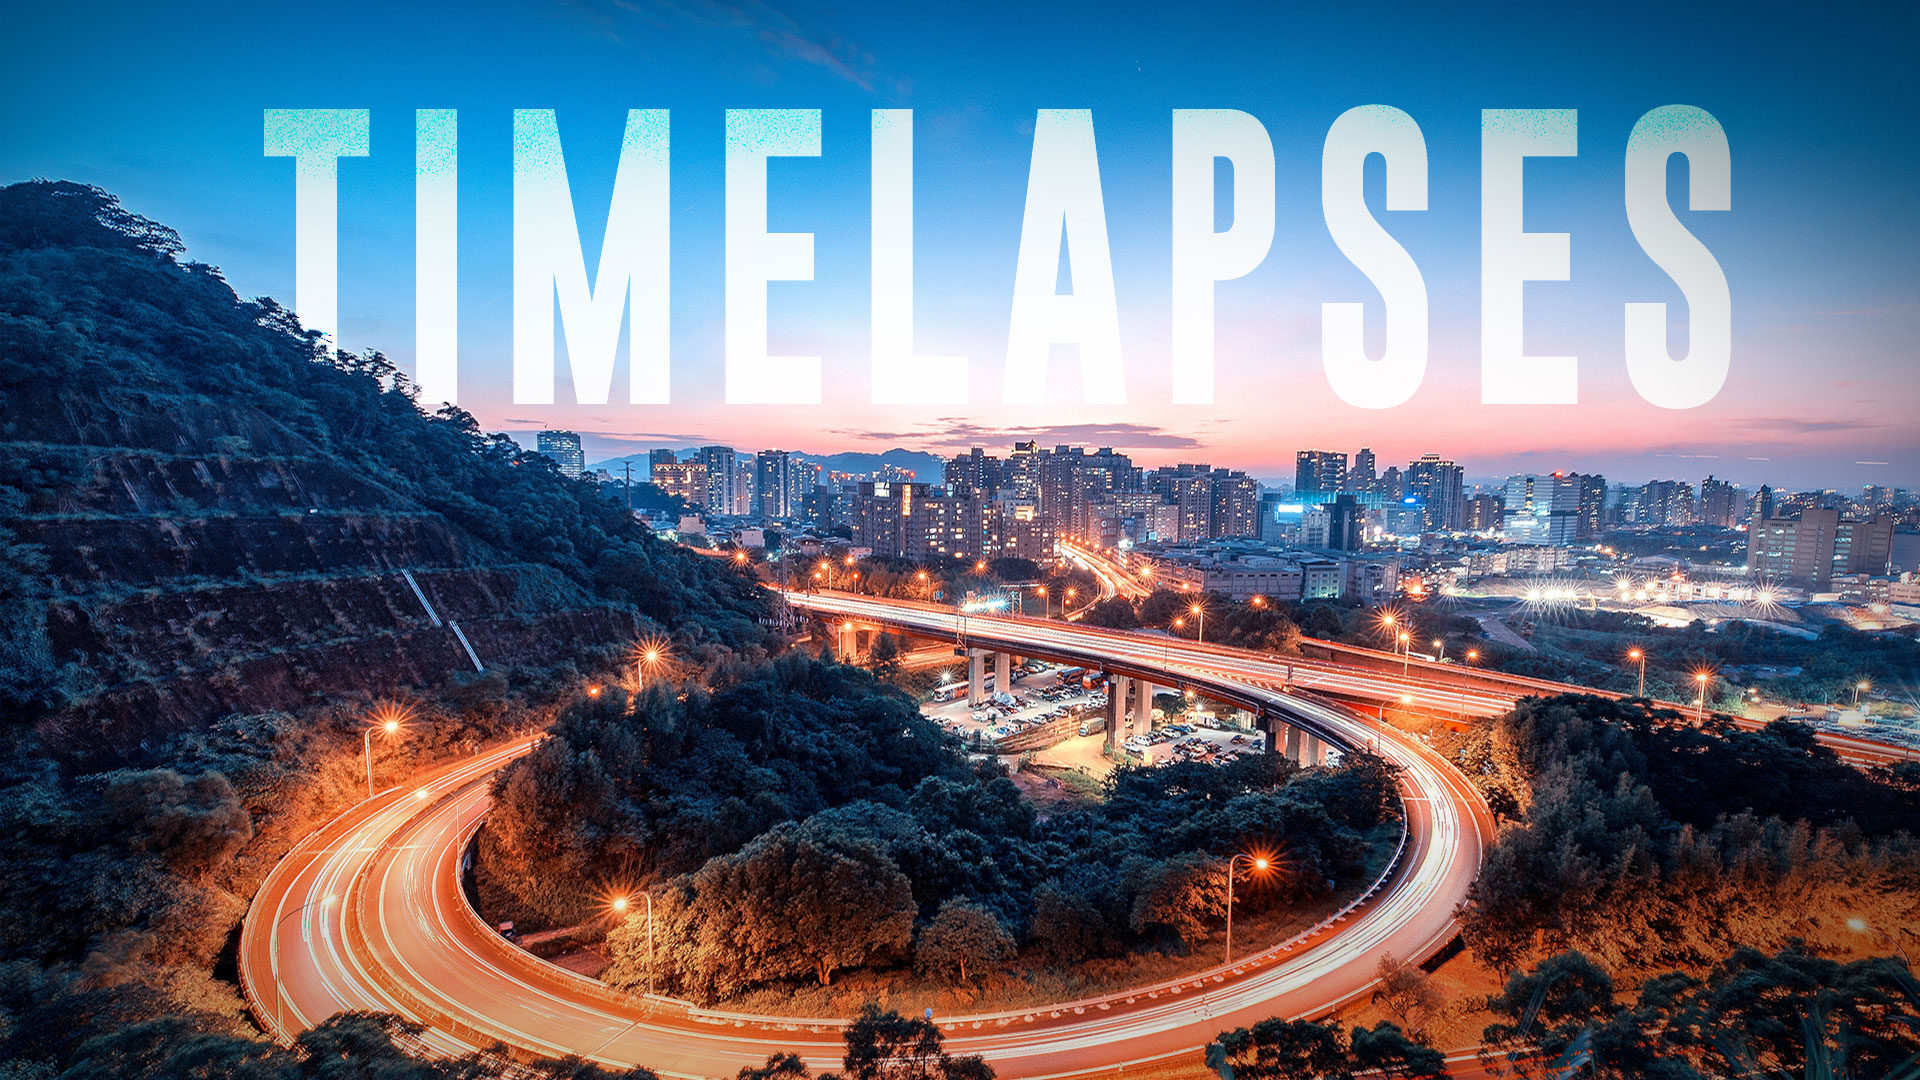
Ever wanted to capture the passing of time with elegance and style? We’re joined by Film Empire’s Jamie Luik as he shows you how to create a timelapse that will wow your audience. From camera settings and timing to practical advice on what you can do to ease the process – we’ll cover all things to help you unleash your inner creativity.
What is a timelapse?
Surprisingly, timelapses aren’t just sped up videos. A timelapse is created by stitching a series of long-exposure images together to create a smooth, continuous video.
Timelapses are neat but may seem like an intimidating thing to create…but don’t you worry! We’ll break down how to do it so you too can produce captivating, high-quality timelapses.
How to create a timelapse: Pre Production
Before diving headfirst into learning the production side of how to create a timelapse, it’s essential to consider a couple of key factors:
- What do you want your shot to look like?
- What is the subject of your shot?
- How will your camera be positioned?
- Will you use a gimbal to add motion?
- How long do you want your timelapse to last?
Another big factor to consider is the weather. On a sunny day, if the sun is shining directly on your camera lens, unwanted lens flares may appear. Equally, big lighting shifts during the shoot can also impact the final result of your timelapse. However, some handy tools can help curb these issues. The free website SunCalc.net shows you how the sun will move on a given date and location, allowing you to plan accordingly. IOS also has the paid app Lumy which has a ton of information regarding the sun’s position and the weather.
Likewise, the subject of your shot plays a huge influence on your timelapse interval (the time that passes between two shots). Faster moving subjects like a thunderstorm generally take a short interval of 1 to 3 seconds. For something like a sunset, an interval of 5 to 8 seconds between photos works well.
Now, let’s get into a bit of math. Say I want my timelapse to end up being 10 seconds long, at 24 fps. That means that I’ll have to take a total of 240 photos, which will take 12 minutes if I decide to take a photo every three seconds.
How to create a timelapse: Production
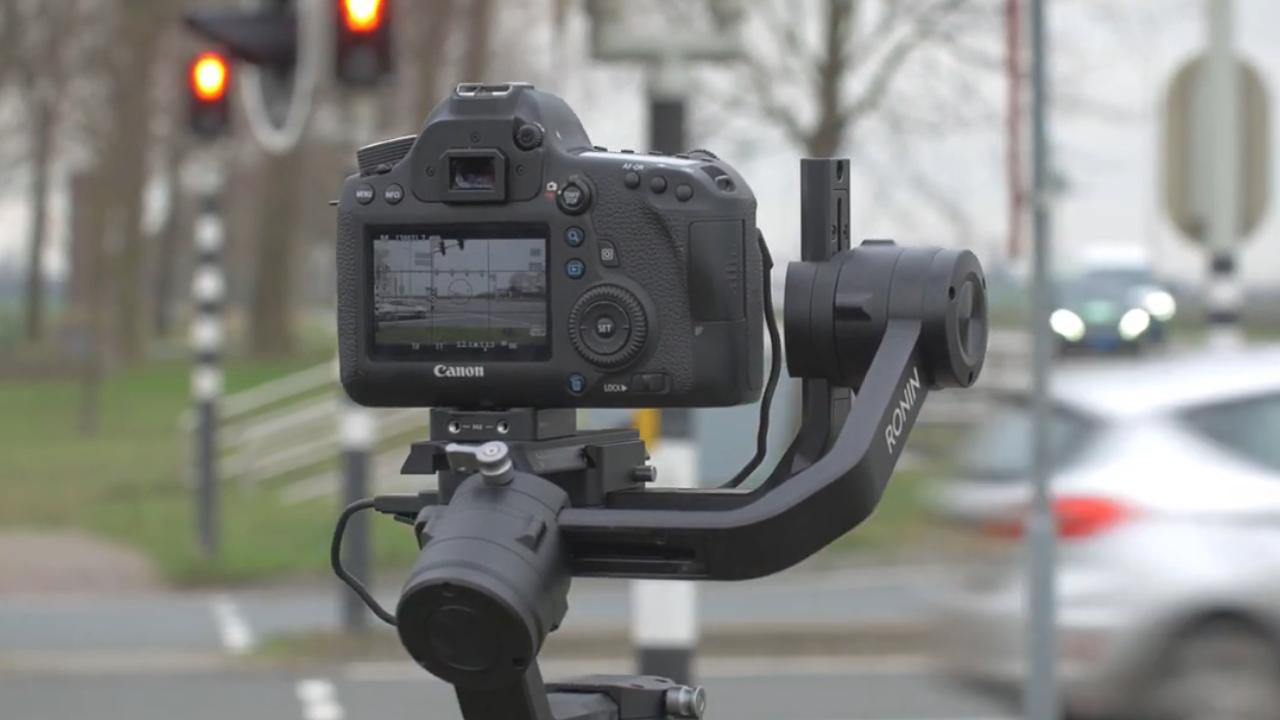
The way you record a timelapse depends on your setup and is something you need to research for your specific use case. On many Canon camera bodies you can enter a timelapse mode in the settings and input the interval and the number of required shots. On cameras that do not have such a mode, you can often use an external intervalometer to press the shutter button for you.
For our timelapse, we shot a highway. As cars were moving by quickly, we’d chose a 3-second interval. To convey a sense of speed in the shot, we used a longer shutter speed to add blur to the cars – 1/10 of a second did the trick just fine. However, a longer shutter speed means more light hitting the camera’s sensor resulting in a brighter image. To counter this, we chose a smaller aperture. We also made sure the camera was set to manual mode (and switched on manual focus) so that the aperture didn’t suddenly change halfway. It must be noted that using a lower aperture leads to a deeper depth of field. If we want the depth of field to remain constant we have to find another way to limit the amount of light coming in. You can achieve this using an ND filter, which allows you to take photos at a longer shutter speed without ruining the exposure.
If you want to spice things up, you can try your hand at creating a hyperlapse. A hyperlapse is a timelapse with a lot more movement. In brief, you can create one by turning on your camera’s timelapse mode and moving the camera between shots ( you can also take the photos manually). Repeat this several times and you’ll achieve some epic results!
How to create a timelapse: Post Production
Now that you have captured your images, it’s time to stitch them together to create your video. Luckily, HitFilm has a very easy way of doing this.

Open up a new project and click the arrow next to the import button. Choose “Image Sequence” and select all of your photos. HitFilm will now import that sequence as a video, according to the framerate of your project file. You can now adjust your clip as usual with color grading etc. If there is a bit of shake in your shot, you can apply the Autostabilizer effect and play with the settings until you have achieved the desired look.
And there you have it! You have now created an epic timelapse. Feel free to share your results on the forum or tag @fxhome_official on Instagram!
As always, experimenting is key in finding the right method for you. Don’t be discouraged if your first timelapse doesn’t come out perfectly. Try again and find ways to improve. But most of all, have fun.