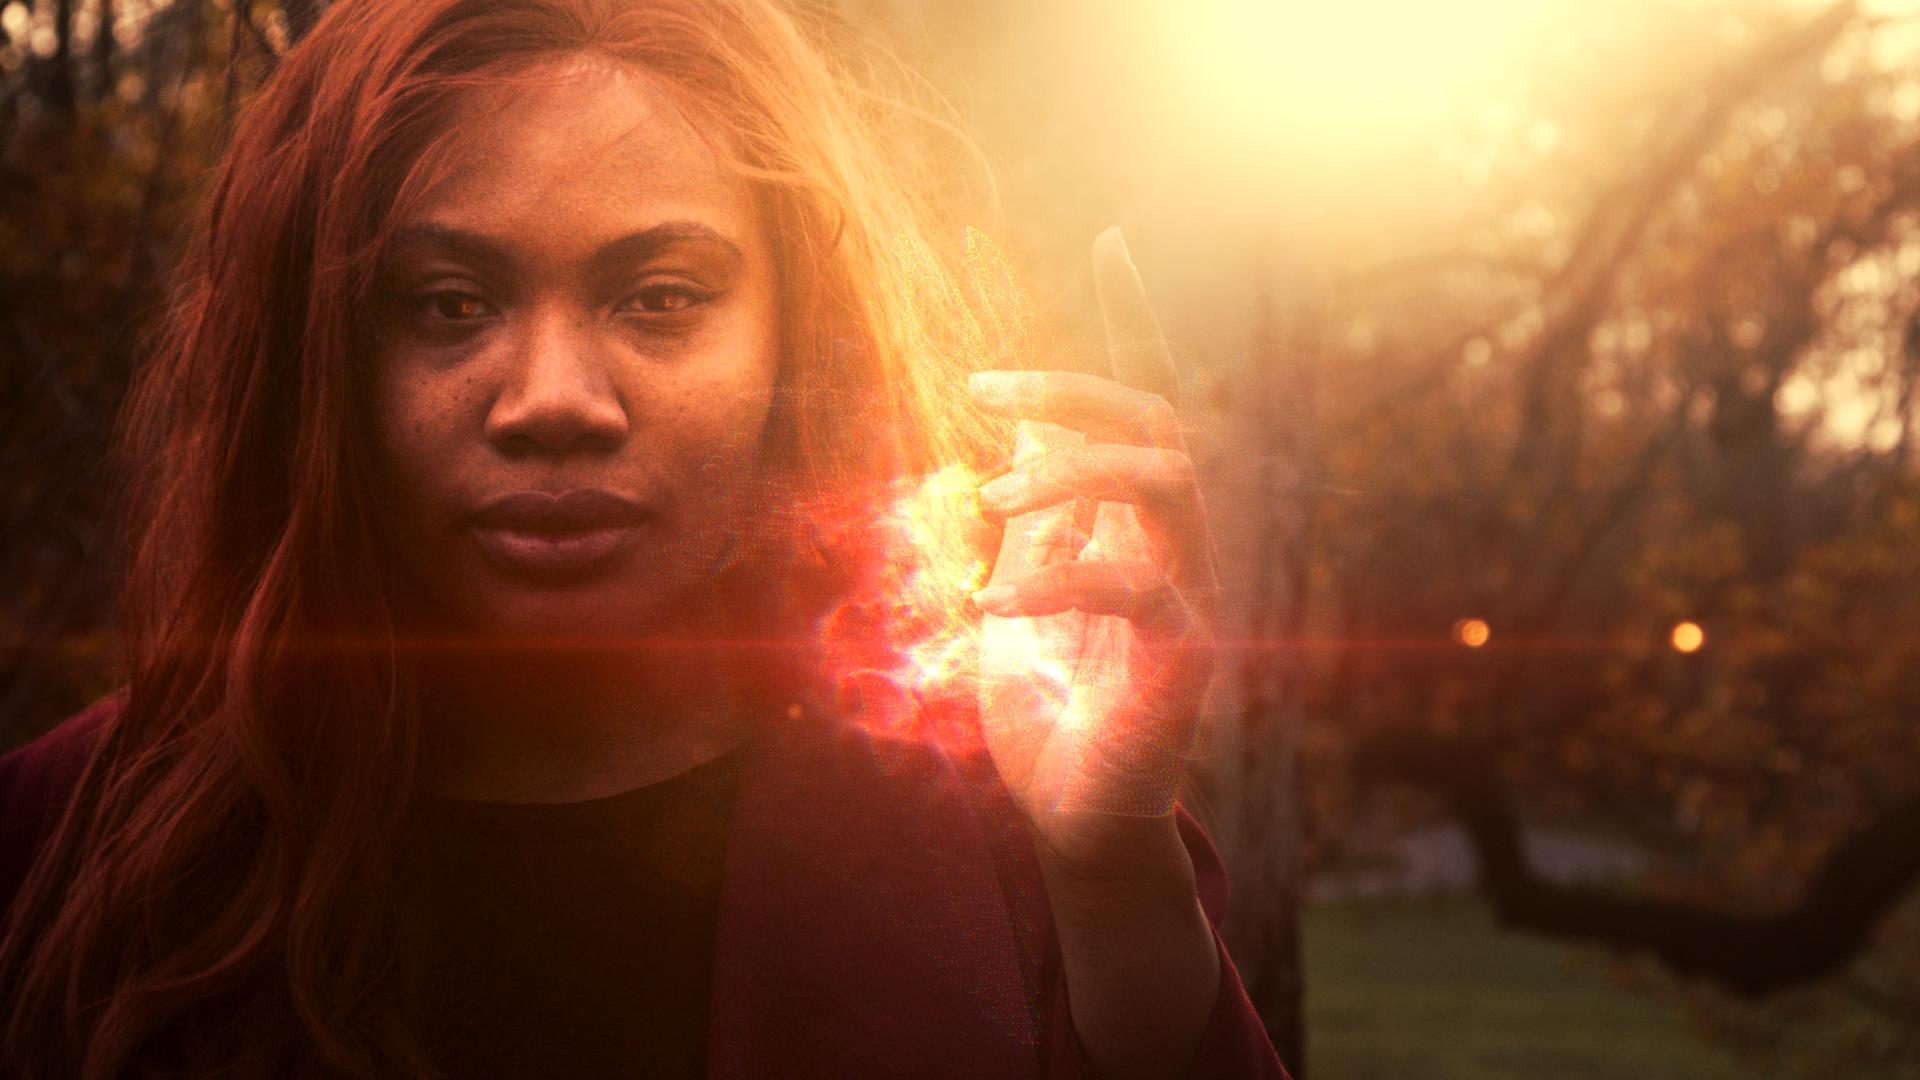
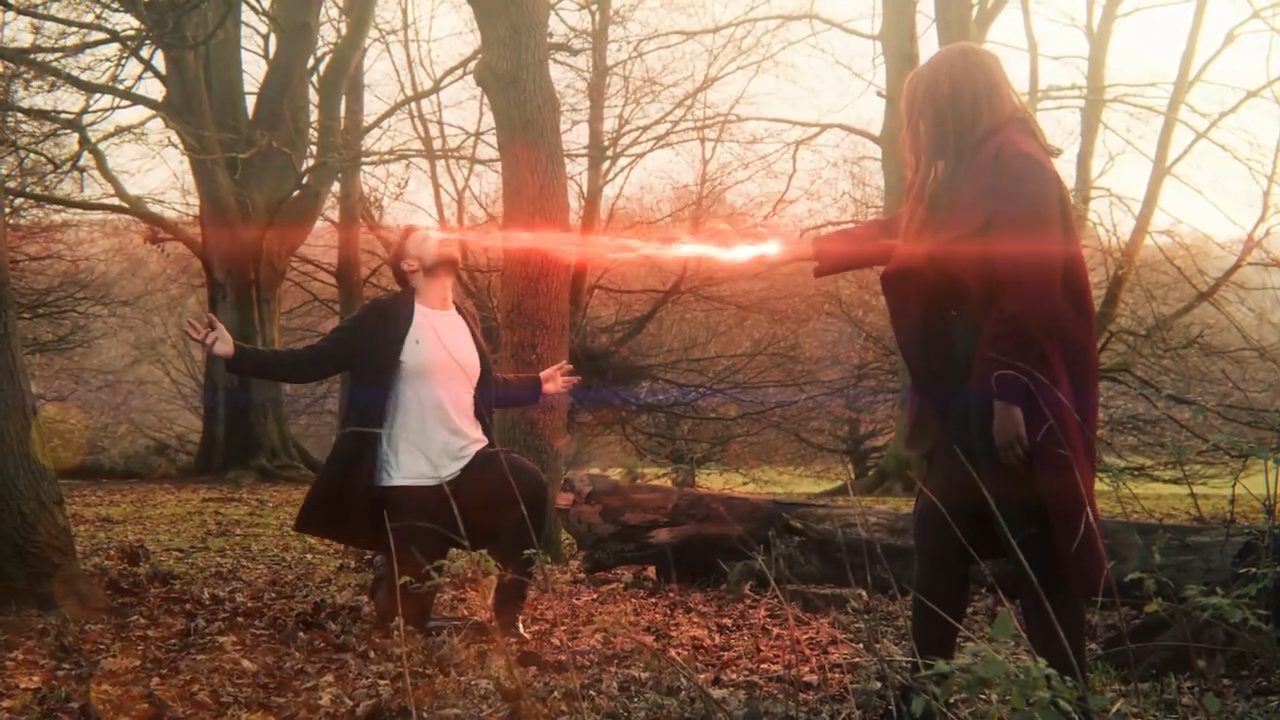
Join our special guest – Zach Alan – in this action-packed Marvel tutorial to learn how to create Scarlet Witch’s magic effects, as seen in Avenger’s Infinity War. This tutorial was inspired by the upcoming release of WandaVision; you can follow along in the free video editor HitFilm.
Step 1: Create a HitFilm composite shot
Import your footage into the HitFilm Media panel and use it to create a Composite Shot, then duplicate the layer.
Step 2: Isolate the hand
Add a Difference Key effect to the duplicate layer, selecting the original footage layer as the source, then on the timeline, shift the duplicate layer by two frames – the Difference Key effect is used to show any differences between the two layers which in this case is the position of the hand as the camera isn’t moving. Hiding the original footage layer will allow you to better see the effect.
On the duplicate layer adjust the key settings to better isolate the hand, then use an animated mask to make sure that nothing else is visible.
Step 3: Create the subtle flowing energy effect
Add a Fill Color effect to make the duplicate layer white, a Blur effect to soften the result, and expand it. To brighten up the effect, you can use a Crush Blacks And Whites effect.
To make the layer appear more energy like, add an Atomic Particles effect, in the Number of Particles dropdown menu:
- Increase the X and Y Resolution to the max
- Increase the size slightly
- Reduce the Random settings.
To distort the shapes within the Fractal settings:
- Increase the Displace Strength
- Decrease the Wavelength
- Increase the Iterations and the Speed setting.
To reduce the appearance of the individual particles, add a small Blur effect. To make the energy effect appear sharper again, add a subtle Displacement effect. To add even more detail and motion to the effect add a Heat Distortion effect.
To add a pop of color, use the Color Vibrance effect. If you’re using a free version of HitFilm you can replace this with another effect such as Gamma or Curves to do so. Adding multiple Glow effects whilst consecutively increasing the Radius each time will make the Glow falloff look more realistic.
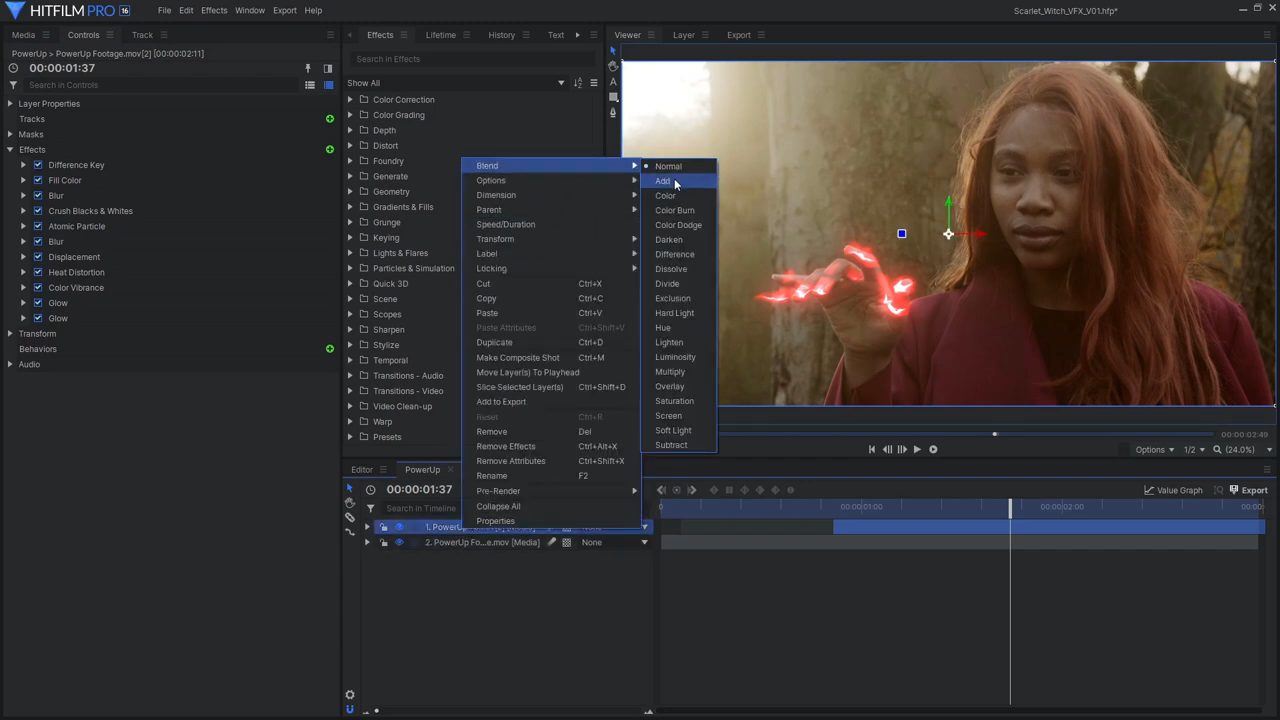
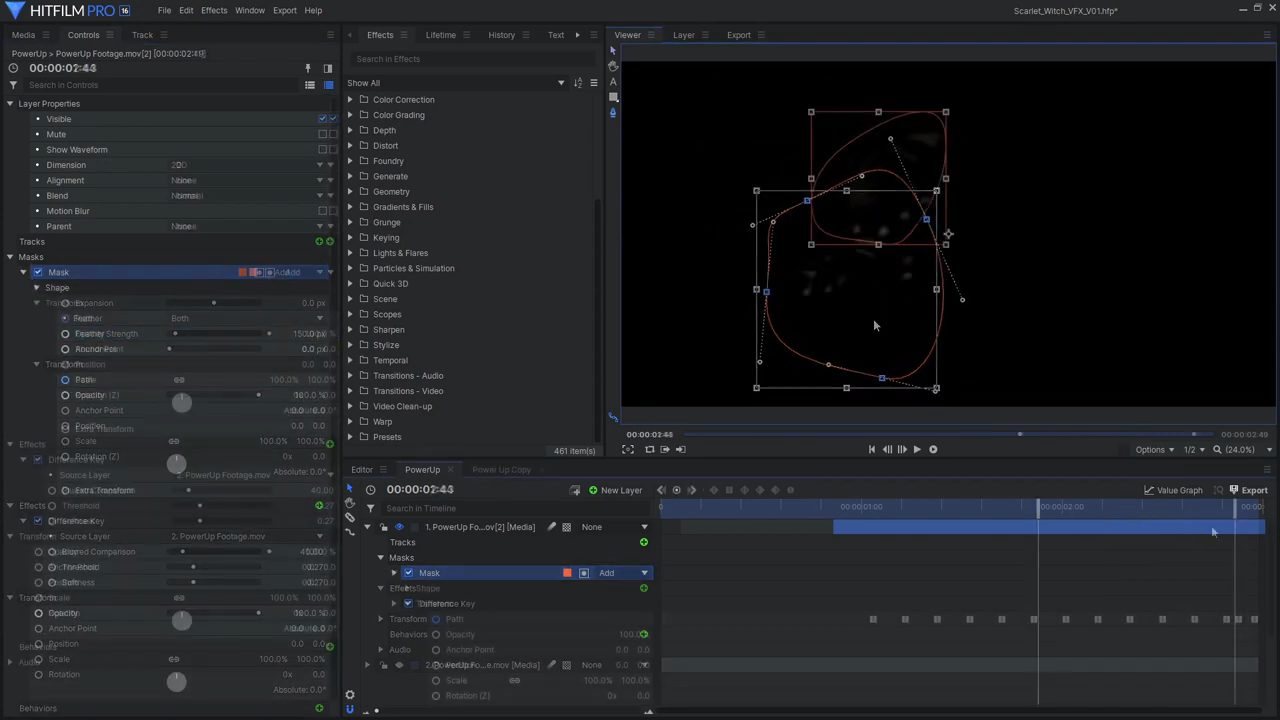
Lastly, unhide the original footage layer, and set the duplicate layer’s Blend Mode to Add.
Step 4: Create the intense flowing energy effect
Use HitFilm’s tracking tools to track the motion of the actor’s palm. Then, drag a Particle Simulator onto the timeline and in the Emitter settings, attach it to the tracked Point layer.
Trim the start of the Particle layer so it starts when the energy build-up will begin. In the Particle System Movement settings, increase the Speed and decrease the Life so the particles move quickly and disappear before getting too far away from the hand.
Under Appearance, select the Aurora Borealis texture and enable Align to Motion, so the particles angle towards the direction they are moving in. Next, set the Blend Mode to Add, and increase the Particles Per Second to 500 at the start, animate this value to increase over a second, tripling the Particles Per Second to make it seem like the energy is building up over time. Lastly, enable Motion Blur.
With the Particle System selected, open up the Lifetime panel and the Alpha parameter. Set the Type to Gradient, and add a black point at the start and end of the gradient. You should also lower the brightness of the middle point until the particles are no longer too bright. To make the particles appear less uniform, under the Movement Variation dropdown menu alter the Life, Scale, and Speed to your preference, then, set the layer’s Blend Mode to Add.
To introduce some more interesting movement to the particles, copy and paste the Displacement, Heat Distortion, Color Vibrance, and Glow effects from before and adjust the settings making sure you reduce the intensity of the Glows and add a Diffuse effect to soften it.
Step 5: Add some interactive lighting
Create a new black Plane and add the Custom Light Flares effect using the tracked Point layer as the Hotspot Position. Then open up the Options dialogue. Select the Anamorphic Spiked preset and adjusted some of its colors to be red to match the energy. Animate the Intensity of the flare to increase when the particles start emitting, and to increase again closer to the end of the shot. You can also add some flicker to the light flare by adding more keyframes to the Intensity or Scale, or by adding a Flicker effect.
To help the bright energy effects fit into the scene better, add some interactive lighting – ideally, this would be done on set while filming using a red light, but it can also be done using VFX. To create this effect, duplicate the footage layer and make it red using a Luminance Key effect and a Tint effect. Mask this new layer to show up where the energy would be casting light, such as the actor’s face, and set the layer’s Blend Mode to Add.
Adding a slight flicker effect to this plane allows the flare to match the quickly changing energy. You should also animate the Opacity of this layer to increase as the energy’s brightness increases.
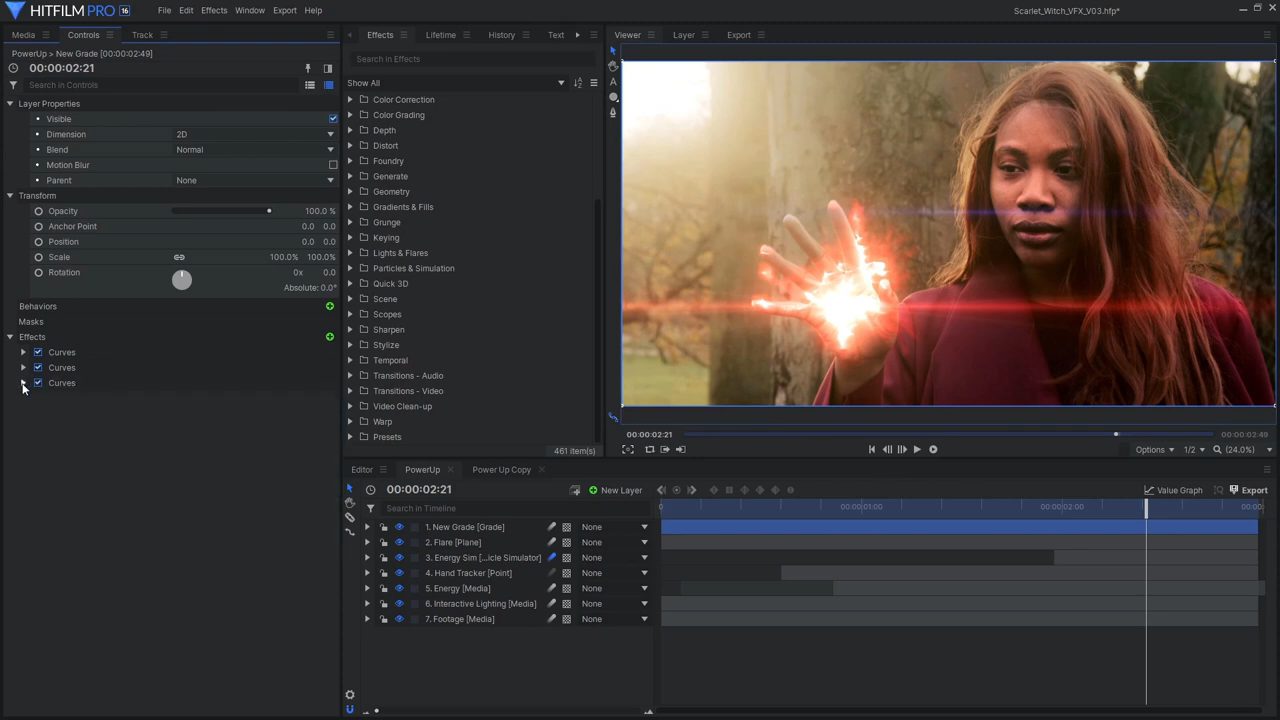
To fine-tune the shot, add a new Grade layer and use the Curves effects to create the final color grade making the dark areas of the image bluer, and the bright areas warmer and redder. You can also use various lighting effects to enhance the bright energy such as Glow, Lens Dirt, and Anamorphic Lens Flare.
Step 6: Add an energy beam
Create two Point layers tracked to the hand position and the target position. On a black Plane, add the Lightsword Ultra (2 Point Auto) effect, setting the Hilt and Tip positions to the corresponding Point layers. Decrease the Width settings to create a thin beam, keeping the end closer to the camera slightly wider. Increase the Distortion on the Core and adjust the Distortion settings to make a fast-moving energy beam that looks like lightning. Set the Glow Color to white, and add some fast-moving Distortion to it as well. Then, duplicate this layer multiple times, changing the seed for the Distortion’s noise, and changing the overall width.
To create the effect of energy particles firing along the beam, duplicate the effect again, removing the Glow effect, increase the Distortion amount, change the Noise Type, and increase the Animation Speed. Once again, duplicate this effect and change the seed to fill out the beam more.
To make the ends of the energy beam appear to emit from and target their Point layers, add Bulge effects tracked to the Points to pinch the beam at each end. Finally, give this energy beam the same treatment as the other energy effects, adding color, Glows, Heat Distortion, Light Flares, and interactive lighting.
And there you have it! You’ve successfully created your own Scarlet Witch magic effect in HitFilm! Had fun with this effect? Check out some of the other tutorials over on the FXhome YouTube channel.