Want a part of your frame to appear out of focus? In this tutorial, we’ll take you through how to use HitFilm’s powerful Lens Blur effect, helping you achieve more realistic composites!
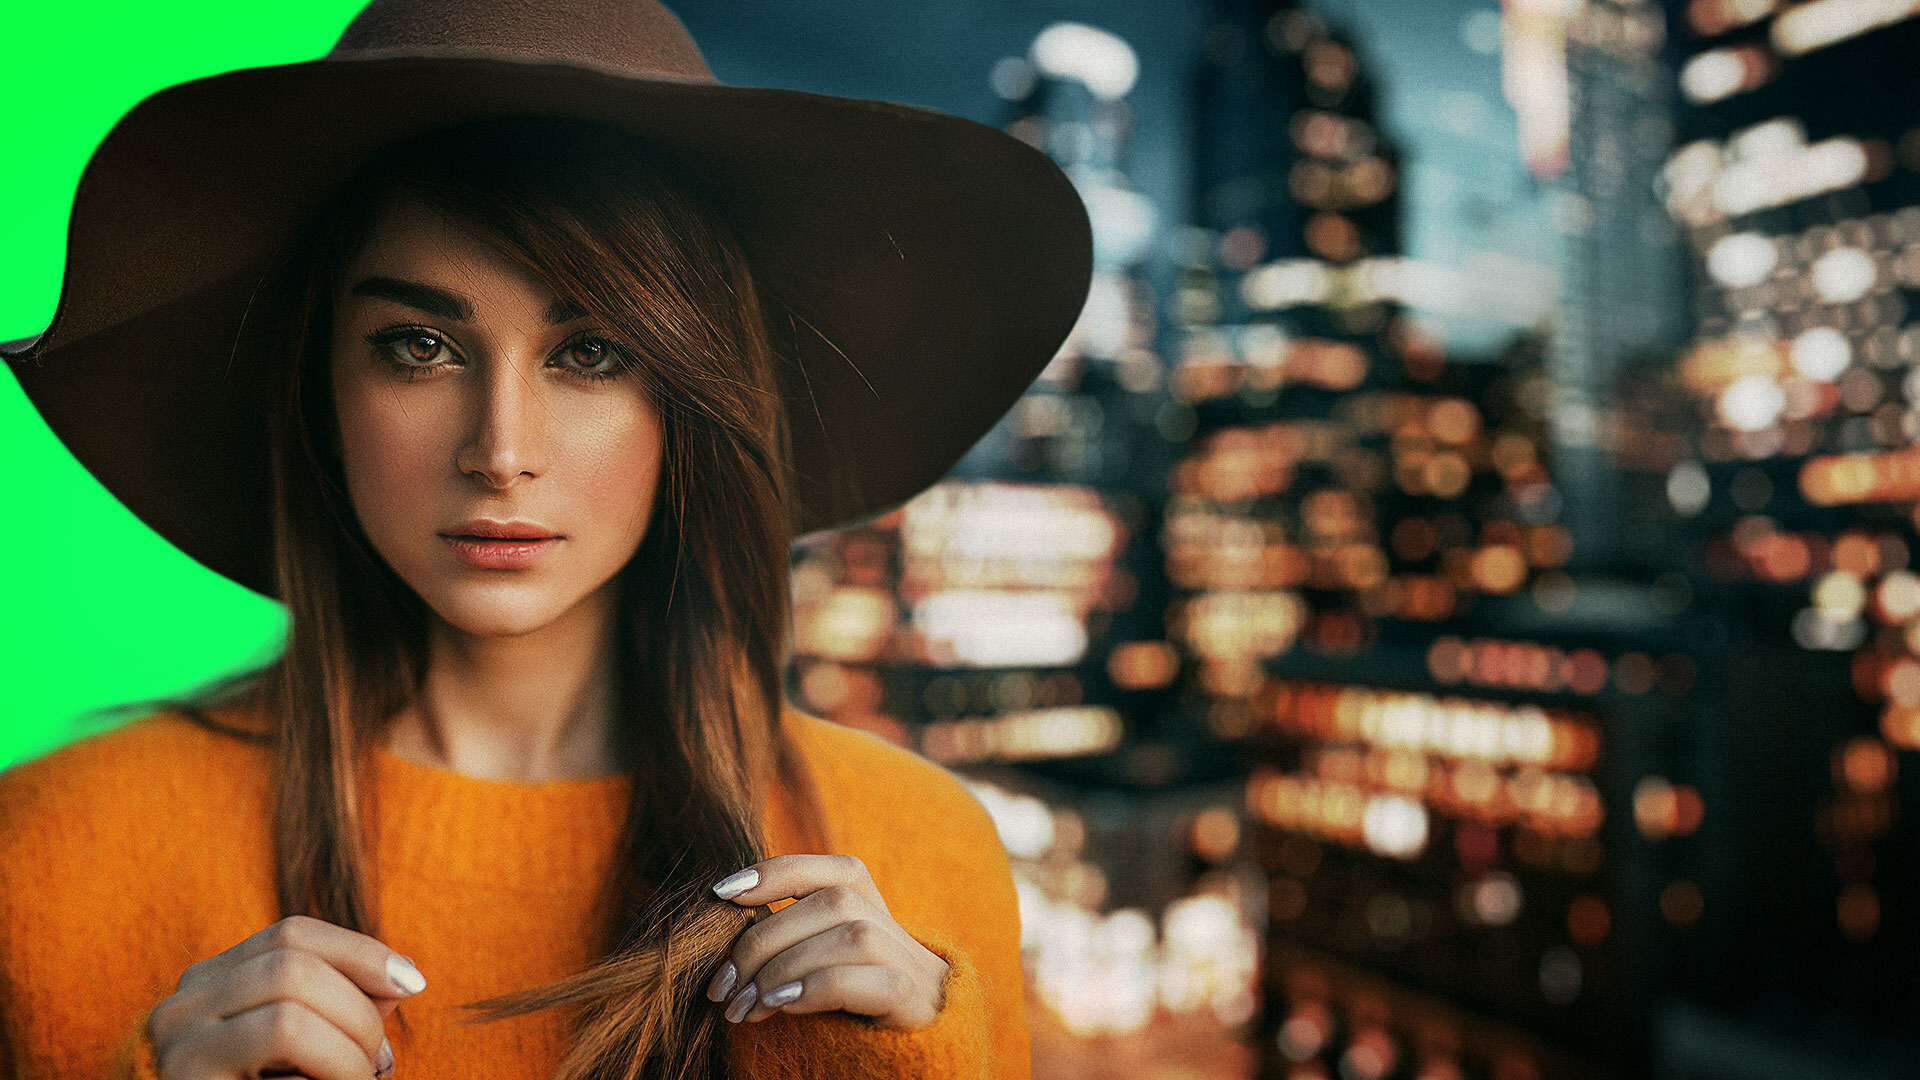
The Lens Blur effect is available in HitFilm for free! It imitates the depth of field bokeh effects created by real lenses, resulting in more natural-appearing composites. The effect can be heavily customized and controlled with a depth map, allowing for a more smooth and realistic transition between sharp and blurry areas.
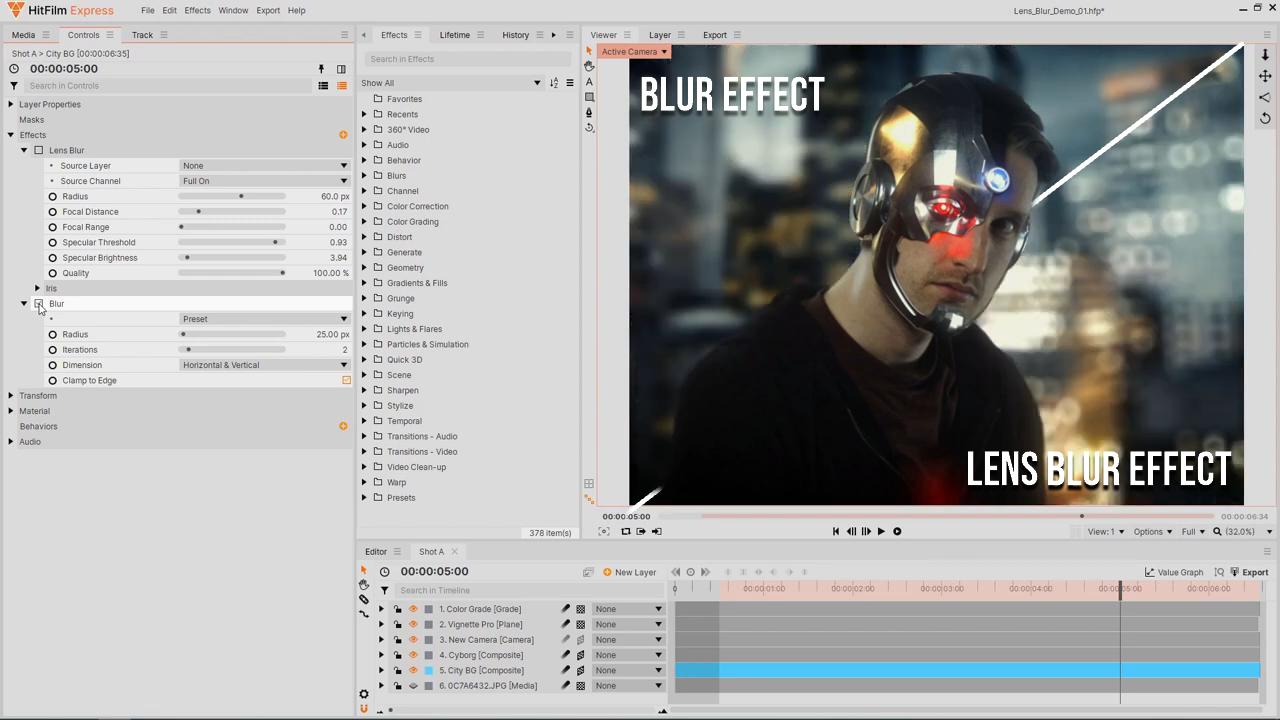
Lens Blur gives you an immense amount of control over the look of your bokeh. You can customize the shape of the Iris to match a real-world lens and add an Opacity Curve to give the blurred areas more texture. Additionally, the effect has controls for Specular Highlights, allowing you to add even more realism with overexposed areas.
To achieve an even more realistic result, you can use a Depth Map. A Depth Map allows you to control the areas that are in or out of focus, helping you isolate your subject with a shallow depth of field. Depth Maps can be created with masks, gradients, or even painted in other software such as Imerge Pro. You can then adjust the Focal Distance to rack focus. If you want the Lens Blur effect to apply evenly over the entire frame, set the Source Channel to Full On.
There you have it! We have now taken you through the ins and outs of HitFilm’s helpful Lens Blur Effect. Stay tuned for more insightful tutorials.

