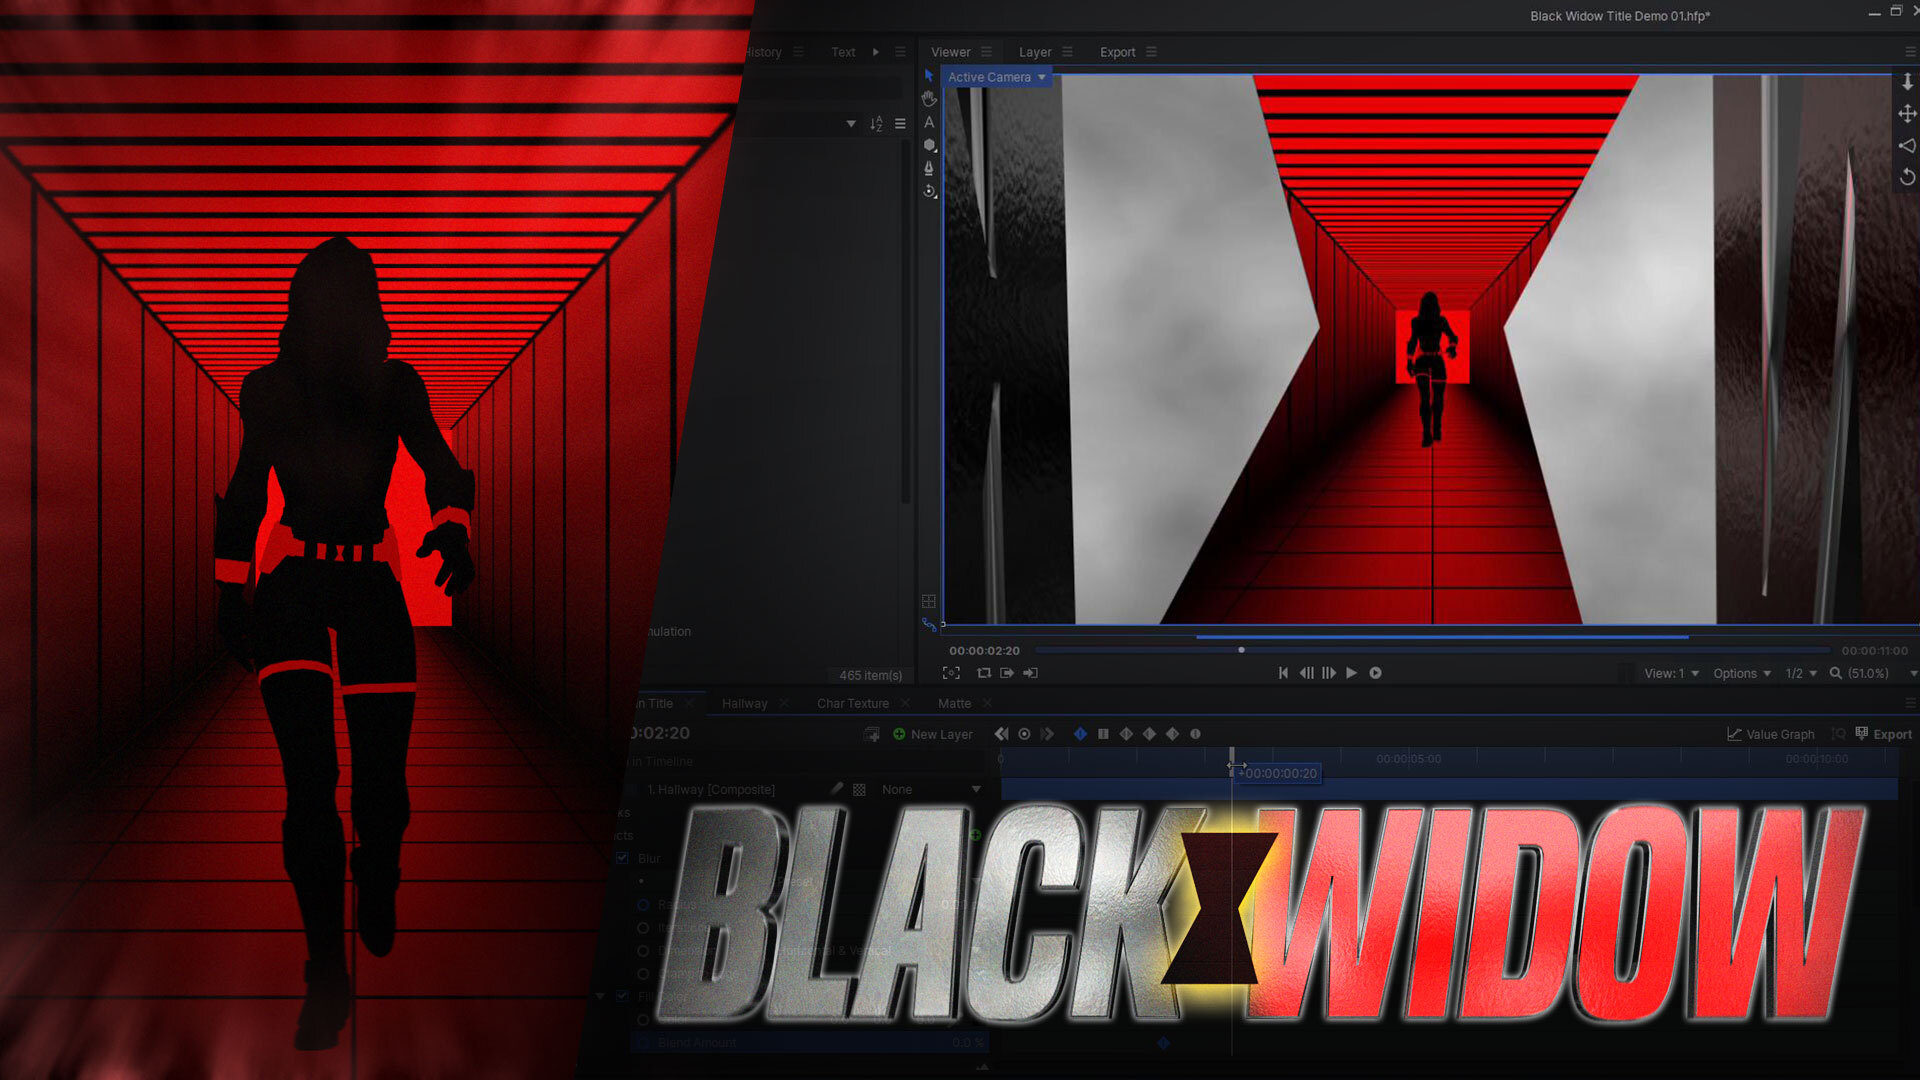
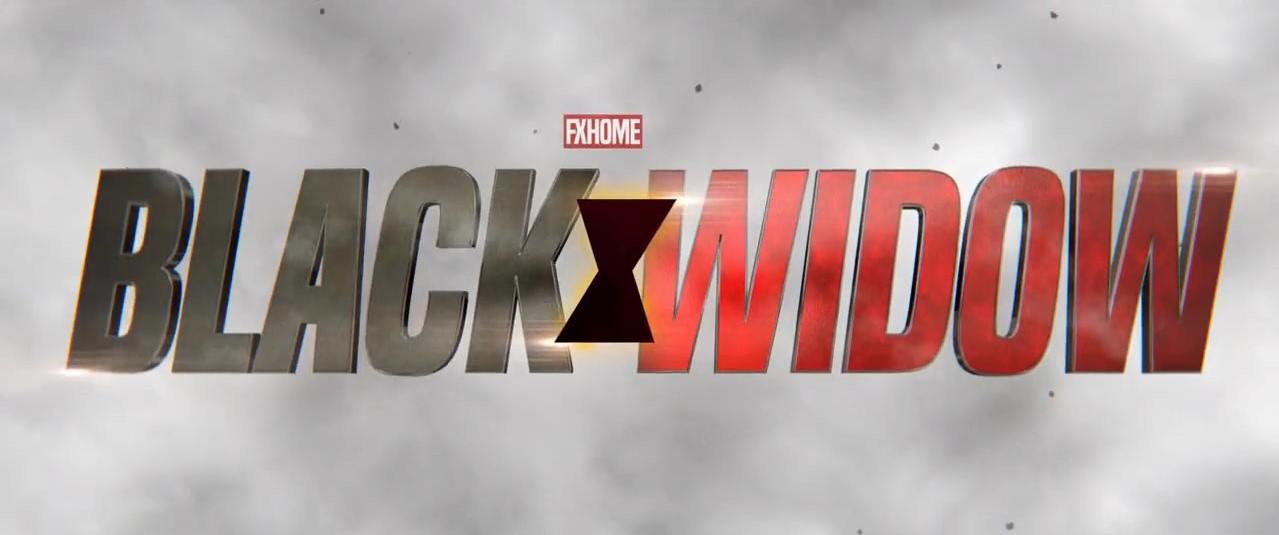
Hello everyone, welcome back to another HitFilm tutorial! Join Zach as he shows you how to create an epic title sequence inspired by the Black Widow trailer.
So what are you waiting for? Let’s get right to it!
3D Text Animation
To make an epic title that stands out, you should use a custom font. We sourced a font from Dafont.com. Once you have downloaded and installed your font:
- Open up a new Composite Shot in HitFilm.
- Add a new Plane layer to which you apply the BCC Type On Text effect.
- Click the Launch UI Window button.
- Type out your text and select your font.
- Increase the Style Skew X if the font doesn’t come with italics.
- Hit Apply, then open up the Extrusion settings.
- Set the Bevel Style to Concave and enable Back Bevels as we’ll see the back of the letters when they rotate into place.
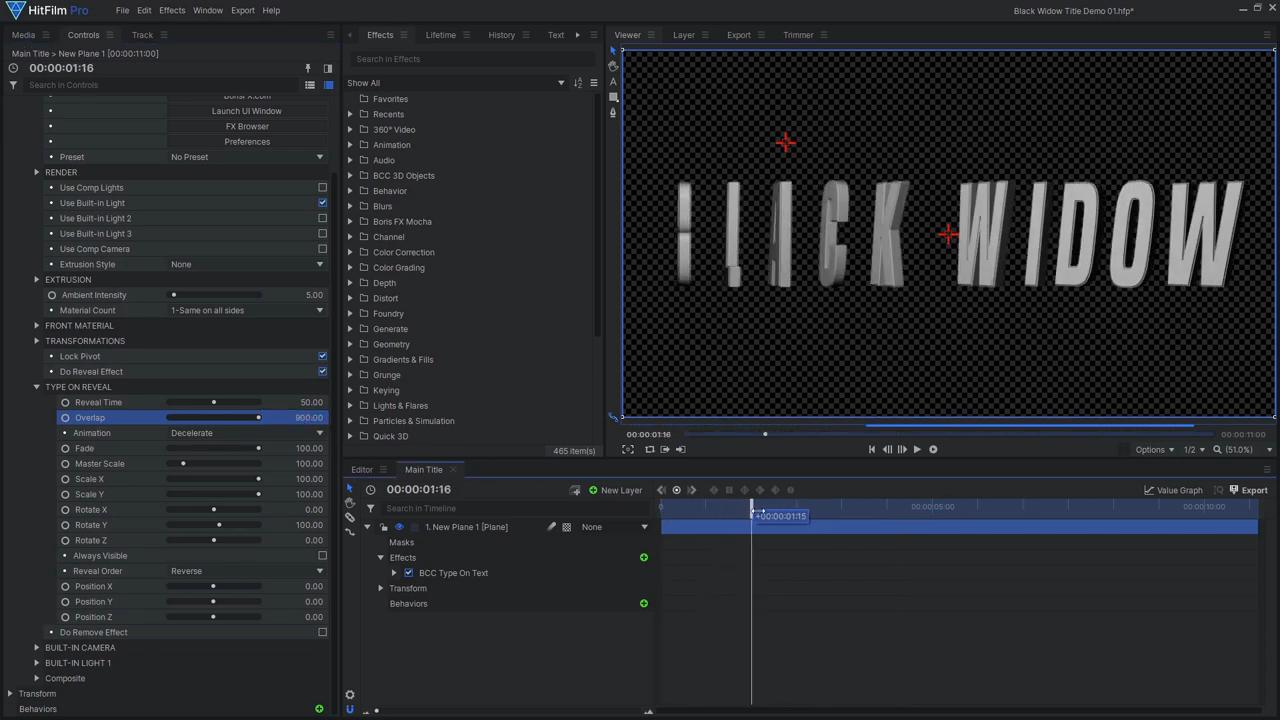
Now let’s set up the reveal animation. As we want the first letters to be revealed a little after the last letters, set the Reveal Order to Reverse. To make the letters rotate, alter the Rotate Y value. For a smoother animation, set Animation to Decelerate. Now it’s a matter of adjusting the Reveal Time and Overlap to achieve your desired animation. The Overlap value depends on how many letters you have in your text. Setting this value to 100 times the number of characters will cause them all to reveal simultaneously. We chose to go less than this value so the first letters were slightly delayed. With the Overlap set, we can now adjust the Reveal Time until we are happy with the animation speed. One more quick adjustment is to tilt the text backwards slightly using the Rotate X control.
With our text reveal animated, we can now animate our 3D camera. Begin by adding a new Camera layer, then tick Use Comp Camera on the BCC text effect. Now the 3D text will respond properly to HitFilm’s 3D camera. We desired for the text to be fully revealed at 5 seconds so we set a keyframe there. At the beginning of the shot, we moved the camera forwards past the text to set another Position keyframe. As we don’t want the camera movement to suddenly stop at 5 seconds, at 7 seconds we positioned another keyframe to slightly move the camera back. Next, we wanted the camera to swiftly move backwards again to reveal the next title, and to then gently move backwards – for this we placed 2 more keyframes.
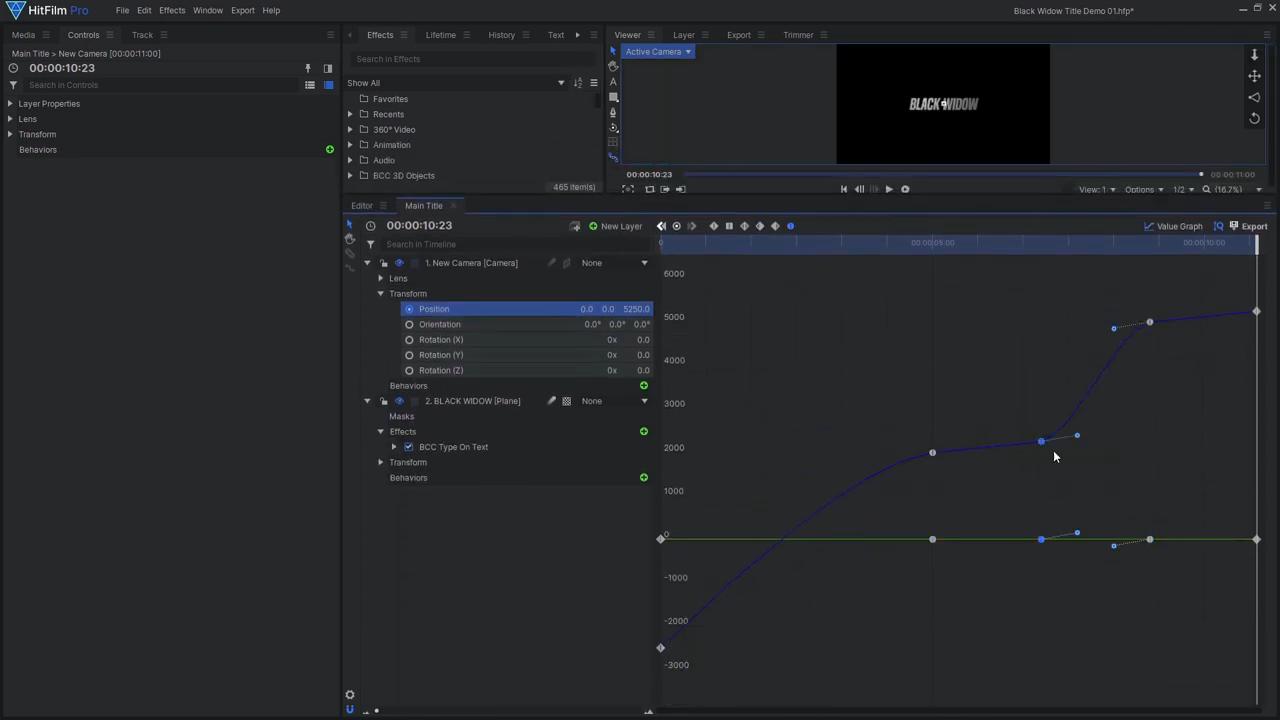
To ensure that your text’s movement is smooth open up the Keyframe Value Graph – here you can see the sharp transitions between keyframes. Set the second and fourth keyframes to Smooth In, and the third to Smooth Out. As we don’t want the animation to slow down and stop, adjust the handles so they aren’t quite horizontal. You can also increase the size of the timeline panel to better see if the animation curves are smooth. You can now shift the text layer along the timeline until the reveal animation starts at the right time.
Lights and Flares

Now we can move on to adding the materials, to give the text a metallic look. Under the BCC Type On Text effect’s Extrusion settings, Set the Material Count to 3 so we can adjust the front, side, and bevel separately. Start by applying the Chrome Material Preset to all three. Darken the Side Material to make the front stand out more, and to introduce contrast between the light background we’ll add later on. Remove the texture, then set the Reflection to Chrome, and slightly reduce the reflectivity. Make the Bevel material the same as the side, but make it more reflective. For the Front Material, choose a different image texture, and use the same image for the Bump texture. Reduce the Bump Strength and Reflectivity. To give each half of the title a different color, we can use the built-in lights. Set Built-In Light 1 to be a Spot light, then adjust its Position, Target Position, Angle, and Fall Off so it illuminates only the left side of the text. Enable the second light, then repeat the process to light only the right side. Then, set the second light’s color to red, and increase its Intensity. Lastly, adjust the composite settings to add more contrast.
To add some more detail and flair to this title, we can add some Light Flare effects. Drag in a black Plane layer and add the Custom Light Flares effect. You can also achieve a similar result with the standard Light Flares effect. We used the Electro preset as a starting point, and adjusted some of the flare settings (we set Gamma to 0.5 and Brightness to 30), and disabled a few elements (we disabled everything in Controls aside from Core Spot, Spot, and Thin Rays). We then shifted the Hue to 159 to make it orange, and reduced the Saturation 0.24. Once done:
- Set the Plane’s Blend Mode to Add.
- Create new 3D Point layers, positioning them where you want your light flares to be.
- Zero out the flare’s Hotspot Position, then attach it to one of the 3D Points.
- Duplicate the Flare effect and attach it to the other Points.
- You can now animate the points to slowly slide along the text, and animate the intensity of the flares to fade in and out.
Fog and Ash
Let’s make our title more interesting with some fog and ash in the background. There are various ways to create a fog effect, such as using the Particle Simulator or stock footage elements. To keep it simple for this project, we decided to use the Fractal Noise effect:
- Add Fractal Noise to another Plane layer at the bottom of the layer stack.
- Set the Type to Swirl.
- Animate the Seed value so the noise slowly changes over the whole shot, making it look like drifting fog or smoke.
- Increase the brightness of Color 1 so the noise doesn’t go all the way to black making the fog appear denser.
- Set the layer to 3D, moving it far back in Z-space.
- Then scale it up to fill the frame again.
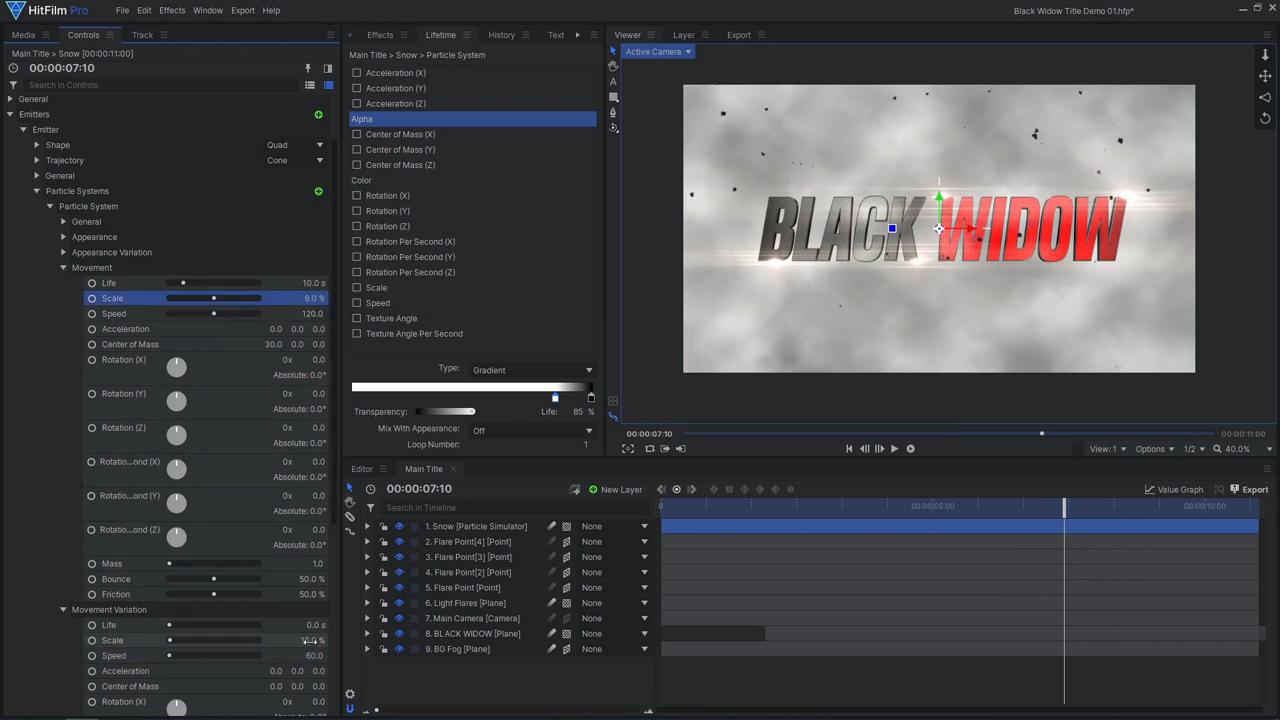
To create the falling ash we used the Particle Simulator. A quick way to start off the effect is to use the Snow preset. Then:
- Adjust the size and position of the emitter in the Emitter’s Shape settings.
- Adjust the angle of the Trajectory in the Trajectory settings.
- Under the General settings reduce the Particles Per Second to 6.
- In the Appearance settings, change the texture to Debris Rock, the color to grey, and the alpha value.
- Under the Movement settings, reduce the Speed to 60, the Scale to 8%, and increase the Life to 12 s.
3D Hallway
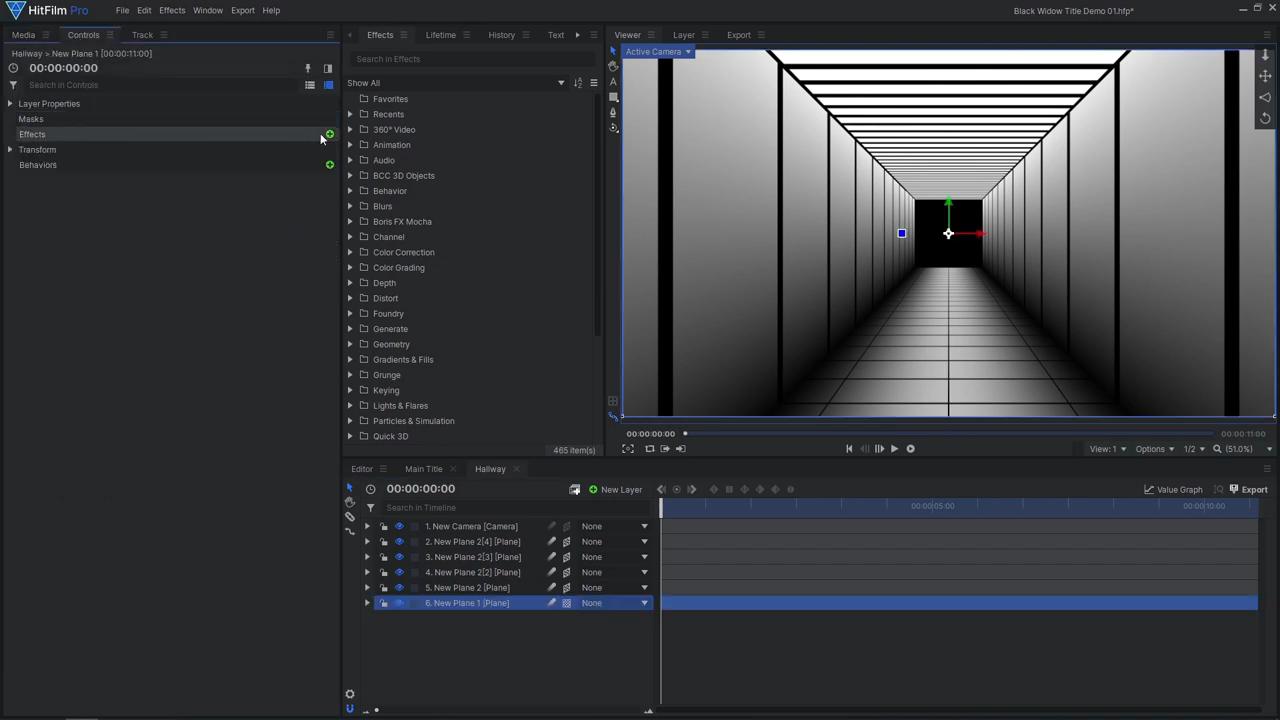
We created the stylized hallway animation in HitFilm; the only 3D model was the animated character.
- Create a new Composite Shot and add in a new Plane, increasing the Width.
- To this plane apply a Grid effect, then check Invert.
- Remove the Feather on the Grid, and adjust the on-screen control widget to create the hallway wall panels.
- Next add a Color Gradient effect, setting the Blend to Multiply.
- Adjust the Start and End Points so the gradient goes straight from top to bottom.
- Make the layer 3D, rotate it 90 degrees on the Y axis, then move it to the right.
- Unlink the Scale, then increase the scale on the X axis to create a long hallway.
- Duplicate the layer and Ctrl + Click the position value to flip it to the other side.
- Duplicate the layer again, this time rotating and moving it into place as the floor.
- Remove the Gradient effect on the floor layer, then adjust the Grid effect to make smaller floor tiles.
- Add a Radial Gradient effect, increasing Elliptical Deformation to 100.
- Set the Outer Color to black and Opacity to 100.
- Change the Blend to Multiply, then adjust the Radius settings.
- Duplicate the floor and move it up to be the ceiling. Remove the Gradient, then adjust the Grid effect to be the lights on the ceiling.
- Add another Plane, this time a 2D Plane at the bottom of the layer stack.
- To have one control to change the color of everything, drag in one more Plane and add a red Fill Color effect and set the layer’s Blend Mode to Multiply.
Now we can add the silhouette of a character walking down the hallway. We used Mixamo.com to create the walking animation. You can choose one of the Mixamo character models, or you can upload your own character. Who the character model is meant to represent doesn’t really matter, as long as their silhouette matches what you are going for. We ended up using a Captain Marvel model from Sketchfab.com.
Mixamo will take you through the steps of rigging the model so you can apply animations to it. We used a walking animation. To give it a slow-motion look, We reduced the Overdrive setting. We also use the full length of the animation. When you’re happy with the appearance of your character, click the Download button, and select the correct Frame Rate for your project. Back in HitFilm, import the .FBX 3D model. If the model is invisible, increase the Opacity in the material controls. You may also have to adjust the material colors, and increase their Alpha values. Apply the Diffuse texture to the model, then enable Material Override. This will allow us to edit the texture in HitFilm, creating a red and black silhouette. Click the Import Maps button, then hit OK. Drag the character model onto the timeline, then drag the animation file into the Model’s Animations. Now your character is animated! Adjust the model’s Anchor Point to be at the bottom of their feet. You can now position the character in the hallway, with their feet on the floor, and can then scale the character to be the right height, without having to reposition them. Next, let’s make the model’s texture into its own composite.
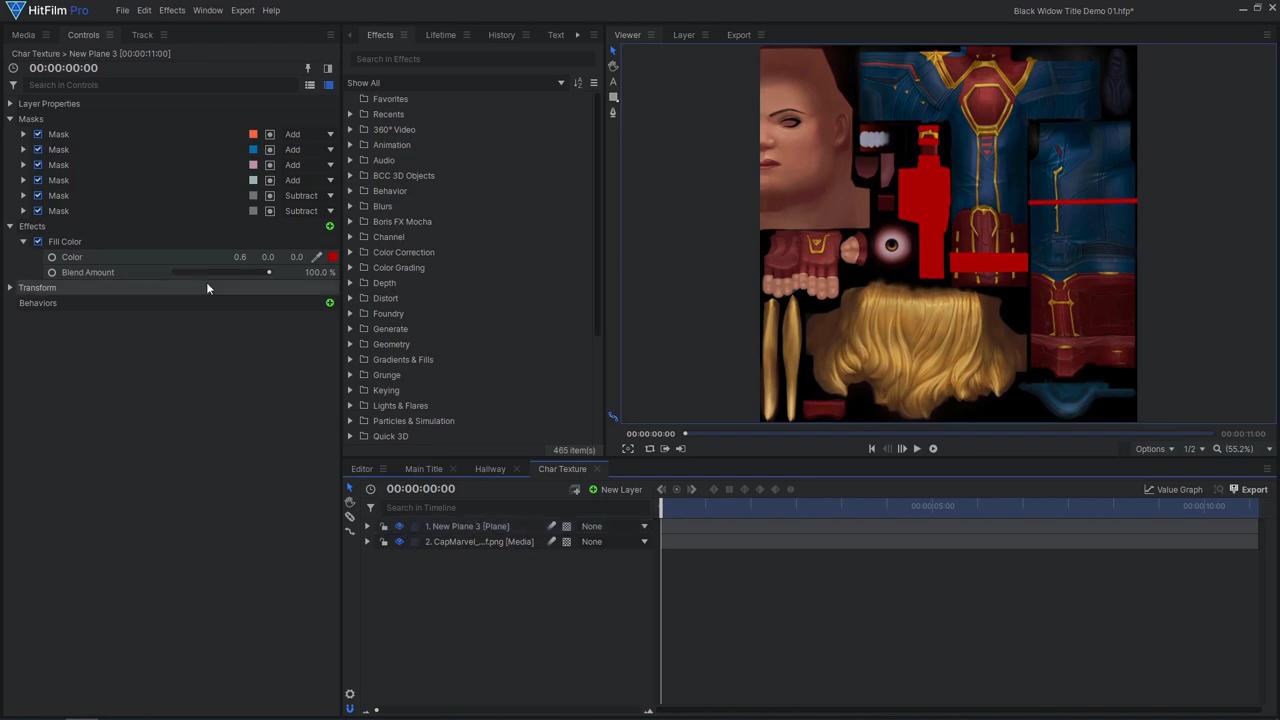
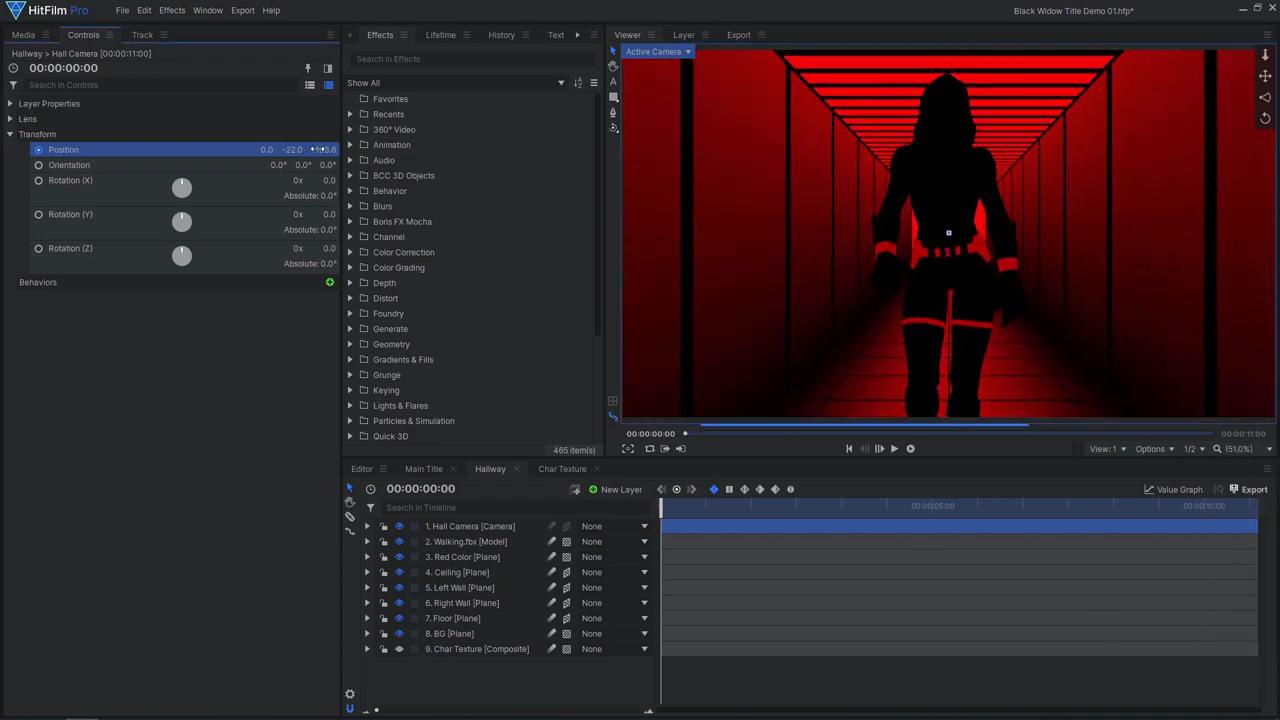
Add a Plane layer with a red fill color effect, then hide it from view. Draw various mask shapes on the Plane to add the red details to the model. Use the image texture as a guide to see where your masks need to be placed. Then add a black Plane covering the image. Drag this composite back into the hallway composite, and select it in the model’s Override Materials controls. Our character now appears as a black and red silhouette! To finish off this animation, animate the camera to move backwards over a few seconds.
Emblem Transition
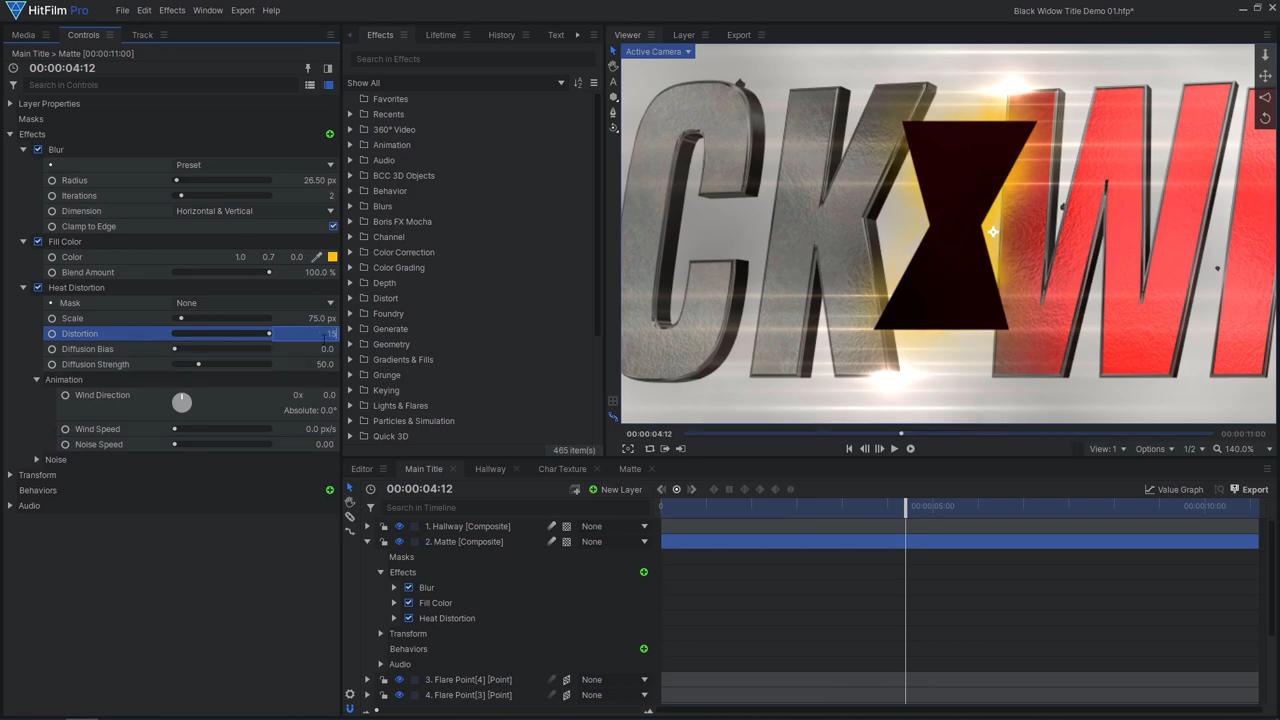
With our hallway animation complete, we can now create the smooth transition from the hallway to the title. Drag in a Plane layer and use the Polygon mask tool to create the Black Widow symbol – We used two overlapping triangle masks. Adjust the Position and Scale of the layer to place it in the right spot. You can also use a Quad Warp effect to make it slanted like the letters. We want the camera to go through the center of this shape, so adjust the camera’s first position keyframe. Next, select the new Plane and make it into a Composite Shot, selecting both the “Current Timeline” and “Move with Layer” options. In the new Composite, go to the frame where the symbol fills the entire frame, then drag in another Plane, leaving it as a 2D layer. Trim the 2D Plane to end on that frame. This composite will serve as a matte to control where the hallway animation will appear. Back in the main composite, drag in the hallway composite and apply a Set Matte effect, sourcing the matte composite’s alpha.
To finish off the transition, animate a Blur effect and a Black fill color effect to blur and fade out the hallway. Make sure the Blur effect is applied before the Set Matte. To create the yellow outline around the symbol, place the matte layer under the hallway layer, and add a Blur effect, a yellow Fill Color effect, and a Heat Distortion effect.
To transition to the second text element, duplicate the background fog Plane and move it in front of the text. Animate the layer’s Opacity to fade it in and hide the other layers. You can now duplicate the text, particle simulator, and flares, shift them along the timeline, and move them forwards in Z-space. For the text layer, you’ll have to adjust the Position Z value in the BCC text effect for both the text and the lights.
And that’s how you can create your own Black Widow-style title effect in HitFilm! Be sure to check out our other superhero-themed tutorials, including how to create your own Marvel Studios style title sequence using Blender and HitFilm. See you next time!