In this tutorial, we’ll show you how to create an animated metallic title sequence inspired by the Mortal Kombat trailer. To create this Mortal Kombat-style animated title we’ll be using the Surface Studio and Custom Light Flares effects which are HitFilm Pro exclusives. However, a similar result can be achieved by using the Parallax effect and regular Light Flares effects in HitFilm Express.
Step 1: Text layout
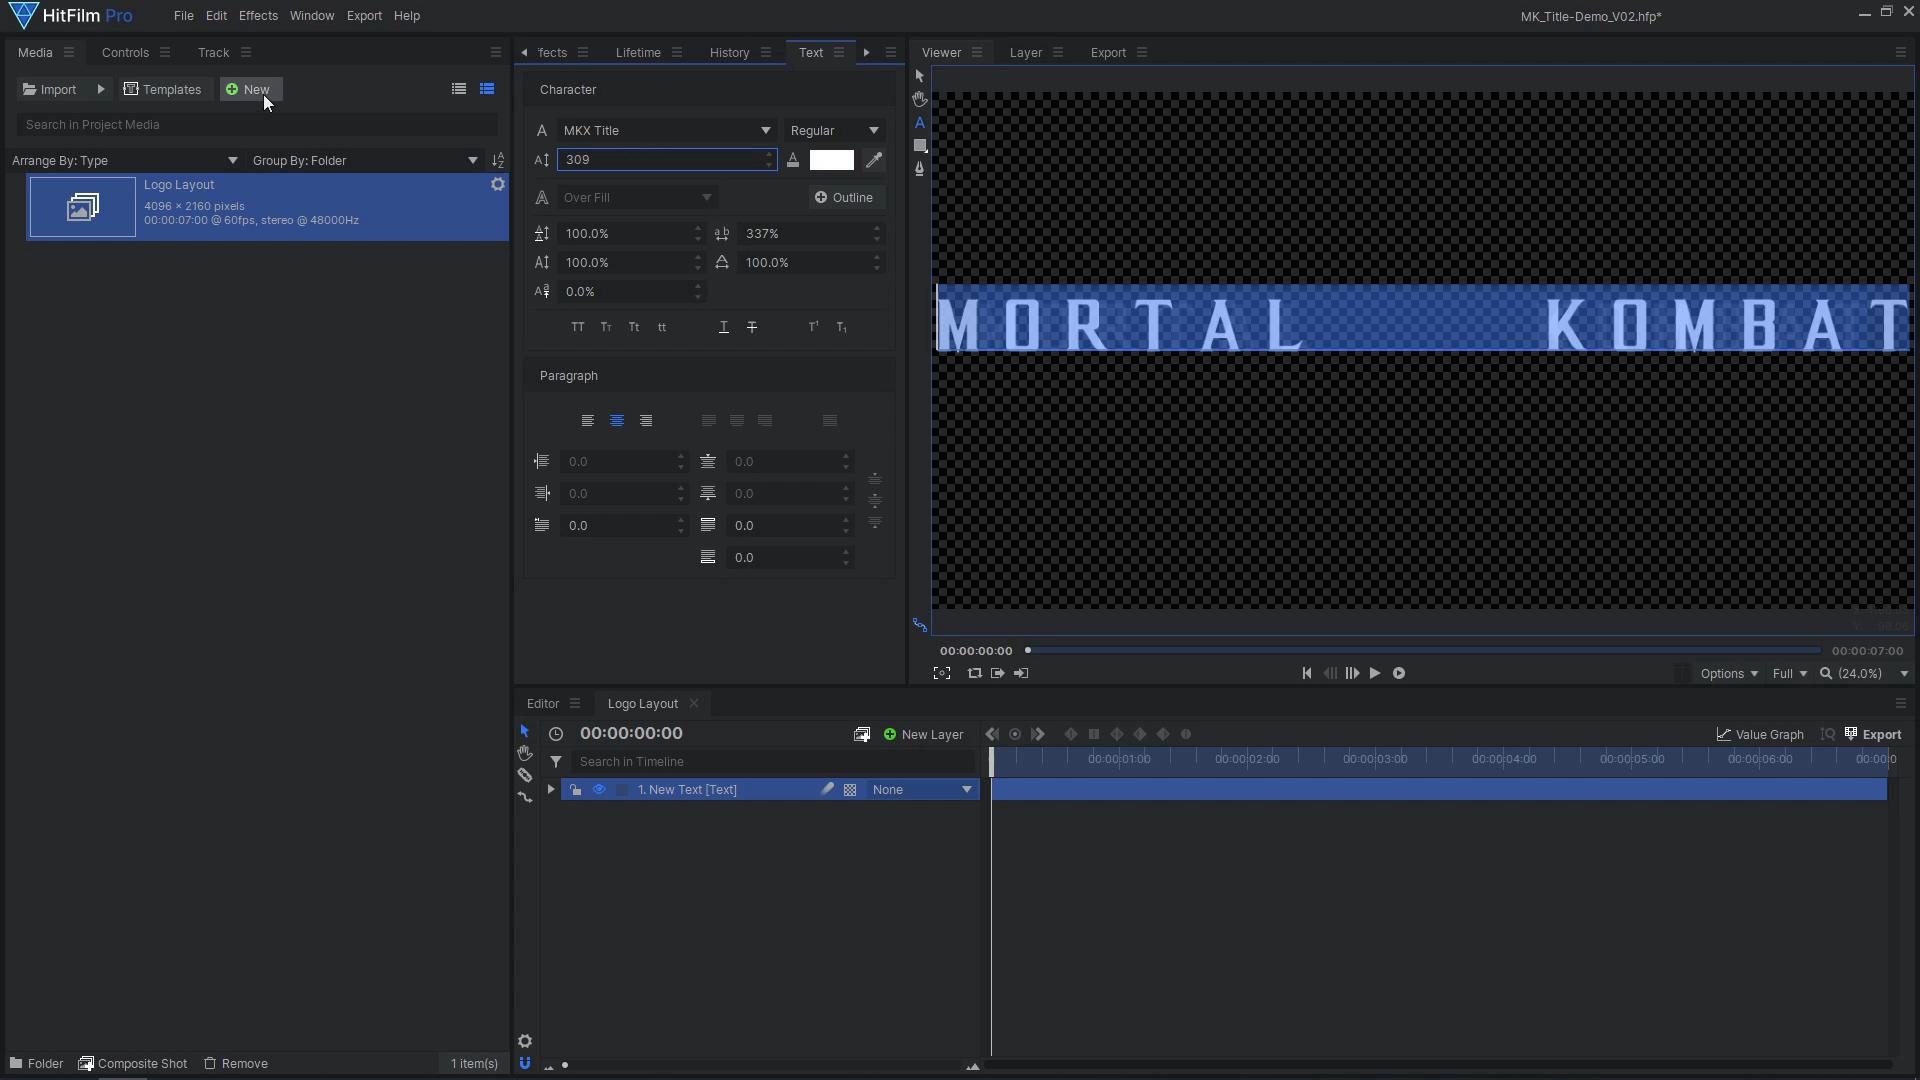
An essential aspect of an epic title sequence is using the correct font, we sourced our font from Dafont.com. Once you have downloaded and installed the font, open up a new Composite Shot in HitFilm, add a new Text layer and type out your text. Highlight the text, select the desired font, and then increase the font size to 283 and the letter spacing to 337%. Ensure that you add a gap in between the words to make room for your logo.
In order to create the logo:
- Begin by creating a new square Composite Shot.
- To this composite add a new white Plane.
- Click and hold over the Mask tool, select Ellipse mask, then double click the Ellipse Mask tool to create a circle that fills the entire frame.
- Duplicate this mask, set its blend to Subtract, and decrease the Expansion to create a ring shape.
- Drag in your logo image and adjust its scale to fit inside the ring.
- Apply a Fill Color effect to give your logo a solid grey color.
- Drag this square composite into the previous composite shot and adjust its scale and position to fit in between the text.
With our elements correctly positioned, we can create a new Composite Shot – where we’ll animate the logo. To this composite shot, drag in the finished logo. Animate the scale of the logo to gradually zoom in over the whole shot.
Step 2.1: Bevel and Lighting (HitFilm Pro)
The following steps show you how to achieve the beveled metallic text effect using HitFilm Pro’s Surface Studio effect. If you are using HitFilm Express, skip to step 2.2:
- Add the Surface Studio effect to the logo.
- In the Surface 1 controls, remove the Edge Offset and increase the Bevel Height to 100%.
- Then increase the Bevel Size until you are happy with how it looks.
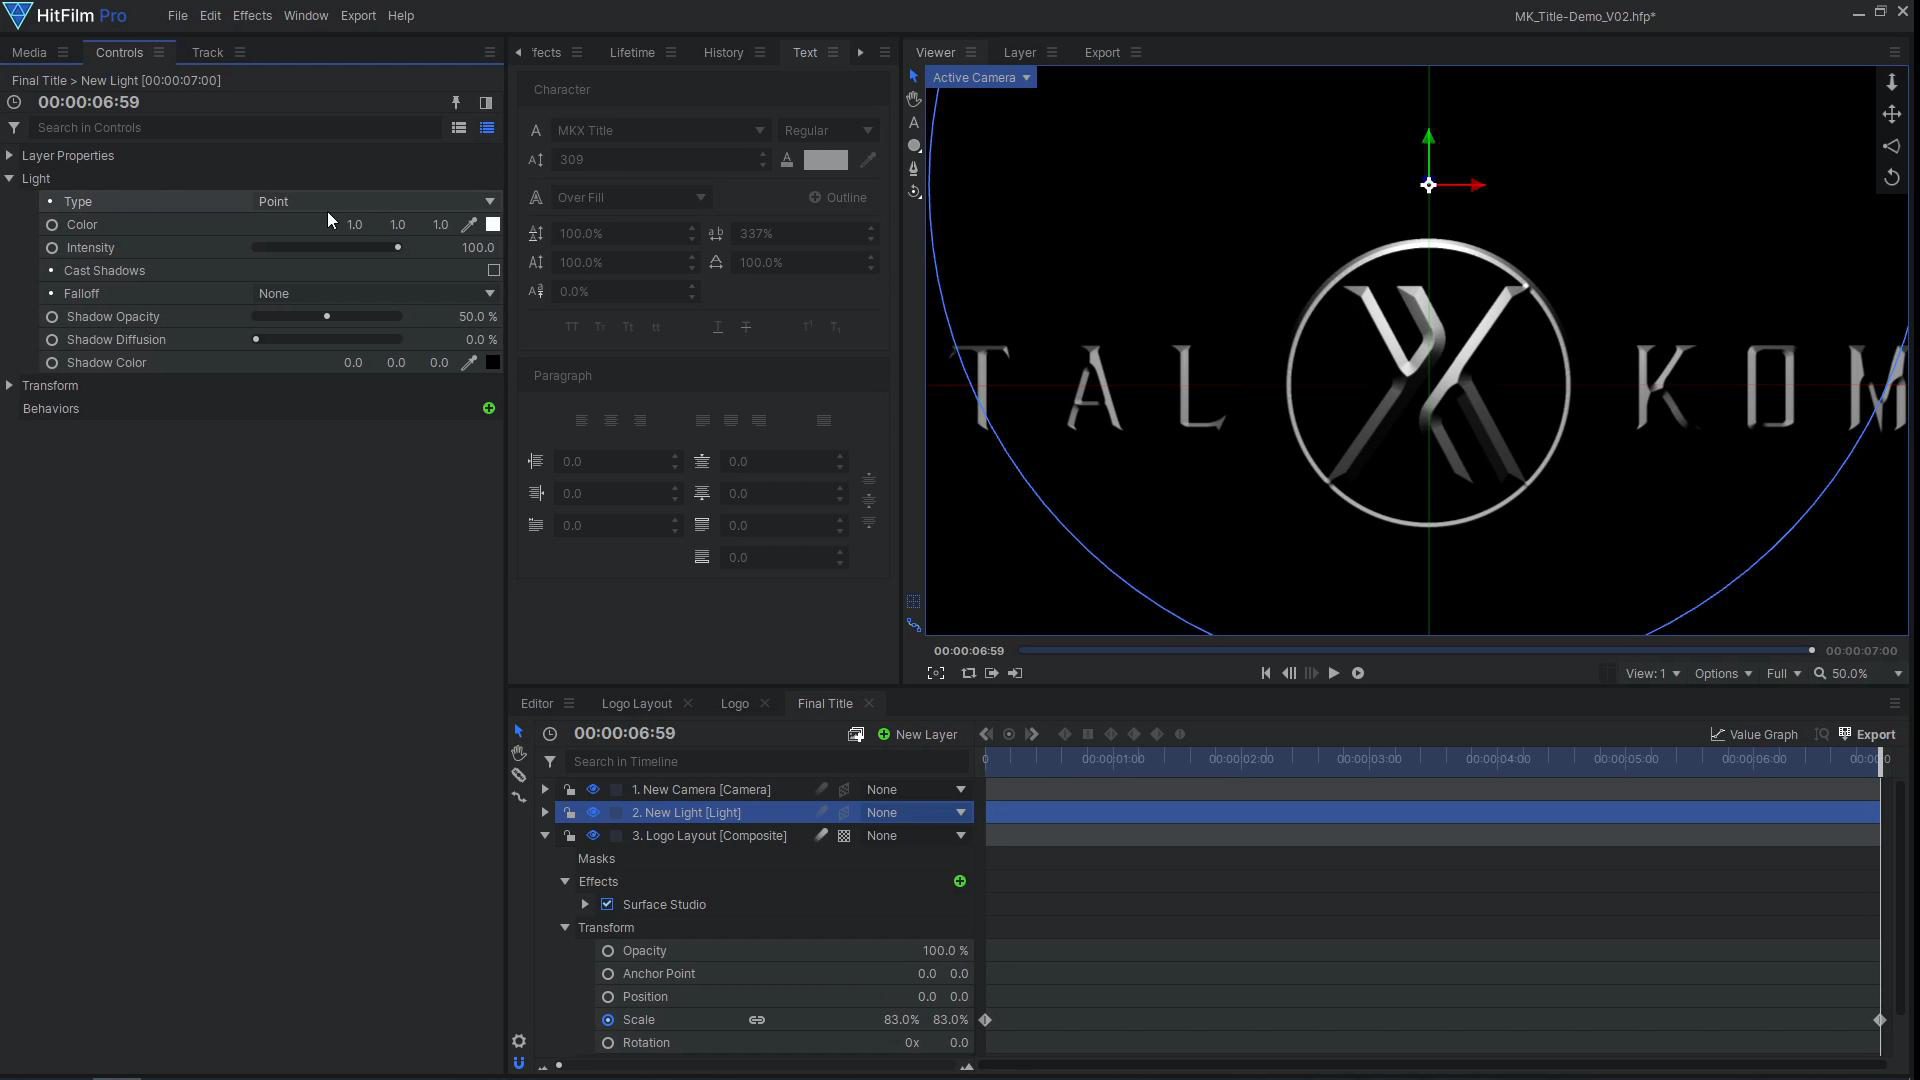
- In the Surface 4 controls, set the Illumination Type to Comp Lights, then add a new Light layer.
- Set the Light layer’s type to Directional, then position the Light above the logo, pointing in a downwards direction.
- Add an additional Light layer, this time setting its Type to Point and its color to red
- Position this layer in front of the center logo, and reduced its Intensity and Reach to make it more subtle.
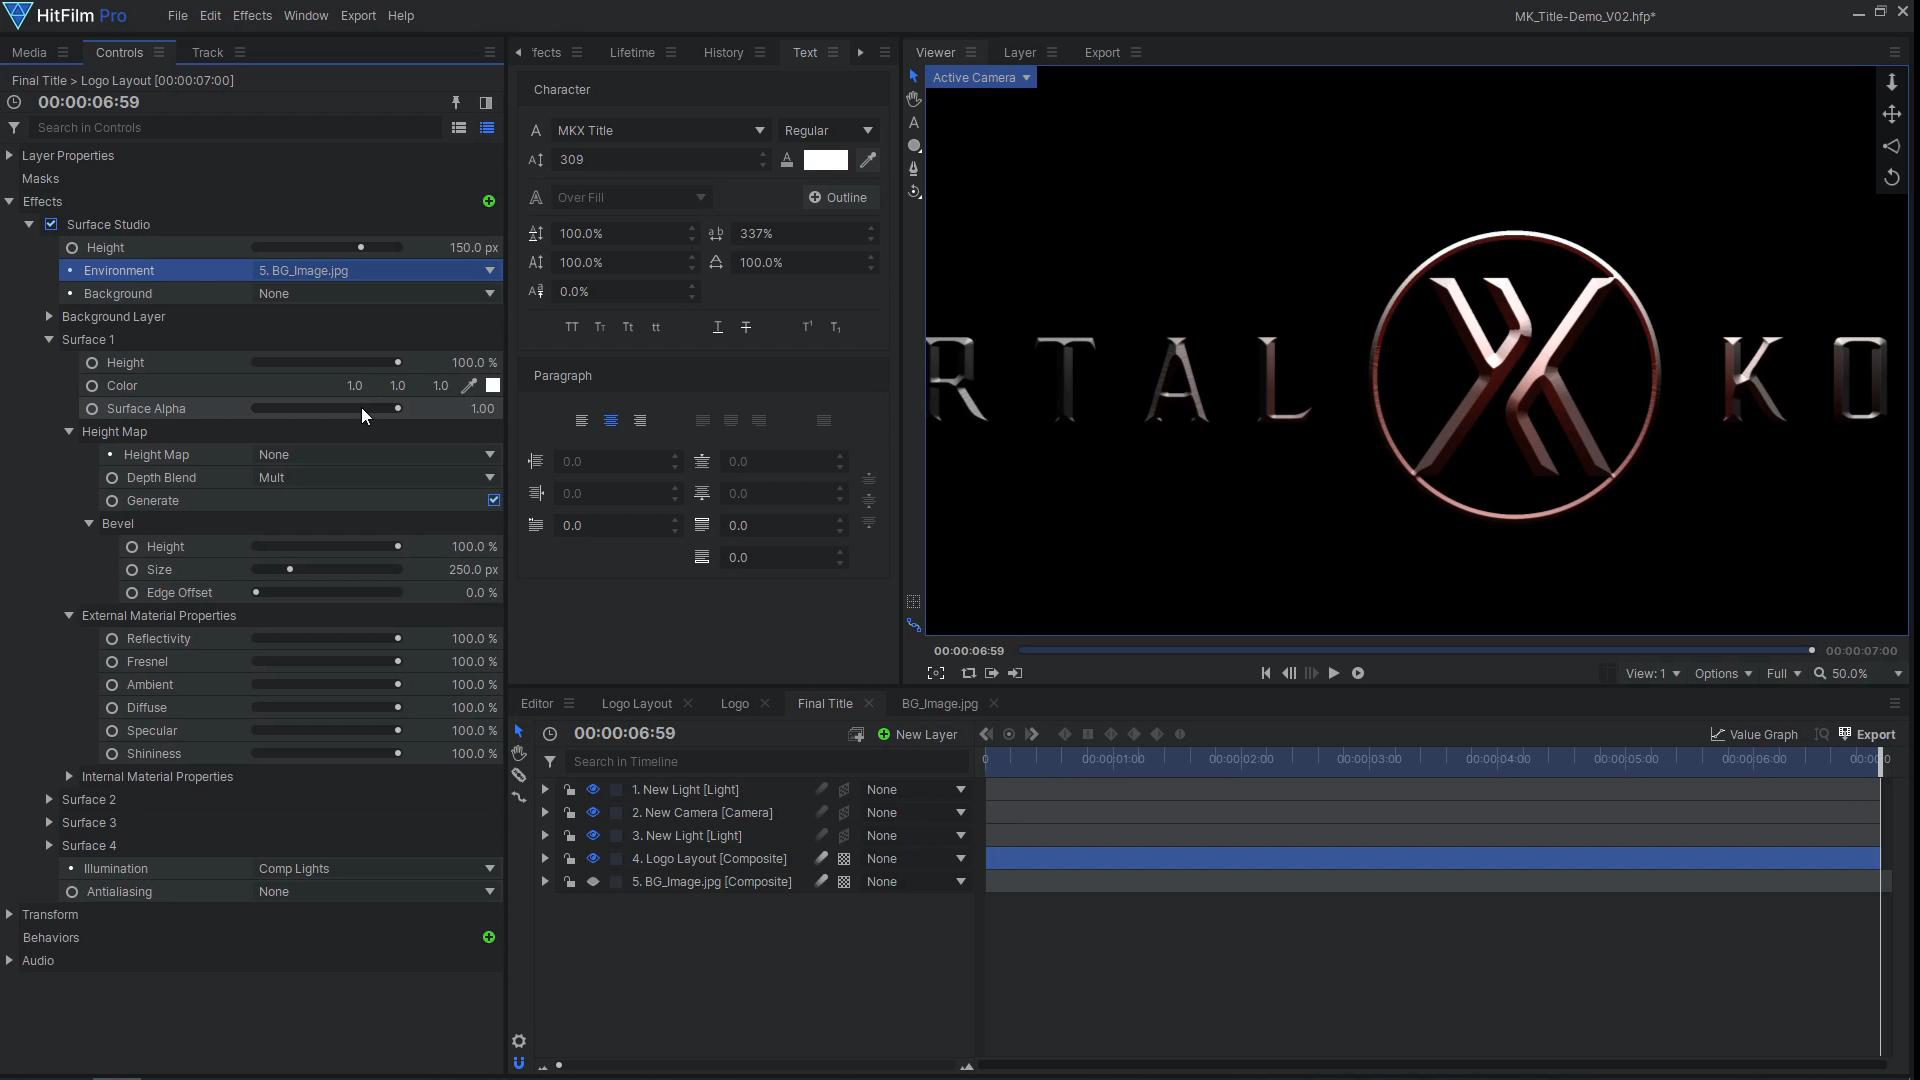
- In the External Material Properties of the Surface studio effect, increase the Specular value to 100% to enhance the brightness of the highlights.
To enhance the metallic appearance of the logo, we need to add some reflections:
- Begin by dragging in an image to use for the reflections into a new Composite shot
- Apply a heavy Blur effect to the image and drag this reflection composite onto the timeline of the main composite shot.
- Hide the reflection layer
- Under the Logo’s Surface Studio effect controls, set the Environment to this layer
- To see the reflections, reduce the Fresnel value.
Step 2.2: Bevel and Lighting (HitFilm Express)
If you’re using HitFilm Express, you can still create the beveled text effect for free. The key to this result is the Parallax effect, which gives the appearance of 3D depth by using a height map:
- In the media panel, make the logo composite into another composite shot.
- Apply the Matte Cleaner effect to the logo layer.
- Tick View Matte, then increase the Feather setting until you see a sharp edge in the middle of your logo.
- Bring this height map back into the main title comp and hide it.
- Parent it to the logo layer and reset its transforms so it follows the movement.
- Add the Parallax effect to the logo, selecting your height map layer as the Height Map.
- Add a new Light layer to view the 3D bevel effect.
- Tick Invert Map to correct the bevel’s direction
- Reduce the Depth to 30 and increase the Blur Height Map to 6 to smoothen the result.
- To brighten up the text, add another Light Layer, setting its type to Ambient Light.
- Reduce the intensity to 6.
- Adjust the Material settings on the Parallax effect to control how the lighting affects the logo.
Step 3: Adding the finishing touches
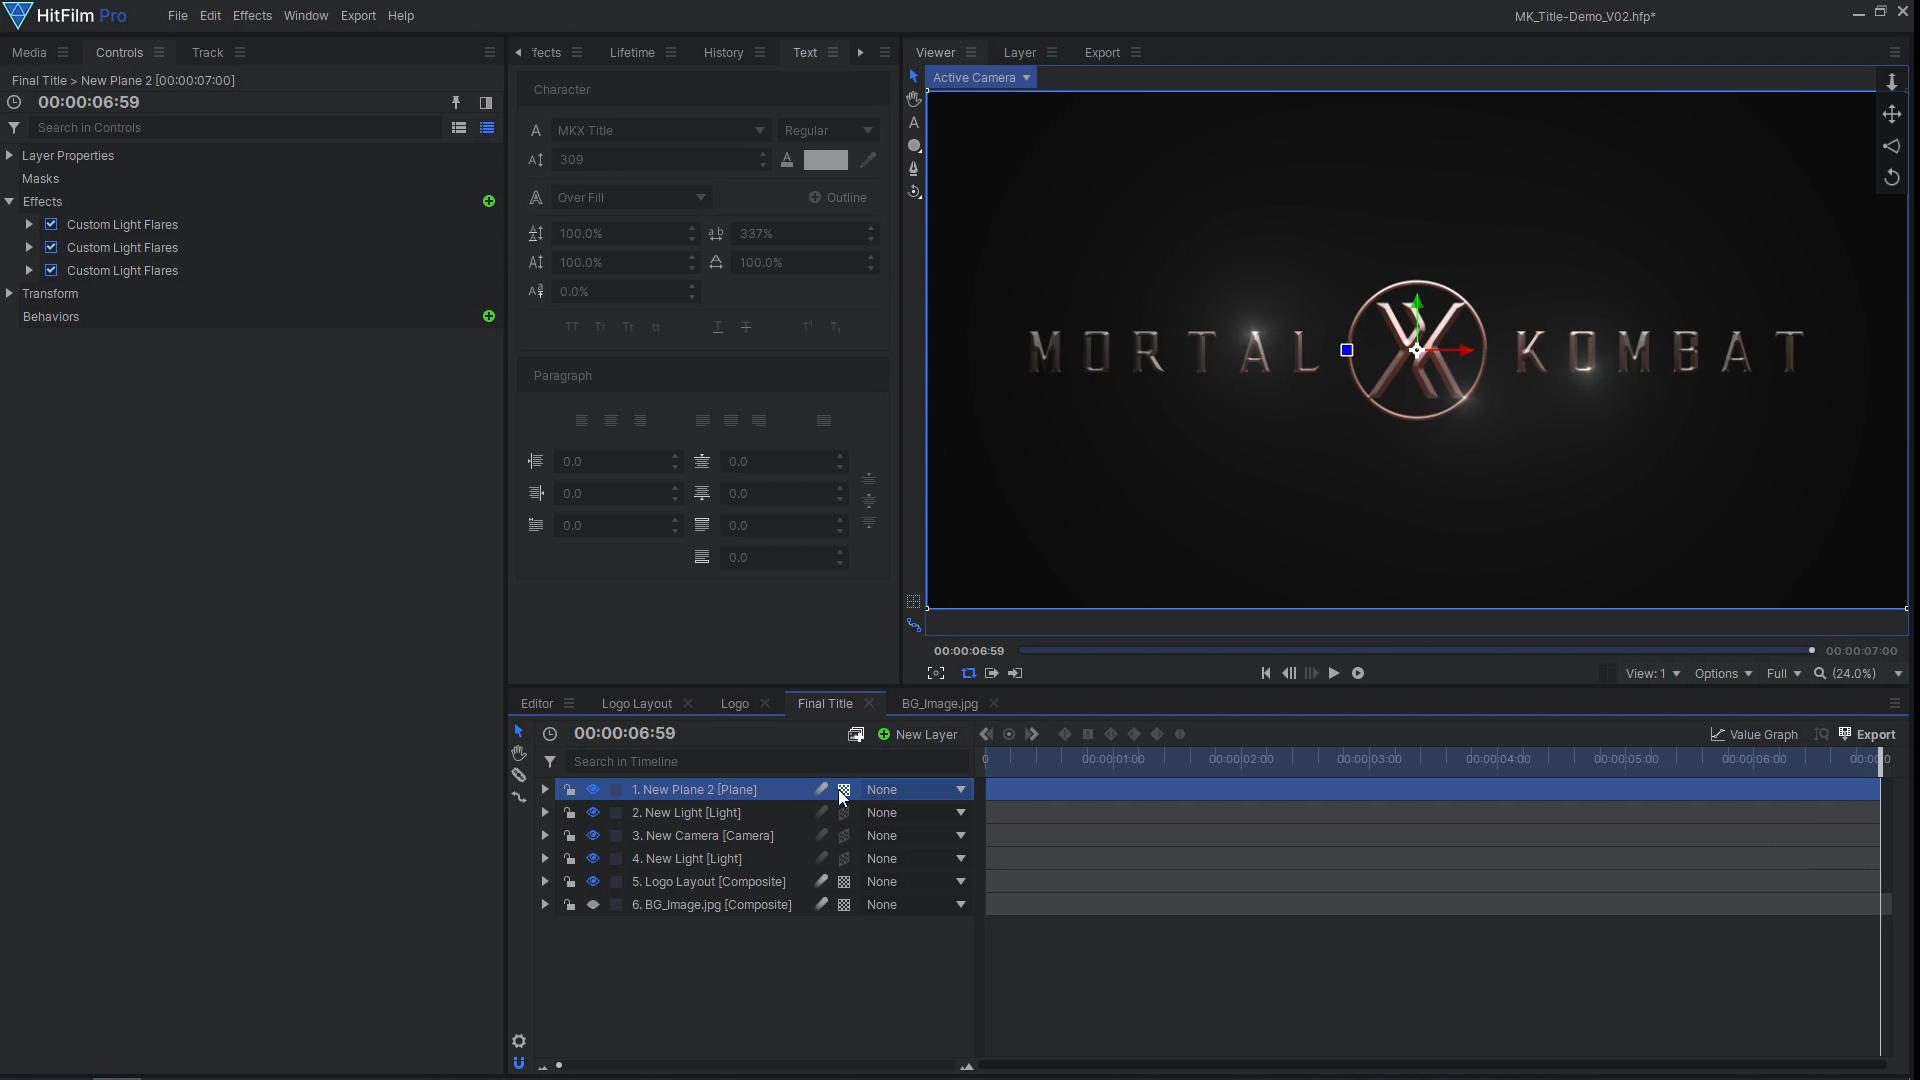
A great way to make this metallic title appear more interesting is to add some small light flares glinting on the bright spots of the logo. Begin by adding a new black Plane layer to your main composite shot, setting the Blend Mode to Add. To this layer, apply the Custom Light Flares effect, and select the Tiny Glint preset. If you are in HitFilm Express, use the standard Light Flares effect, choose a Flare Type, reduce the Global Saturation, and adjust the other flare settings. Place the flare on a bright spot of your logo, then adjust the Intensity and Scale as needed. Duplicate the effect and move the flare to another location. Position the flares on the first frame of the shot, when the logo is the smallest. Then parent the Flare layer to the logo layer, so it scales up with it.
To finish off the title, we added a new Grade layer to which we applied a Curves effect to adjust the color. This effect allowed us to increase the contrast and intensify the Blue shadow hues. We also applied Glow, Chromatic Aberration, a slight Radial Blur, and Film Grain to the grade layer. These effects add some imperfections and interest to the title, making it look more realistic. To allow the title to fade in gently, we added a new Grade layer with an Exposure effect. We animated its Gamma value to increase from 0.2 to 1, so the brighter areas fade in before the dark areas. In Express, we used the Gamma effect and animated all three values to increase from 0.2 to 1. Then we animated a black Fill Color effect’s Blend amount to decrease from 100% to 0%, so the text layer fades in from black.
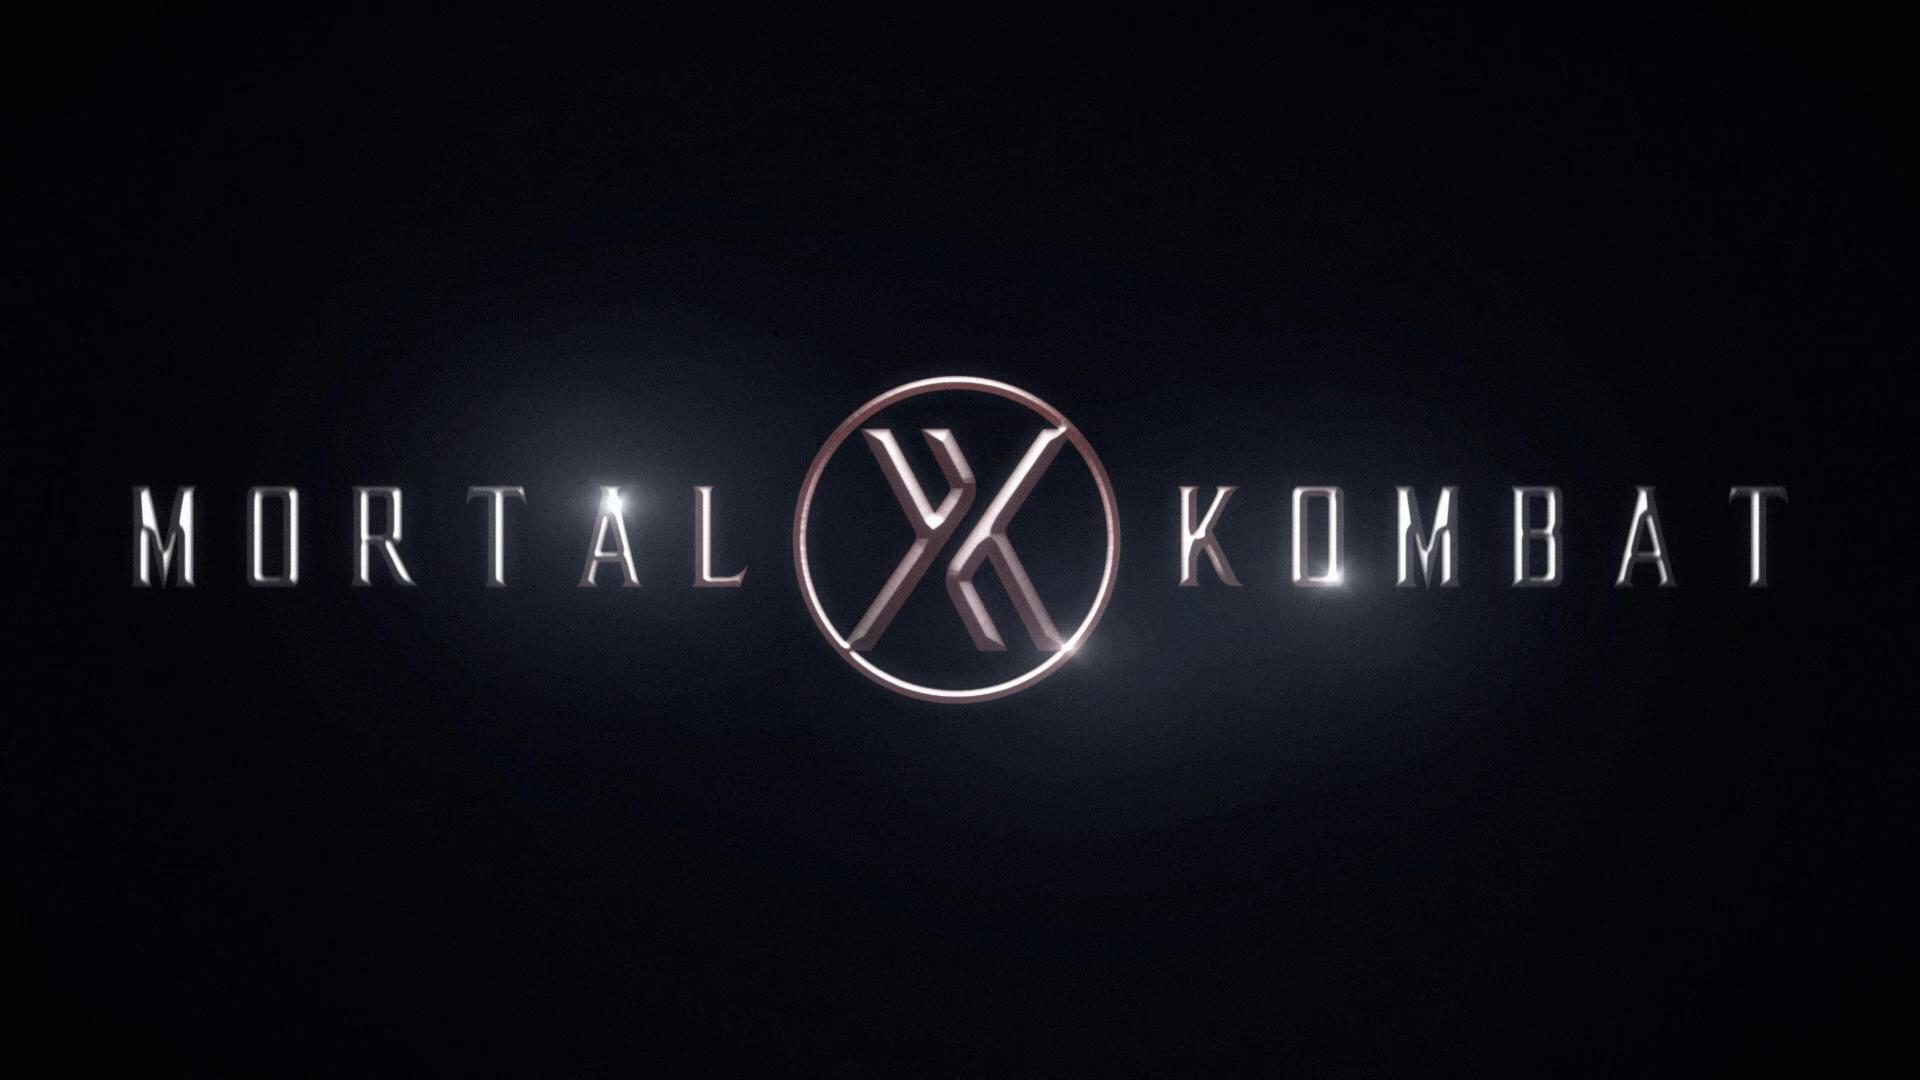
And that’s how you can create your own Mortal Kombat title effect in HitFilm!