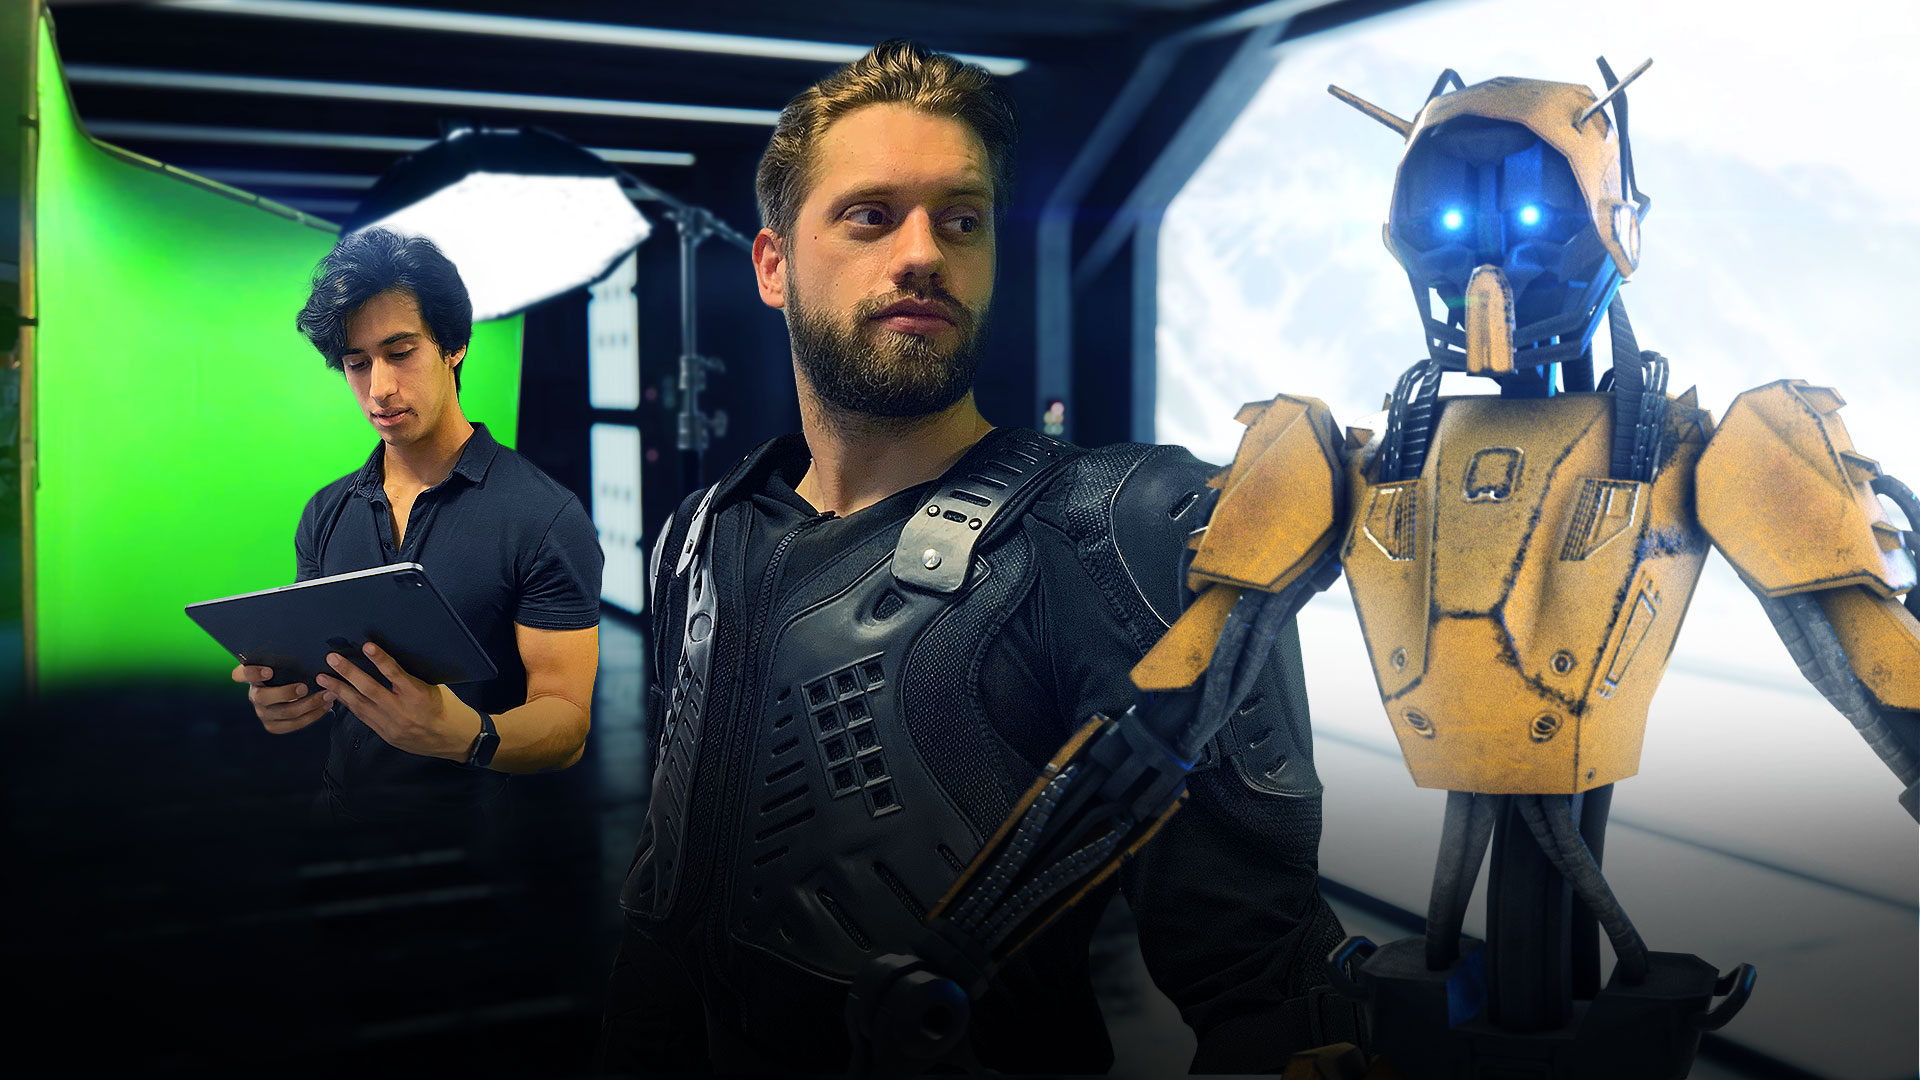
Welcome to the second episode of our CamTrackAR Masterclass. This tutorial will show you how to take your CamTrackAR footage and composite it into any scene you can imagine inside HitFilm.
Part 1: How to add a 3D model to a scene
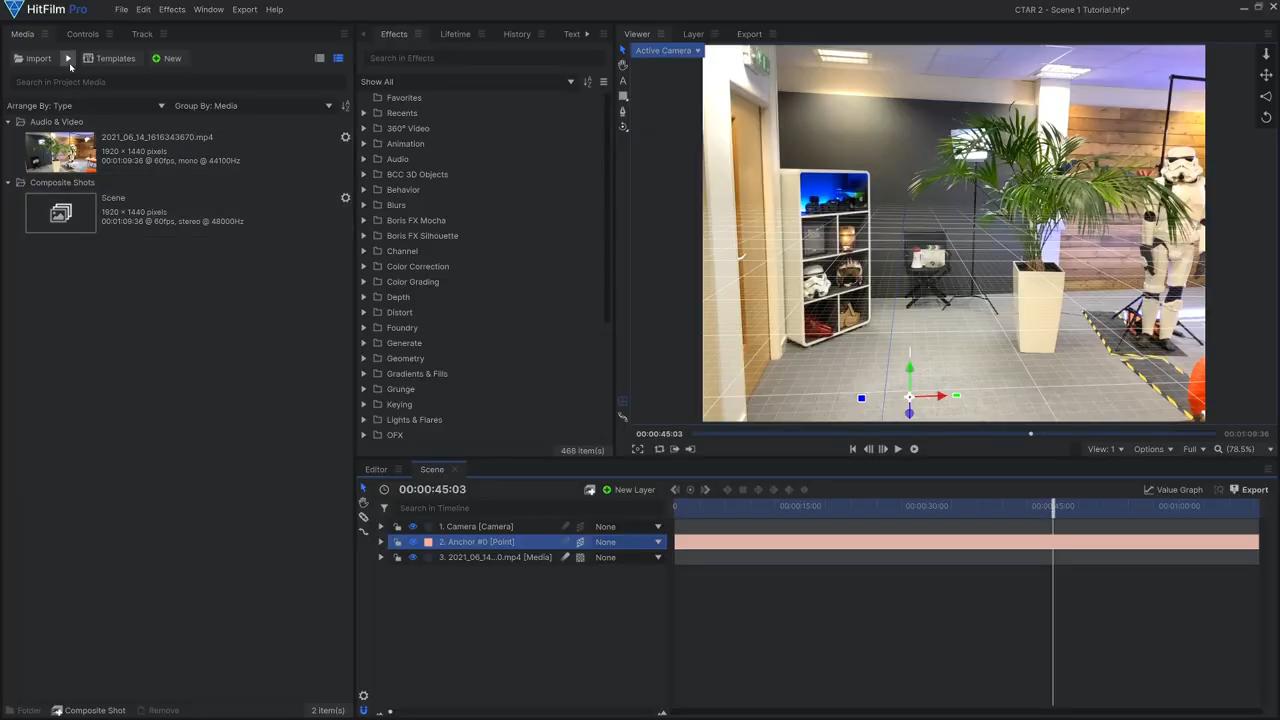
In the previous episode, we covered how to record and save your CamTrackAR footage. In order to begin adding a 3D model to your scene, you will need to navigate to where you saved your CamTrackAR files and import the .HFCS file into a HitFilm Project. The .HFCS file contains all of the tracking data along with the footage. Upon import, in the media panel, you will see a new composite shot with a Camera layer, Point layer(s), and your footage. In the viewer, you will also see that a 3D grid is aligned to your scene, and the footage has already been motion tracked – this means that you can begin to add other elements to your scene!
You’ll need to be on the Pro tier to use 3D Model Rendering without watermarking. When you import your model, you’ll have various controls to dial in the textures and how the materials react to light.
We sourced our high-quality GLTF model from SketchFab; however, HitFilm supports several other file formats such as .OBJ, .FBX, .3DS, and .LWO.
Once you have imported your model, you can directly add it to your scene. A quick way to place your model onto the Anchor Point is to parent the model layer to the Anchor Point layer. Then, reset the model’s transform settings then, unparent it from the Point. If the model’s anchor point remains misplaced, you can manually change its position with the Anchor Point variable found under the World Transform settings in the Controls tab.
To allow the model to better integrate into the scene, you’ll need to adjust its material properties located in the Controls Tab:
- Set Environment Map to Use Layer.
- Set the Layer value to your footage layer.
- Enable “Receives Ambient Occlusion” and “Casts Ambient Occlusion” to help the metallic surfaces reflect the surroundings and cast shadows.
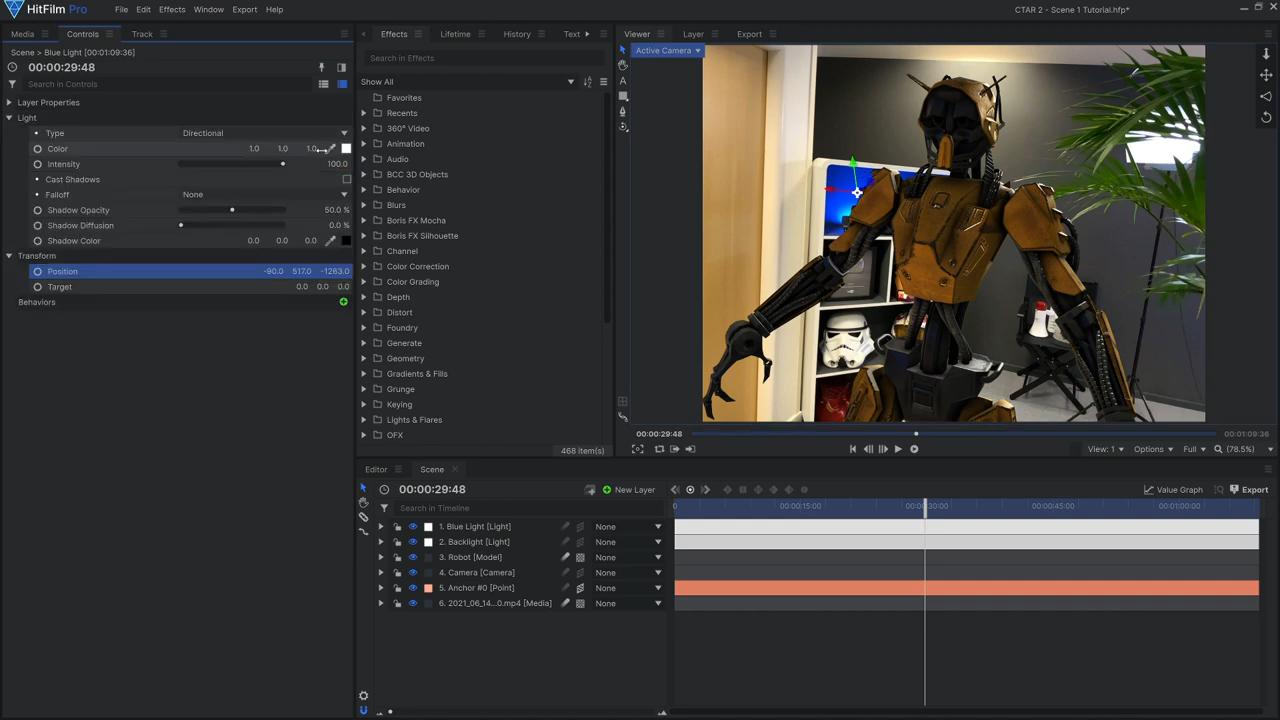
Another significant thing to consider when compositing 3D models is the lighting – HitFilm has numerous types of 3D lights. To add a 3D light to your scene:
- Start by selecting New Layer and choosing Light.
- Under the Controls panel, set the light’s Type to whatever you desire. Then, amend its setting to achieve the desired look. We decided to use a Directional Light and ensured that its color properties matched that of the scene.
To further composite the 3D model into the scene, we used 2D effects such as Light Wrap, Film Grain, Curves, and a Blur effect. Lastly, we ensured that we enabled motion blur right before exporting.
Part 2: How to composite green screen footage
As before, the process of compositing green screen footage into a virtual environment begins by importing the .HFCS Composite Shot into a HitFilm project. You’ll also need to import a rendered background created in Unreal Engine – created by importing the CamTrackAR FBX file into Unreal Engine (we’ll cover this process in more detail in the next episode).
With the CamTrackAR Composite Shot opened in your HitFilm Project:
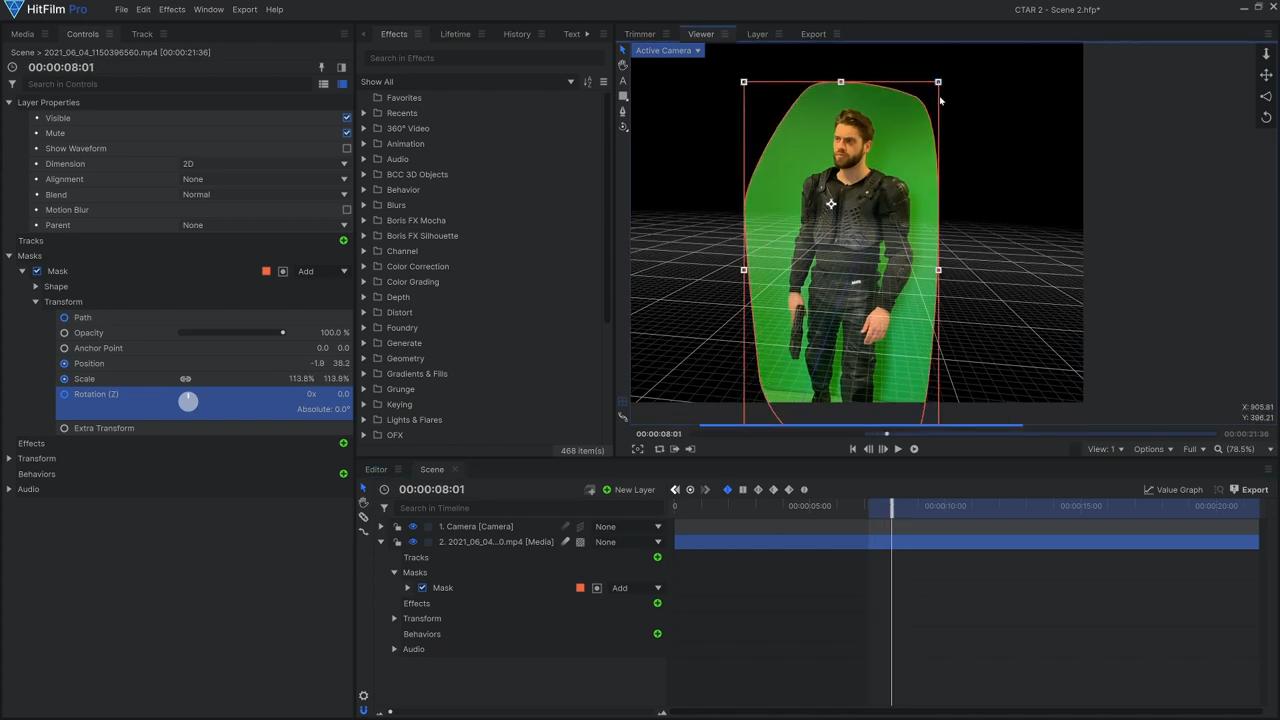
- First, mask out any areas that are not in front of the green screen using a Freehand Mask tool.
- Then draw a shape around the subject.
- In the Controls tab, activate keyframes for the Path, Position, Rotation, and Scale.
- Next, skim through the footage and adjust the mask to ensure that the subject is always in view.
- Once completed, you can remove the green screen using the Chroma Key effect. Alternatively, you can use the RGB Key or Color Difference Key effects. After applying the Chroma Key effect to your footage layer, use the eyedropper to select the green screen and adjust the various controls to remove it.
- If you encounter a halo effect around the edges, remove it by using the Erode/Expand slider to push the edges in. You can also use the Pre-Blur slider to reduce the appearance of jagged edges.
- Next, apply a Spill Removal effect to remove the slight green cast on the subject.
- Lastly, apply several color grading effects to match the color between the two plates.
Our subject appeared more warm and saturated than our cool snowy virtual environment. To counter this, we applied a Color Temperature effect reducing the Kelvin value; this resulted in the shadows having a purplish tint. To curb the shadow issue, a “Hue, Saturation & Lightness” effect was applied. Within the effect’s settings, we reduced the saturation of the Blue and Magenta channels while increasing the saturation of the Cyan channel. The Curves effect was used to alter the shades within the scene further. In the Curves effect settings, we added a curve to the Red and Green channels, resulting in a more cyan tone that better matched the colors present in the 3D Environment. Curves was also used to brighten the footage. Finally, we used a Light Wrap effect to help the color and light from the background leak onto the greenscreen plate.
To further drive the appeal of the scene, we placed a lens flare in the distance. As we already had the tracking data (via CamTrackAR), the process was very quick and easy to do:
- Simply create a Point using the add new layer button.
- Change it from 2D to 3D.
- Use the controls in the Viewer or Position in the Controls panel to move the Point to where it would be in the 3D world.
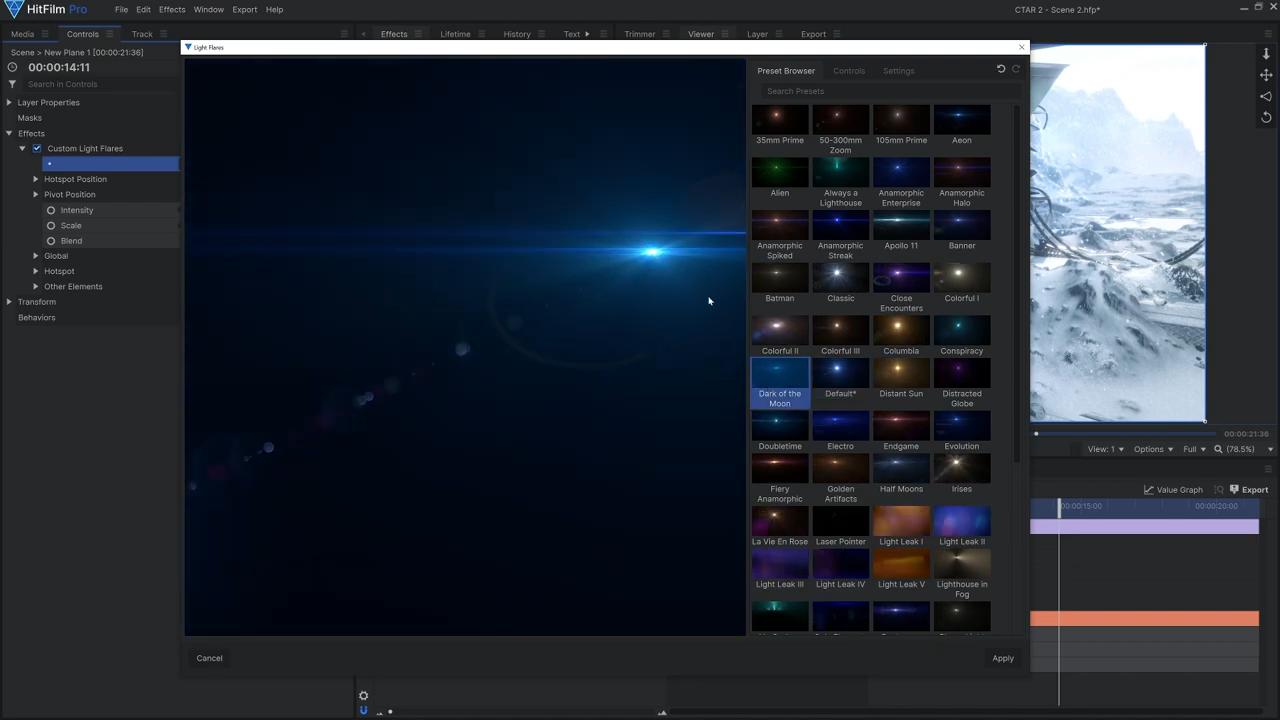
- Create a Plane and add the Custom Light Flares effect onto it.
- Right-click and change the Plane’s Blend Mode to Add or Screen.
- Open up the Options and choose a preset you like (or create your own).
- Adjust your Flare’s settings to achieve the desired result
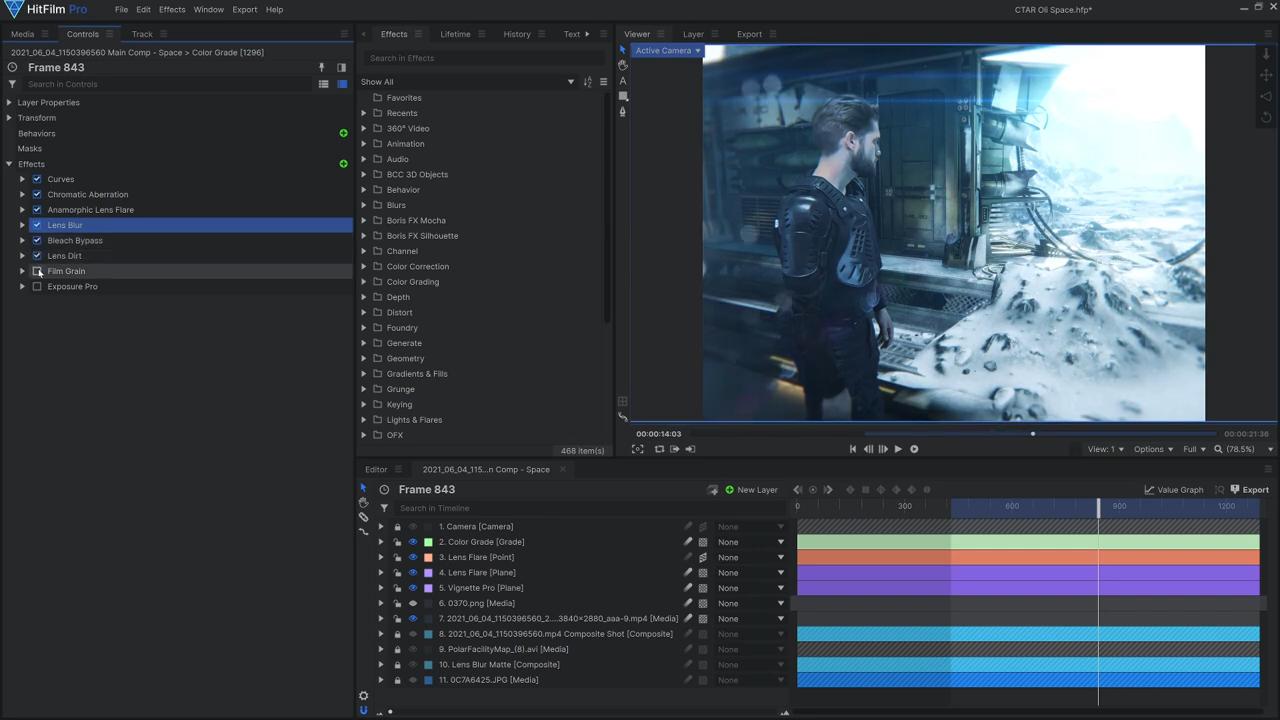
The final Grade layer is what really brings the composite together, as these effects are applied to the entire scene.
- The Curves effect was used to tweak the colors further.
- Stylization effects like Chromatic Aberration, an Anamorphic Lens Flare, and Bleach Bypass were used to shift the colors.
- Lens Dirt was used to add a bit more texture to the shot when the flare emerges.
- Film Grain was applied to make the overall shot look less CG.
However, Feel free to make adjustments and tweaks to these effects to better fit your composite.
Now you’ve learned how to film a scene with CamTrackAR and then composite in HitFilm! Stay tuned for the final episode of our CamTrackAR Masterclass to learn how to use the data to work with other programs, like Blender or Unreal Engine to create the 3D backgrounds that you saw in this video.