


HitFilm 4 Pro’s reception has been stunning, with a huge number of people upgrading or jumping on board for the first time. Early coverage has also been very positive – we particularly enjoyed TheBeat’s very balanced review.
“Easier, Faster, and Sexier Than After Effects”
Caleb Ward, TheBeat
Meanwhile, we’ve been hard at work on the first update, which is now available. You’ll be notified the next time you start the software. There are new features and fixes so we recommend you install the update ASAP.
Adding effects
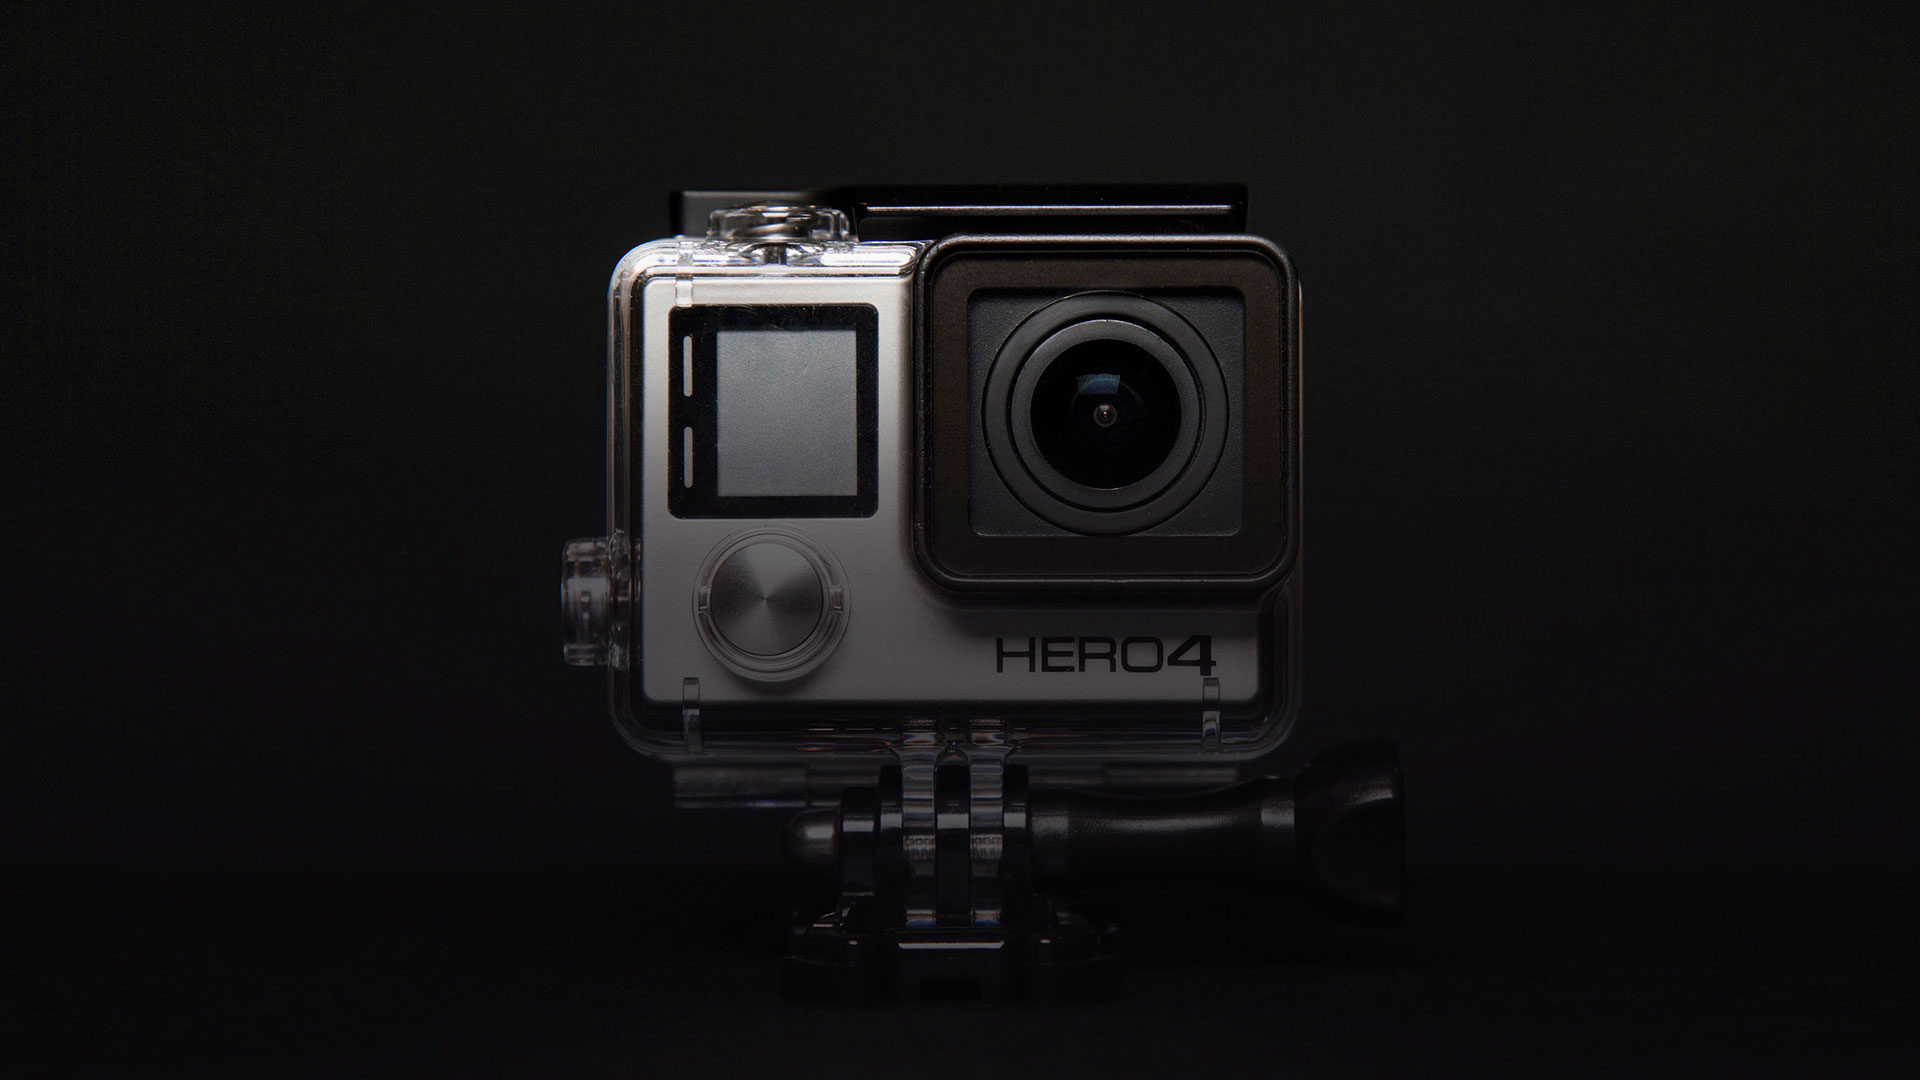
In this first image you can see the trademark curvature of a GoPro lens along the water line.
")
The fisheye warp easily removes the lens distortion, without losing any image data.
")
It’s now easy to add any effects you want.

The final step is to re-warp back to the original GoPro look. Note how the added lens flare effects arc to match the source footage.

Images courtesy of Lambda Films.
New GoPro workflow
You might have already noticed that the old fisheye warp effect was renamed to spherical warp effect in HitFilm 4 Pro. Aside from it being a more accurate name, that change was primarily to make way for the brand new fisheye warp effect.
The primary use for the new effect is to provide an efficient workflow for GoPro footage. But, it isn’t limited to just GoPro lenses – you can manually adjust the field of view warping.
Applying authentic GoPro fisheye to any layer or effect is now very easy, even if that layer wasn’t originally created using a GoPro lens. For example, I experimented with applying the fisheye warp to a fully CG shot of a spaceship flyby and it added an extra dimension of reality, introducing a physicality to the digital camera.
There’s now a really great workflow for adding effects directly to GoPro footage. Check out the ‘Adding effects’ panel on the right to see the general process. The clever bit is that HitFilm doesn’t lose any data when performing the initial un-warp (as long as you set the scale option to ‘Grow’), artificially expanding the layer beyond its natural boundaries and avoiding the cropping that would normally occur with such a technique. Consequently, when you re-warp the video all that expanded data is brought back.
This also means that you can easily match GoPro and traditional footage by achieving a consistent look.
The new fisheye warp effect is in HitFilm 4 Pro and we’ve also added it to HitFilm Ignite so that you now have a great GoPro workflow in all your other video software as well.
Interface enhancements
Sometimes it’s the small things which make the biggest difference, especially if you’re a power user who uses HitFilm every single day.
The orthographic views in HitFilm have always been useful for positioning objects accurately in 3D space. We’ve now made two adjustments to how they work. You can now zoom out as far as you want, which is essential for larger scenes, and panning around the orthographic views is now a 1:1 movement with you mouse, regardless of your zoom level, which makes it really easy to cover large distances quickly.

Working easily on a large scale scene using the new orthographic navigation
We’ve got more ideas for improving 3D navigation overall, so keep an eye on future updates for those.
Timeline media layers have a subtle but useful enhancement, whereby they now show a representation of the original duration of the layer even after being trimmed. If you adjust the ‘in’ or ‘out’ point of a media layer you’ll now see a faint visual guide as to the layer’s original duration, so that you can tell at a glance if a layer has been altered.

Note the subtle indication of the original duration of the top media layer
You’ll find a new setting for ambient occlusion (AO) of 3D models, enabling you to render AO even when a model includes semi-transparent materials. Previously semi-transparent materials would disable AO entirely, including when using 32-bit textures.
Finally, if you’re on a Mac you’ll now discover that you can export to additional ProRes variants.
Fixes & improvements
Update #1 also includes a big list of fixes to ensure a smooth experience across the board. Here’s the list:
- VSync is now explicitly disabled, resulting in major performance gains in the Viewer on some setups. Note that the GPU driver can still override this optimization. We recommend setting your driver settings to ‘let application decide’ where possible
- The Value graph now displays the correct values for the channel curve property of the Curves effect
- Value graph now displays the correct curves for signed and unsigned integer properties
- The Value graph now displays the correct curves for 8-bit color properties
- Value graph now uses the Ctrl and Shift modifiers (Command and Shift on Mac) to change the scale
- Holding the Shift modifier no longer prevents scaling on the Mac
- Viewer now updates consistently with playhead movement on Mac
- Menus now open correctly when Auto Hide taskbar is turned on (Windows only)
- Taskbar can now be used when using auto hide taskbar and HitFilm is maximized
- HitFilm is now resized to the correct size when secondary monitor is bigger than the primary one
- Keyframes now move correctly after editing layers with the rate stretch tool
- Fixed rare crash when adding a light to a project containing a normal or bump mapped 3d model
- Fixed focus order in general settings dialog
- Projects can now be transferred between platforms with auto relinking of media
- Moved export button in Editor sequence to be consistent with the composite shot timeline
- Fixed crash after relinking media asset, if multiple assets exist for same source file
- Fixed problem where keyframes could not be scaled down to the same frame easily in the layer timeline and value graph
- Reduced an issue where parts of a 3D model rendered black when a normal or bump map was applied
- Reload action in media panel will only be displayed if at least one image or media asset is selected
- Fixed an issue with making a new composite shot based on an existing composite shot
- Reduced z-fighting artefacts on 3D models
- Fixed an issue where keyframe positions on the particle lifetime graph were changed when the start frame of the effect layer was modified on the timeline
- Mended clipping that occurs when importing some MOV files, specifically those created by GoPro cameras
- Fixed issue that broke the creation of composite shots when changing framerate
- Changed scaling method of RAM preview to match the viewer
- Fixed rare export error
Work has already begun on Update #2, so keep an eye on the blog or on your HitFilm Home screen to make sure you don’t miss any good stuff!
