The latest free update for HitFilm 3 Pro tempts us back to the Dark Side with three brand new inter-connected effects, focusing on the perennial favorite known as the lightsword*. We’ve also added workflow tweaks and fixes galore, so read on…
The circle is now complete
The primary purpose of Update #5 is to give me an excuse to insert as many Star Wars quotes as possible into this article. Star Wars fanfilms have never gone away and with The Force Awakens just around the corner we’re expecting the lightsword to once again reclaim its title as everybody’s First Effect.
Notably, Lightswords have traditionally been very labor-intensive, usually requiring frame-by-frame rotoscoping and extensive tracking by eye, due to the extreme motion blur on the prop weapons used by actors in action scenes. Automatic tracking simply doesn’t work when you’ve got a blade that is barely visible even to the human eye.
In Update #5 we’ve set out to minimize the workload and create the fastest, easiest, and best lightsword method you’ll find.

Three lightsword effects are included with Update #5, each with a slightly different focus.
Lightsword (2-Point Auto) is the main event, providing an easy way to position the effect using just two points (the hilt and the tip), which should be positioned on the leading edge of the blade. HitFilm then derives the required motion blur based on the relative movement of the points. You can choose between streaking which matches that in the movies or set up a custom streak to match the shutter speed and motion blur in your footage.
The 4-Point Manual version lets you create a rectangular shape, which is accurate but not as slick as the 2-point. Finally there’s the standalone Lightsword (Glow Only), which adds our custom glow behavior to any layer, with customization options for the flicker and edge stability.
Both the 2- and 4-point versions can be linked to tracked points, so if you do successfully track movement you can speed things up even more. Useful for less frenetic shots, perhaps – or, indeed, for creating other neon effects far, far away from Star Wars.
There’s no avoiding roto when it comes to lightswords, but Update #5 is the easiest and fastest system I’ve encountered for creating authentic results.
Workflow tweaks
Not interested in space fantasy romps? Then check out the workflow tweaks introduced in Update #5:
- Scrolling the mouse wheel in orthographic and perspective views now zooms in on that position
- Set in/out point keyboard shortcuts can now be used while scrubbing in the Trimmer or Viewer
- The set in/out point keyboard shortcuts no longer halt Viewer playback
- Timeline Snap can be toggled on and off using the keyboard shortcut while resizing clips and moving layers
- Resized text windows (eg when editing the Pulp Sci-fi Title Crawl effect) now remember their new size
- Easy access help buttons are now available in the corner of each panel. These can be toggled on and off in Options
Fixes
You’ll also find Update #5 more stable, with the following fixes applied:
- Fixed various issues with text editor windows
- Click & drag to change properties now works in the text panel
- Fixed rare issue with New Folder button disabling
- Changing a 3D model’s materials now invalidates RAM previews correctly
- Fixed intermittent Windows 8 crash caused by Webkit
- Fixed rare property selection issue which prevented controls from displaying properly in Viewer
- Minor UI styling tweaks
Let us know how you get in with Update #5 and have fun with all that roto!
*also known by other names of varying legal complexity.
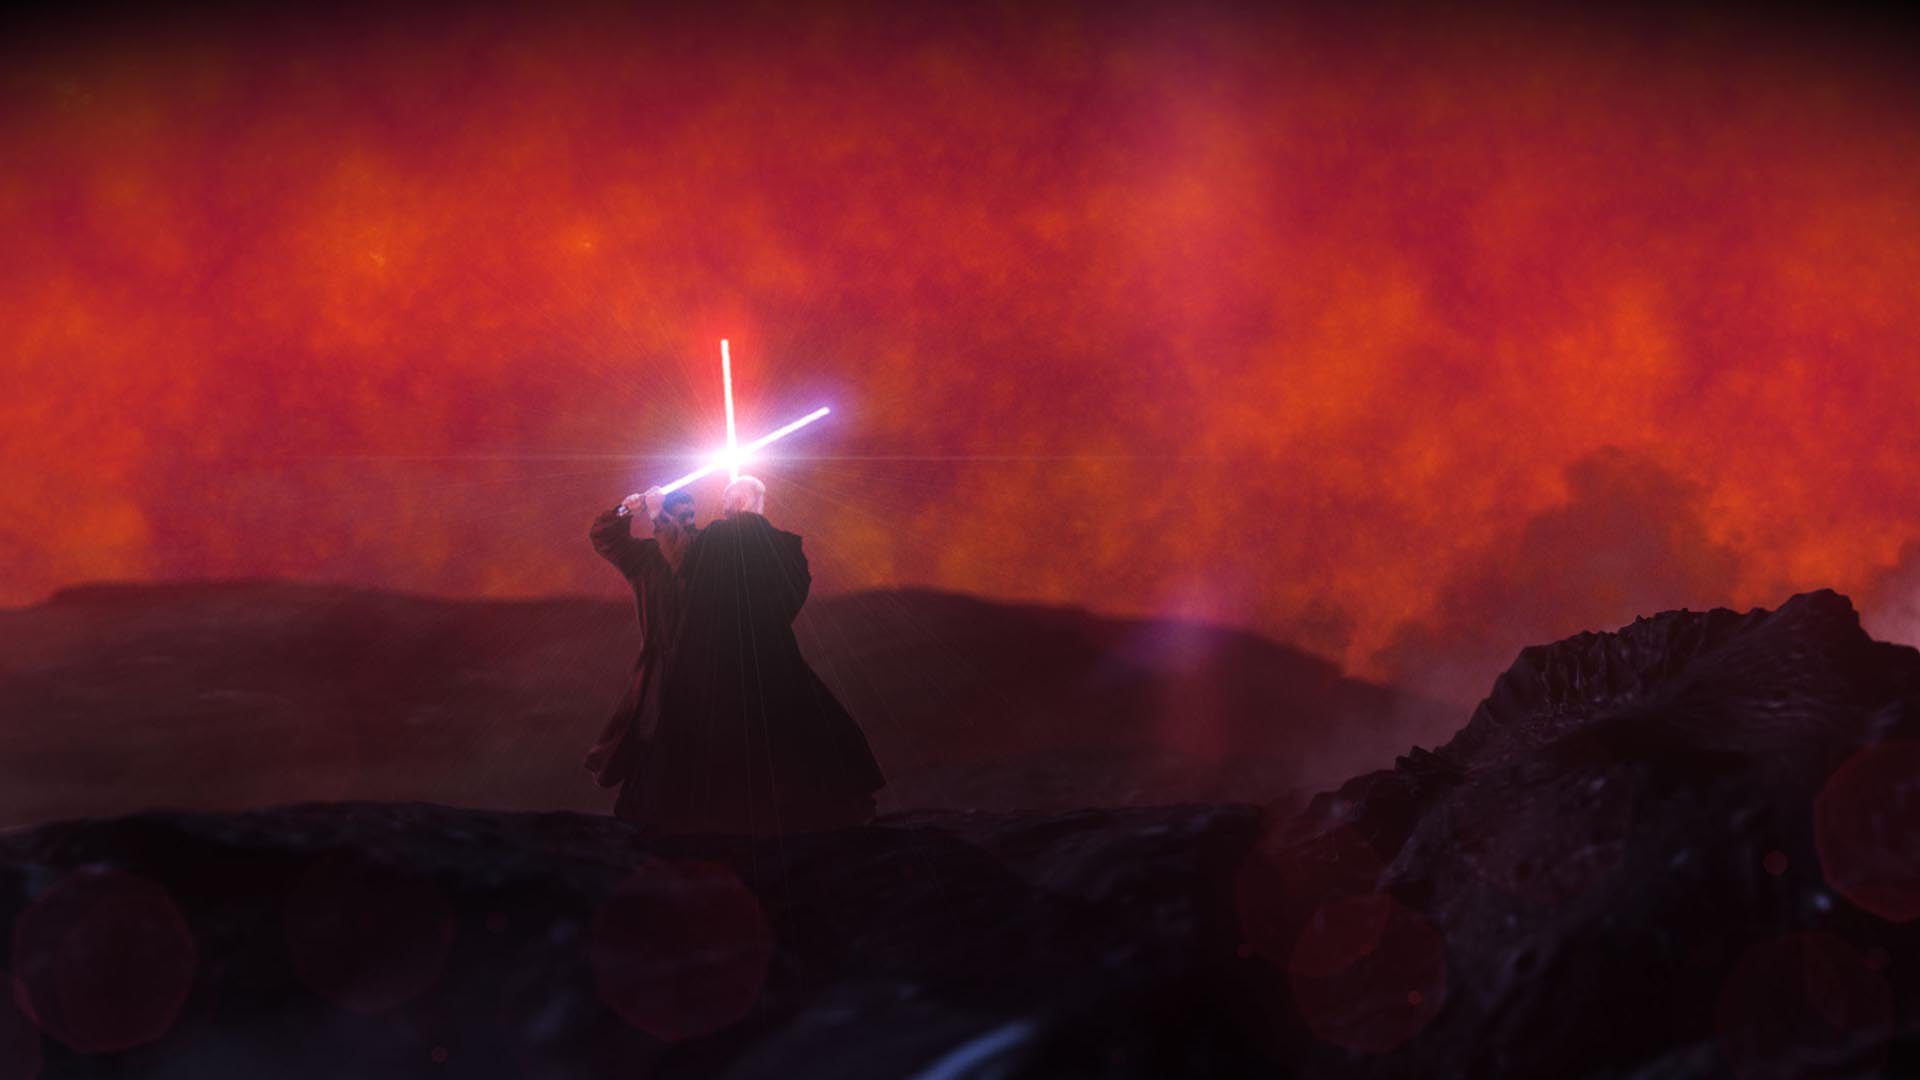
Image breakdown
The dramatic image at the top of this blog post was created entirely in HitFilm 3 Pro. Here’s a quick breakdown.