Update: Since this article was published, HitFilm has continued to grow and improve (massively!). Check out what’s in the newest version here.
HitFilm 3 Pro has arrived.
If you’ve pre-ordered (thank you!), go grab the installer from your account. If you’ve been waiting to give it a whirl, the free trial is now available for download.
There have been a few changes around these parts, too, courtesy of our lovely web team. There are fancy new pages to introduce the software and you can now find your way around using the menu at the top-right. Take some time to explore the new design, as it’s the biggest change we’ve made to the website for years – which is appropriate, as HitFilm 3 Pro is the biggest upgrade we’ve ever done.
If you’re entirely new to HitFilm (hello!) or to filmmaking in general (good timing), grab these project files and take a look at Axel’s new Project One tutorial, which walks you through your first project and many of HitFilm’s central concepts in just 10-and-a-bit minutes:
A choice of delights
Attempting to read the entirety of the HitFilm 3 Pro What’s new? page runs the risk of wearing out your fingers before you scroll to the bottom. Faced with such a glorious selection of new and improved features, where do you even begin?
So as to avoid such crippling indecision, I’ve asked the very people who have created the software to name their favorite features. These aren’t necessarily the flashiest or cleverest features, but they’ve all clearly caught the attention of people on the HitFilm team.
Kirstie, marketing: Wireframe
Kirstie picked out the new Wireframe effect. This is one that anybody creating product promos or scifi films is going to really love. It does what you’d expect, converting any 3D model to a wireframe render, but you can then go in and heavily customize the look.

You can switch between a mesh and a grid style, alter the width of the wireframe, adjust occlusion mode and even light the mesh using 3D lights. That latter feature is particularly interesting – try creating a point light with heavy falloff, then animate it to move over the mesh. Instantly you’ve got a cool ‘3D scan’ style effect, which can be blended back into the scene.
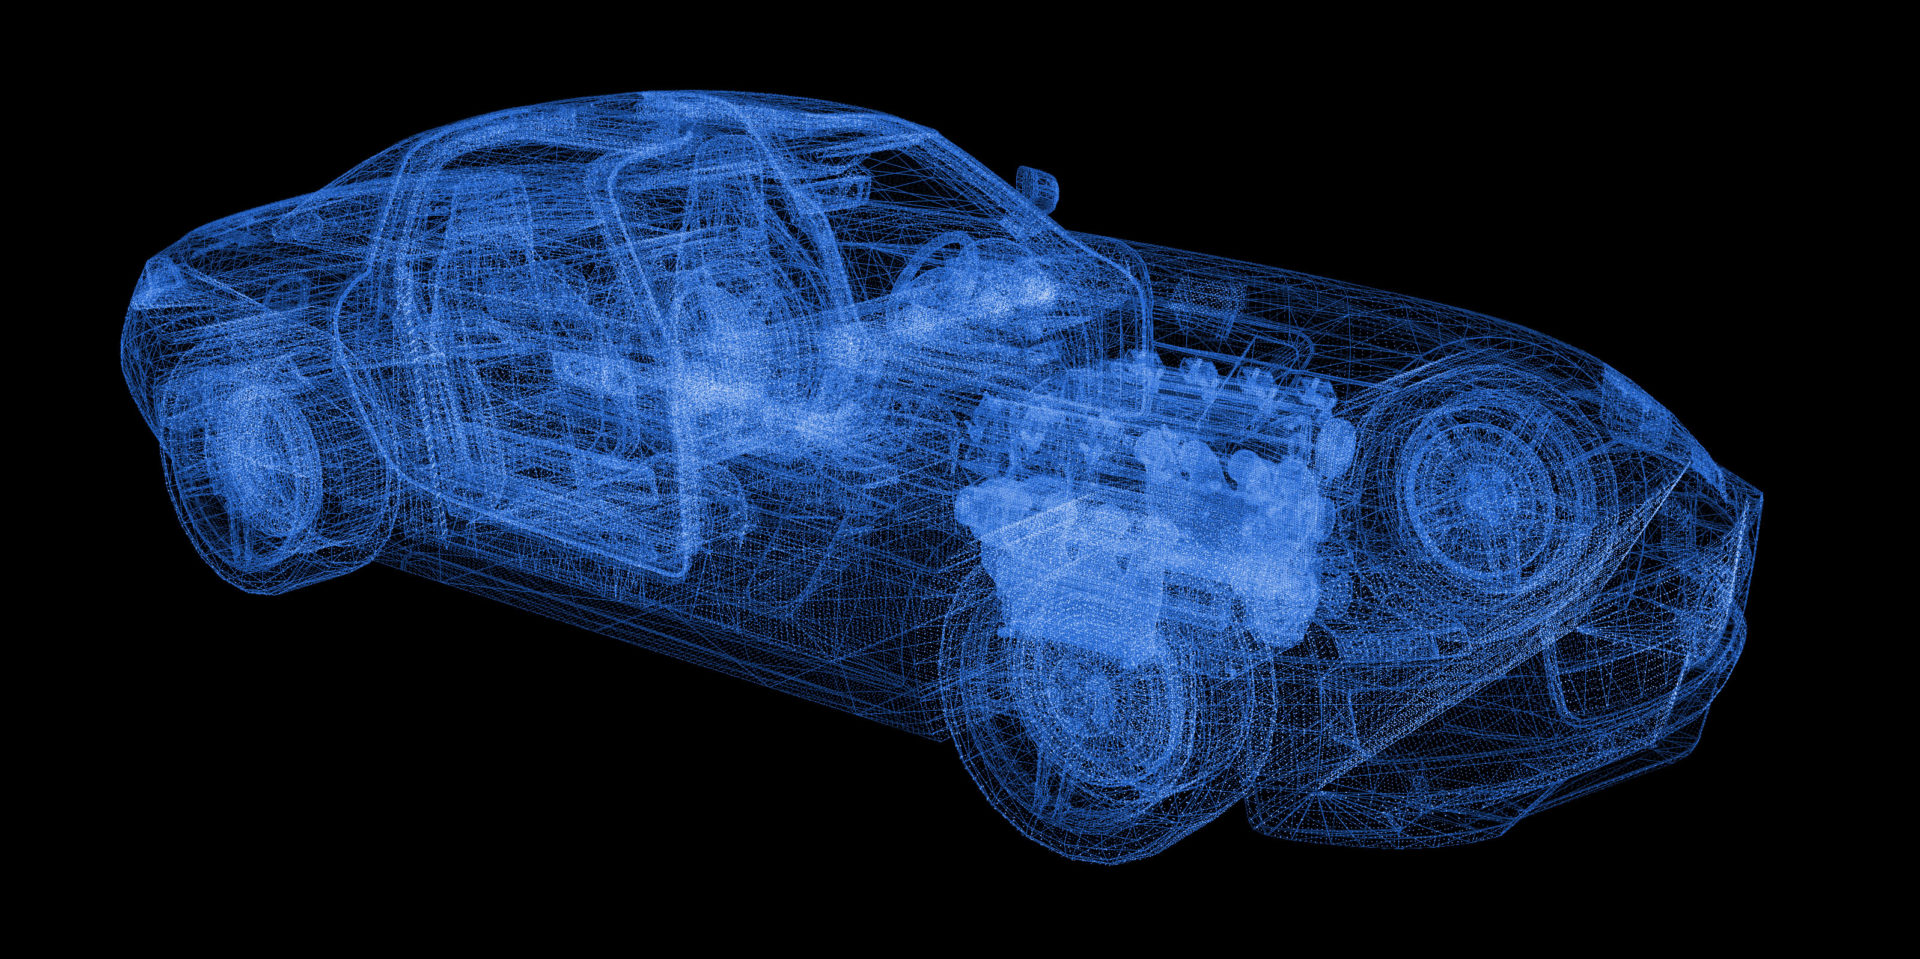
The next time you’re creating a futuristic interface in the style of Guardians of the Galaxy, expect to make conspicuous use of Wireframe. Not entirely coincidentally, the studio which designed most of the UI in that film, Territory, also designed the new HitFilm shard logo.
Rob, software lead: Redesigned interface
Doctor Rob has headed up the HitFilm 3 project from the beginning, overseeing all aspects as well as being our resident 3D guru.
Picking a single feature to highlight when you’re running an entire team producing this amazing new stuff isn’t easy. I suspect that’s why Rob pinpointed the user interface restyling as his top pick; because it impacts and improves on all aspects of the software.
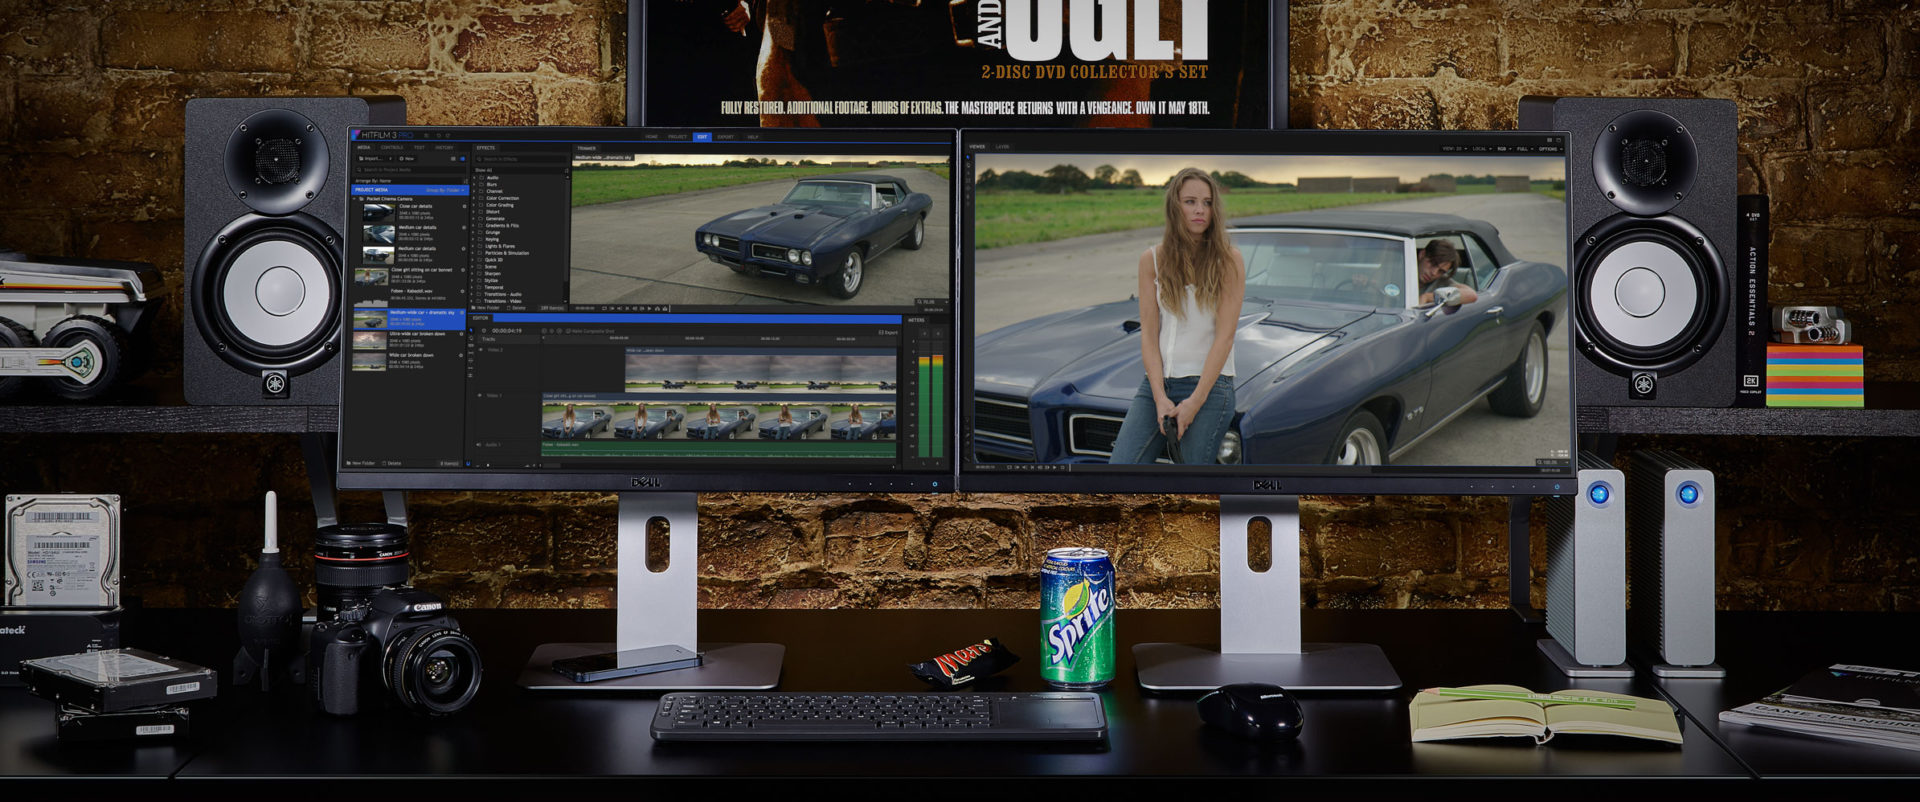
Whether you’re editing, animating 3D objects, crafting particle effects or designing a new look, the interface is what binds everything together. HitFilm 3 Pro’s new UI is faster, more intuitive and has a lower profile, giving you more space to see what really matters in your projects and being less distracting overall.
If you’re familiar with previous versions of HitFilm you’ll adapt to the new look in no time. Everything you already know still applies – give it five minutes and you’ll know exactly where everything is.
Josh, CEO & founder: The proxy system
At the beginning, a new version of HitFilm exists only as an enormous feature list, collated primarily from the HitFilm community hivemind. Overseeing the curation of those features is Josh, who works closely with Rob to convert the theoretical into the real.
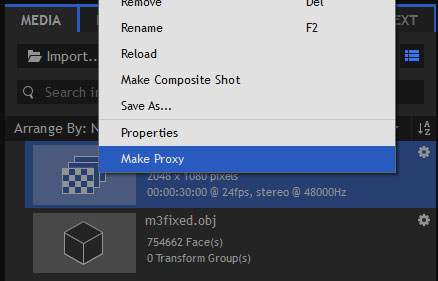
Josh came up with a fairly giant shortlist of favorite features, clearly ignoring my brief of “if you had to pick just one…” But that’s his prerogative, being CEO and all. Top of his list was the proxy system, which operates in the background and gradually transforms your post-production workflow.
You’ll find it especially useful if you work on intensive VFX shots involving multiple embedded comps, a ton of effects and particle systems. Complex projects will, at some point, start to impact on performance, even if you have a high end computer. That’s when the proxy system comes in.
Once you’ve finished a shot, or a key part of a shot, select the composite shot and HitFilm will proxy it in the background. Once it’s complete you’ll have a fast performing version of that element, speeding up overall performance without requiring you to pause your work to create full exports.
The system also benefits the final export, in that proxies can optionally be used. This means that any time you’ve invested creating proxies in the background will then drastically reduce the overall render time of your project.
Axel, product expert: Curves
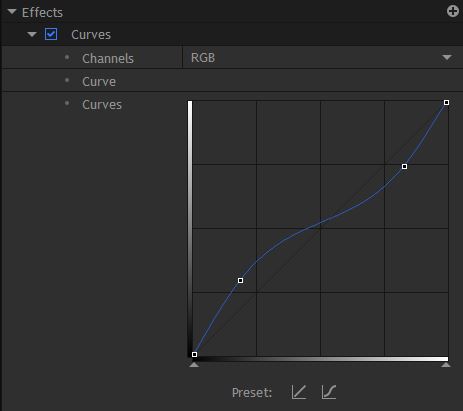
For Axel, choosing between curves and mocha’s new roto masks was a tough call. The new features in HitFilm 3 Pro’s version of mocha create epic time savings as well as greater masking accuracy. A handful of keyframes in mocha combined with planar tracking will invariably produce a higher quality roto than doing it all by hand.
But I digress – Axel’s actual choice was the Curves effect. This has been a highly requested feature, so it’s great to see it join HitFilm’s effects library.
If you’ve used curves in other software you’ll already know how powerful it is. If you’re new to curves, here’s a quick primer:

Curves takes your channel input and converts it via curve graph to new output values. In practice, this provides fine control over appearance, remapping overall brightness or individual color channels (useful for correcting white balance issues).
Of course, HitFilm has had various effects for adjusting brightness and contrast since version 1. At first glance, Curves can seem to perform a similar job to the Levels Histogram effect, but it does in fact offer far greater flexibility. Where Levels gives control over the black, white and mid points, Curves is able to finely adjust the entire spectrum.
We’ll be exploring Curves in detail in tutorials but if you want to get a head start try googling ‘curves explained’ – you’ll find a ton of information, often relating to Photoshop, which now applies directly to HitFilm 3 Pro.

A word from Josh
“It’s amazing to think that HitFilm didn’t exist before 2011. The team’s taken the software so far, so quickly – and I’ve also seen all of you, the users, advance your skills massively. HitFilm 3 Pro is a major milestone and it’s our springboard into 2015 and beyond. If you’ve been with us from the start, then many thanks. If you’ve only just arrived – welcome. Exciting times are ahead.”
Josh Davies, CEO
Tutorials and articles focusing on HitFilm 3 Pro’s new features will begin to emerge in the coming weeks, and will carry on rolling out through 2015. There’s good stuff in the pipeline.
Over the next couple of months (weeks?) it will start to become apparent that we’re doing things a little differently with HitFilm 3 Pro. Rather than developing HitFilm behind closed doors, we’re going to open up the process to give you a better insight into what we’re doing.
It’ll be an evolving plan to iterate faster and tie development more closely to what you’re telling us. It means that 2015 is going to see a much closer level of interaction between us as developers and you as a community of filmmakers.
But for now – download, install, play, explore, create. You’re in control.

